Search icon CANCEL
Subscription
0
Cart icon
Your Cart (0 item)
Close icon
You have no products in your basket yet
Save more on your purchases! discount-offer-chevron-icon
Savings automatically calculated. No voucher code required.
Arrow left icon
Explore Products
Best Sellers
New Releases
Books
Videos
Audiobooks
Learning Hub
Newsletter Hub
Free Learning
Arrow right icon
Arrow up icon
GO TO TOP
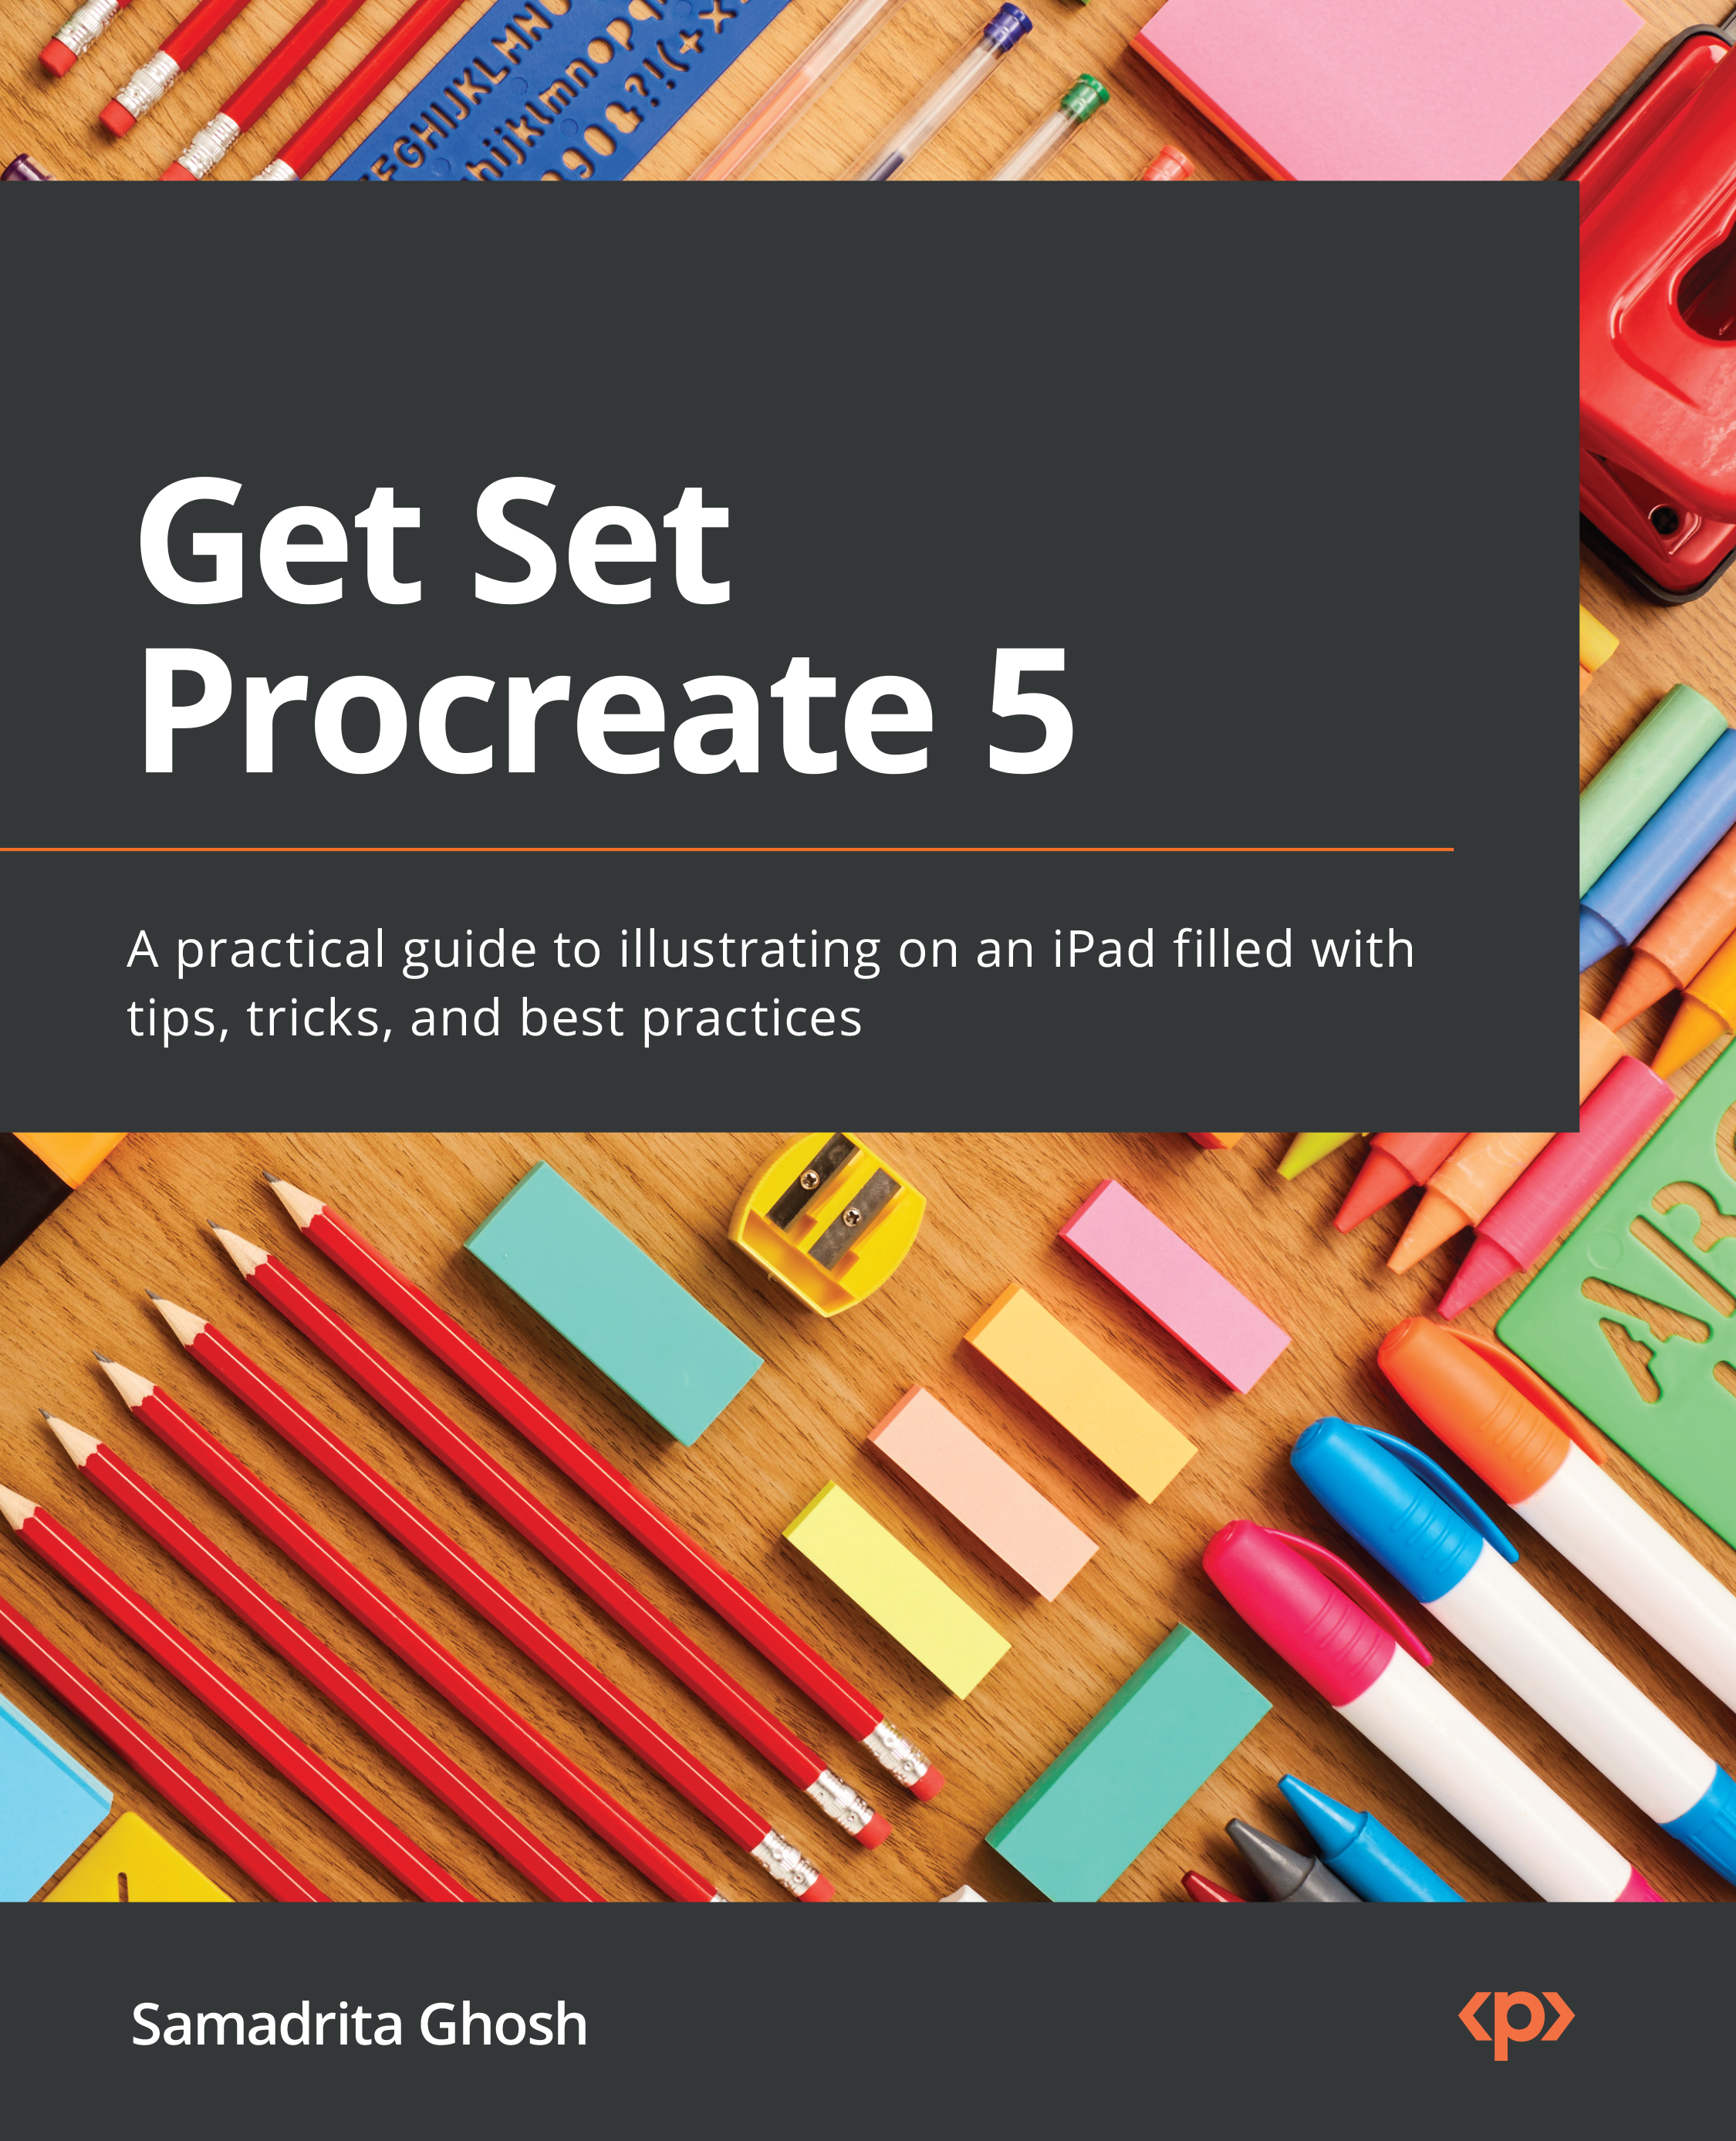
Get Set Procreate 5

You're reading from   Get Set Procreate 5 A practical guide to illustrating on an iPad filled with tips, tricks, and best practices

Arrow left icon
Product type Paperback
Published in Sep 2022
Publisher Packt
ISBN-13 9781800563001
Length 592 pages
Edition 1st Edition
Concepts
Arrow right icon
Author (1):
Arrow left icon
Samadrita Ghosh Samadrita Ghosh
Author Profile Icon Samadrita Ghosh
Samadrita Ghosh
Arrow right icon
View More author details
Toc

Table of Contents (22) Chapters Close

Preface 1. Part 1: UI Overview
2. Chapter 1: The Gallery – Organizing Your Files FREE CHAPTER 3. Chapter 2: Getting Started – Setting Up a Canvas 4. Chapter 3: Understanding Your Workspace 5. Chapter 4: Using the Actions Menu 6. Chapter 5: Selecting and Transforming 7. Part 2: Utility and an In-Depth Discussion of Utility and Features
8. Chapter 6: Using Gestures and Shortcuts 9. Chapter 7: Organizing Your Layers 10. Chapter 8: Painting Tools and the Brush Library – Using and Organizing Brushes 11. Chapter 9: Brush Studio Settings – Editing and Combining Brushes 12. Chapter 10: Using Colour Tools 13. Chapter 11: Adjustments – Applying Image Effects 14. Chapter 12: Using Assisted Drawing Tools 15. Chapter 13: Using Animation Assist for 2D Animation 16. Chapter 14: Sketchbooking with Page Assist 17. Chapter 15: Painting on 3D Models 18. Part 3: Illustration Tips
19. Chapter 16: Rendering Objects Using Blend Modes 20. Index 21. Other Books You May Enjoy

The Gallery – Organizing Your Files

The very first page you will see upon opening Procreate for the first time is what is called the Gallery. This is where all your files exist and where you can create, organize, and view your artworks. This feature sets Procreate apart from most other drawing software, in which the landing page takes you directly to a new canvas.

To begin, the gallery should already have some sample artworks included to give you an idea of the full extent of what the software is capable of. The gallery is where the application automatically saves all your work, much like cloud-based types of software such as Google Docs. This relieves you from having to continually save your progress while working.

In this chapter, let’s look into the gallery and its functionality. By the end of the chapter, you will have learned how to navigate the gallery, make a new canvas, share and arrange your existing canvases, and edit your canvas information.

In this chapter, we’re going to cover the following main topics:

  • Creating a canvas
  • Sharing a canvas
  • Ordering, renaming, and stacking
  • Selecting, duplicating, and deleting
You have been reading a chapter from
Get Set Procreate 5
Published in: Sep 2022
Publisher: Packt
ISBN-13: 9781800563001
Register for a free Packt account to unlock a world of extra content!
A free Packt account unlocks extra newsletters, articles, discounted offers, and much more. Start advancing your knowledge today.
Unlock this book and the full library FREE for 7 days
Get unlimited access to 7000+ expert-authored eBooks and videos courses covering every tech area you can think of
Renews at $19.99/month. Cancel anytime
Banner background image