Using Adobe's Warp Stabilizer
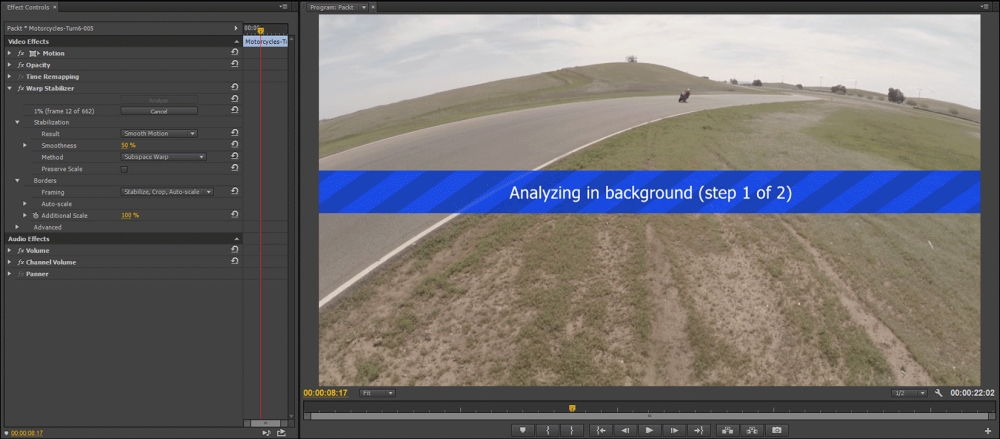
Warp Stabilizer is a visual effect. Therefore, it must be used in the timeline. If you load the clip in the timeline (just drag it in) and apply the Warp Stabilizer plugin (just type warp in the search bar in the Effects panel, and it will pop up) by dragging the plugin onto the clip in your timeline, Premiere Pro will begin the process of stabilizing the clip. Although your program monitor will say that it's stabilizing in the background … this process is very processor intensive, and it's usually just better to wait for it to finish rather than risk a crash by trying to do too much at once. The following image shows the Warp Stabilizer plugin processing our clip:

Wait! Once it's finished … there is a black box around our clip. This is because we're shooting racing motorcycles. Warp Stabilizer has mistakenly seen our fast pan (to keep the bikes in view) as instability. So, it's had to scale up so much that it's gone beyond its maximum limit (150%). In fact ...


