Search icon CANCEL
Subscription
0
Cart icon
Your Cart (0 item)
Close icon
You have no products in your basket yet
Arrow left icon
Explore Products
Best Sellers
New Releases
Books
Videos
Audiobooks
Learning Hub
Newsletter Hub
Free Learning
Arrow right icon
timer SALE ENDS IN
0 Days
:
00 Hours
:
00 Minutes
:
00 Seconds
Arrow up icon
GO TO TOP
Learning Informatica PowerCenter 10.x

You're reading from   Learning Informatica PowerCenter 10.x Enterprise data warehousing and intelligent data centers for efficient data management solutions

Arrow left icon
Product type Paperback
Published in Aug 2017
Publisher
ISBN-13 9781788471220
Length 426 pages
Edition 2nd Edition
Arrow right icon
Author (1):
Arrow left icon
Rahul Malewar Rahul Malewar
Author Profile Icon Rahul Malewar
Rahul Malewar
Arrow right icon
View More author details
Toc

Table of Contents (13) Chapters Close

Preface 1. Downloading and Extracting Informatica PowerCenter Software FREE CHAPTER 2. Understanding Admin Console 3. Understanding Designer Screen and its Components 4. The Lifeline of Informatica - Transformations 5. Using the Designer Screen - Advanced Features 6. Implementing SCD Using Designer Screen Wizards 7. Using the Workflow Manager Screen 8. Learning Various Tasks in Workflow Manager screen 9. Advanced Features of Workflow Manager Screen 10. Working with Workflow Monitor - Monitoring the code 11. The Deployment Phase - Using Repository Manager 12. Optimization - Performance Tuning

Beginning the installation - installing the server

The Informatica installation requires the installation of the server and the client separately. It is always recommended that you install the server first and then the client.

The installable file for the server can be located by navigating to the folder where you extracted the files. We are using the D:\1010_Server_Installer_winem-64t\Server folder . Navigate to D:\1010_Server_Installer_winem-64t\Server | Server | install as shown in the following screenshot:

Perform the following steps to complete the installation process:

  1. Double-click on install to start the installation. In some cases, the file can be present as install.exe. This will initiate the installation process for Informatica PowerCenter.


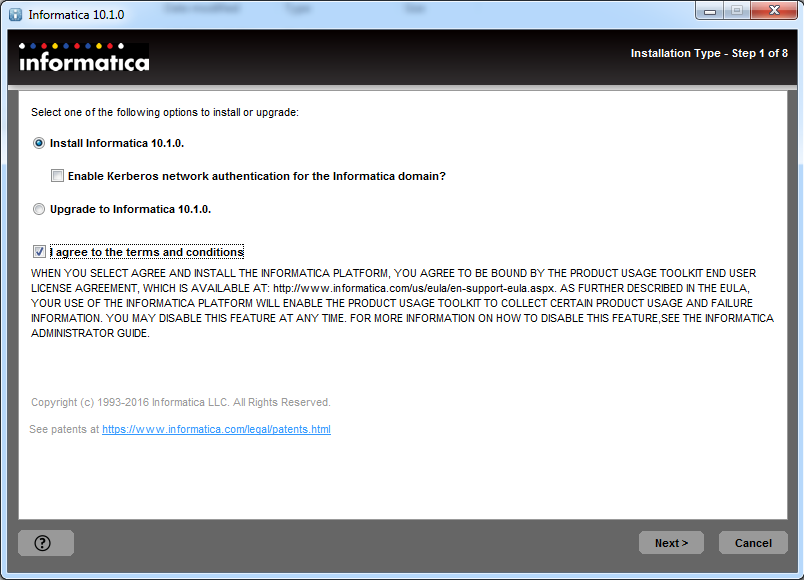
  1. Choose the installation type. If you are installing the Informatica software for the first time, select Install Informatica 10.1.0. To upgrade to the latest version from previous versions, select Upgrade to Informatica 10.1.0. Also accept the terms and conditions. After you have selected the appropriate option, click on Next, as indicated in the following screenshot:
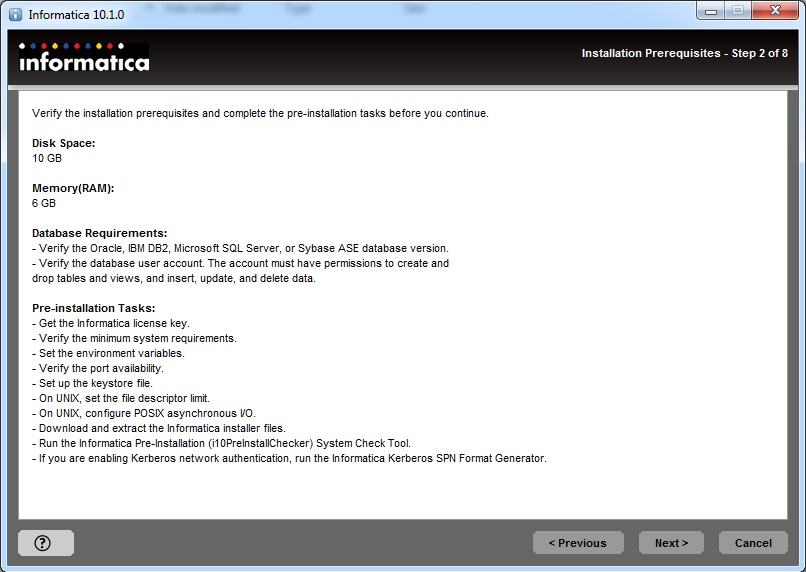
  1. On the next screen, verify the prerequisites for installation as shown in following screenshot. Please make sure your machine satisfies all the prerequisites for installation. Click on Next:
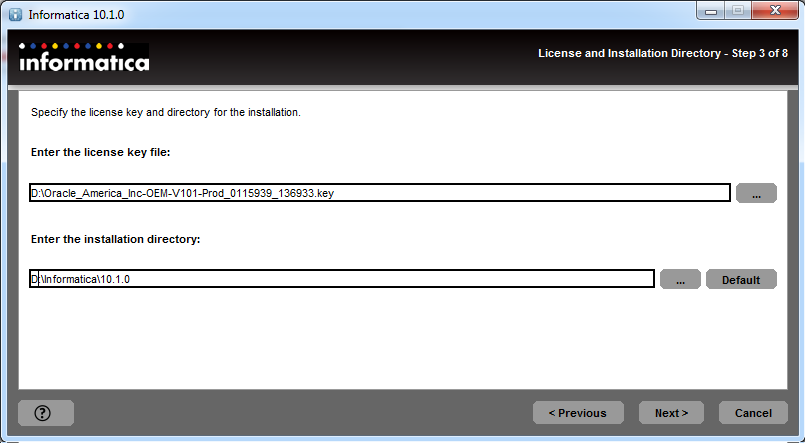
  1. The next step, as shown in the following screenshot, is to enter the license key. The license key can be located in the D:\ Oracle_America_Inc-OEM-V101-Prod_0115939_136933.key extraction folder. If you are not able to navigate to the path, directly paste the path. Select the installation directory. Click on Next:
  1. The next screen will show a pre-installation summary as shown in the following screenshot:
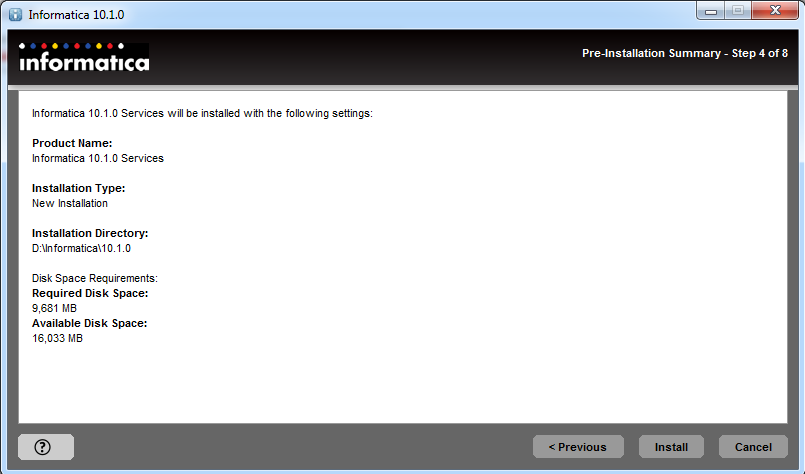
  1. Please check the details, and click on Install.


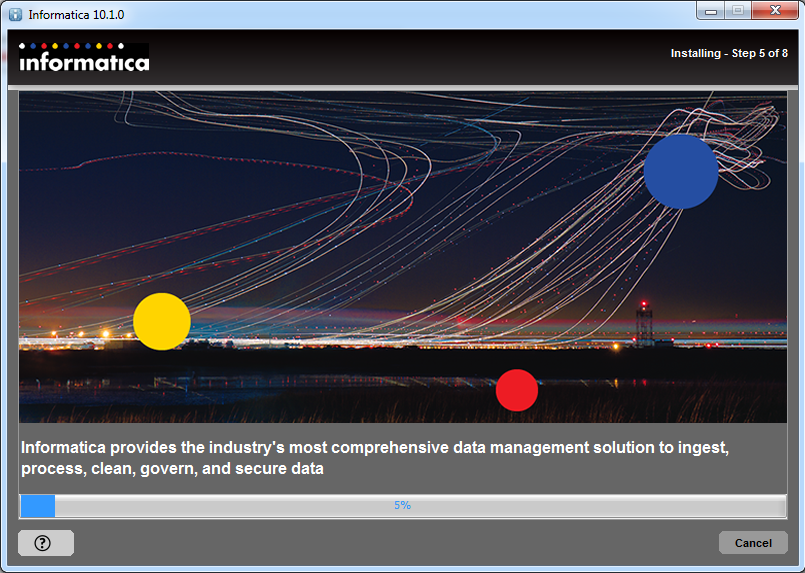
  1. The installation process will begin as shown in the following screenshot. It will take a few minutes before your installation finishes. The installation time depends on your system configuration:
  1. When the installation finishes, we will proceed to the next process: configuring the domain and node.

Configuring the domain and node

Once the server installation has been completed, the next screen will allow you to configure the domain and node. The domain and nodes are very important components of the Informatica PowerCenter architecture. We will be learning about the architecture and related components in the next chapter.

Perform the following steps to configure the domain and node:

  1. If you are doing a fresh installation, select Create a domain as shown in the following screenshot. This will initiate the process to create a new domain. If you are upgrading, you can select the Join a domain option.
  2. Also check the Enable HTTPS for Informatica Administrator option. Make sure port 8443 is not utilized by any other process. In most cases, port 8443 will be used as the default, so you need not worry about the port number. Check the option Use a keystore file generated by the installer. Please refer to the following screenshot:
  1. Click on Next.


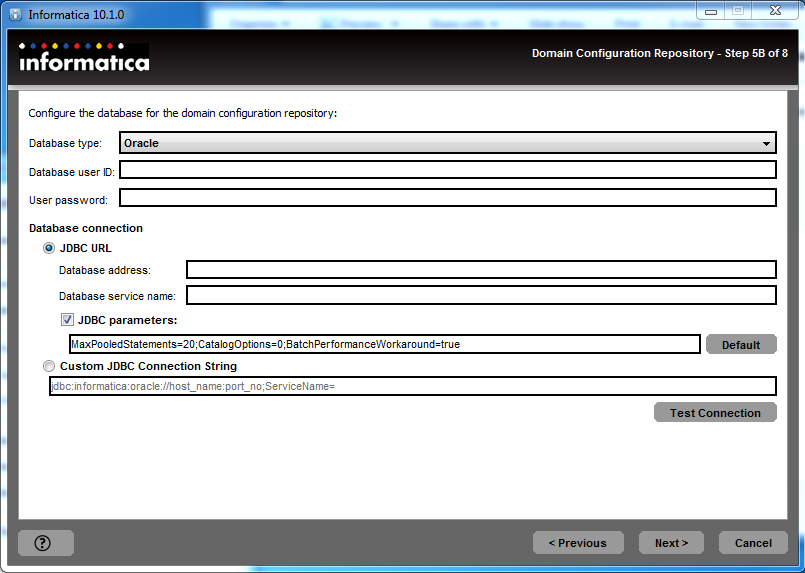
  1. In the next step, we will configure the domain with the database. Please select the appropriate option:
  • Database type: Depending on what database (Oracle, SQL, or DB2) you are using, please select the appropriate option. In this book, we are using Oracle as our database.
  • Database user ID: Mention the database user that you created for the domain configuration. In this book, we are using SYSTEM as the Oracle user.
  • Password: Specify the password for the database. We are using oracle as our password in this book.
  • Database address: Mention the address for your database. The address consists of the hostname and the port number, that is, hostname:portnumber, where the hostname is your computer name, and the port number is the default port number for the database you are using. The hostname can also be used as a localhost. In this book, we are referring to the database address as localhost:1522. 1522 is the default port number for Oracle 11g.
  • Database service name: Specify the service name for your database connection; in this book, we are using it as orcl.
Leave the rest of the properties as they are not mandatory. Please refer to the following screenshot for reference:
  1. Click on Test Connection. If all the properties that you mentioned are correct, the database connection will be successful, and we can proceed with the next step. If the connection fails, please recheck your database configuration details, and test them again. After the connection check is successful, click on Next.


  1. The next screen will ask you to define a keyword, which will be used for the purpose of encryption. Specify the keyword and path you want to set. By default, you can use the default path mentioned by Informatica as shown in the following following screenshot:
  1. Click on Next. It will launch an information pop-up; read the information, and click on OK.
  2. In the next screen, you can assign a name to your domain and node. Informatica will assign the default name to your domain and node. You can leave those unchanged. If you wish to change the name, please do so. Also specify the password of your choice in the domain password and confirm password field.
Informatica 10.1.0 has added a new feature called Model Repository Service in the architecture of Informatica. You can create the service while defining the domain name in this option; alternatively, it can be configured later from the Administration console of Informatica.
  1. As of now, uncheck Configure Model Repository Service and Data Integration Service as shown in the following screenshot:
Please note this domain user name and password will be used to log in into the Informatica Administration console.
  1. Click on the Next button.


  1. On the next screen, uncheck the Run Informatica under a different user account option, and click on Next as indicated in the following screenshot:
  1. The next screen indicates that the installation is complete. Please check the post-installation summary. You can keep those details for your future reference. Please check the following screenshot for reference:
Please note that, if you see the installation status as WARNING, there is nothing to worry about. The status is showing as WARNING because some services that are configured may not be running, and we have not configured one of the services, that is, model repository.
  1. Click on Done.

With this, our server installation is complete. We will now proceed with the client installation, which is simple and straightforward and not as complicated as the server installation.

You have been reading a chapter from
Learning Informatica PowerCenter 10.x - Second Edition
Published in: Aug 2017
Publisher:
ISBN-13: 9781788471220
Register for a free Packt account to unlock a world of extra content!
A free Packt account unlocks extra newsletters, articles, discounted offers, and much more. Start advancing your knowledge today.
Unlock this book and the full library FREE for 7 days
Get unlimited access to 7000+ expert-authored eBooks and videos courses covering every tech area you can think of
Renews at $19.99/month. Cancel anytime