In the last section, we published a new custom app called Lead Generation. In this section, we will try to use our newly created custom app. Follow these steps to use your newly created custom app:
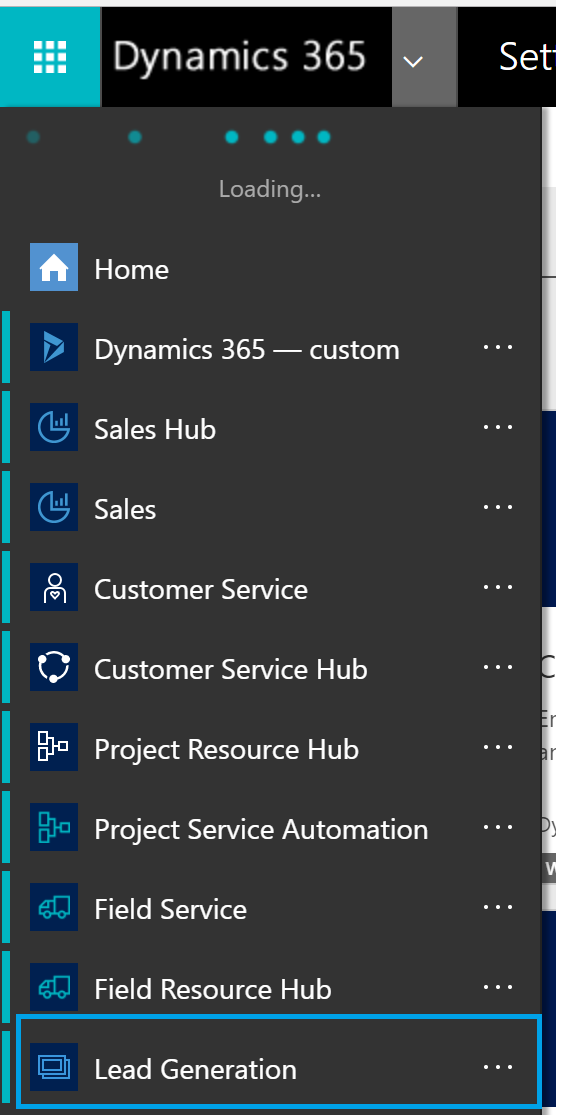
- Expand the area under Dynamics 365 and you should be able to locate the newly published Dynamics 365 app for Lead Generation:

Note: Security considerations will be looked at in the following section of this chapter. Currently, the user has access to the app since it is a system administrator role.
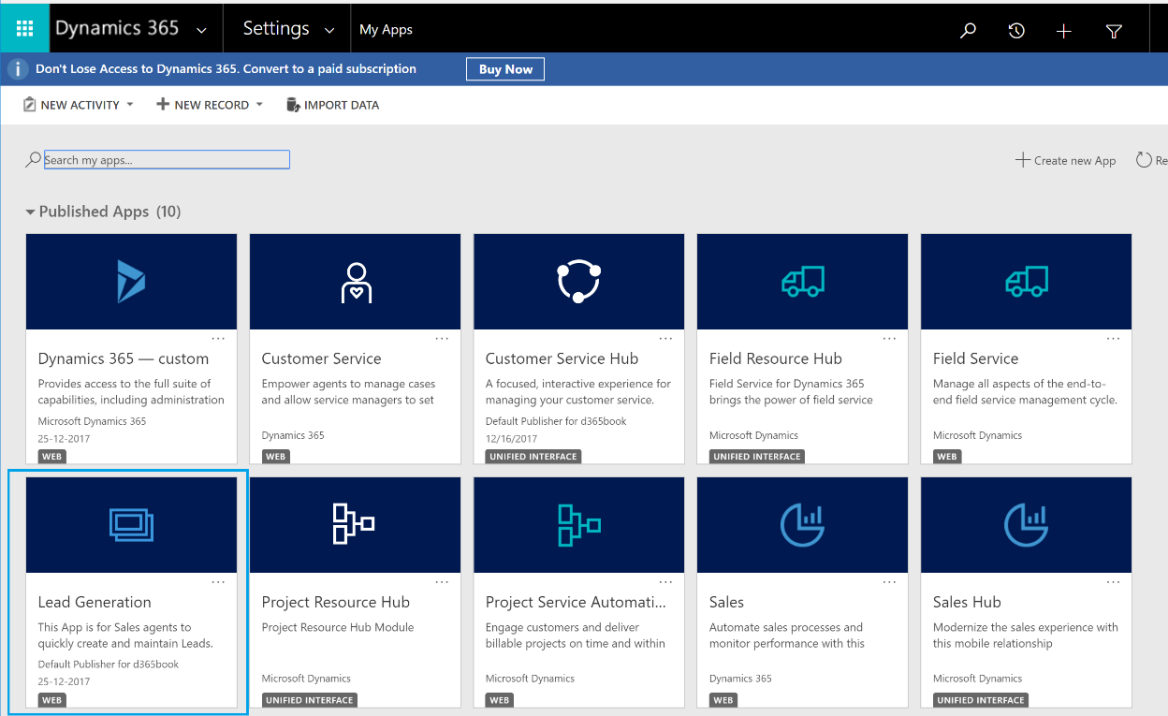
Alternatively, the user can also navigate to Settings | MyApps and see the app on the list of Published Apps:

- Notice that the new app is now launched, and the navigation options in the site map show the site map we had configured earlier:

- Also, as selected in the Entity Assets configuration, only two Views are available in the Leads for usage:


