


View tasks
In the previous chapter, we created a basic setup for our application. We will extend this in the current application. The first thing we will do is view the details of a task.
Let’s get started by creating our first dialog. First, we need to open the Tasks page we created before.
Your page should look like this:
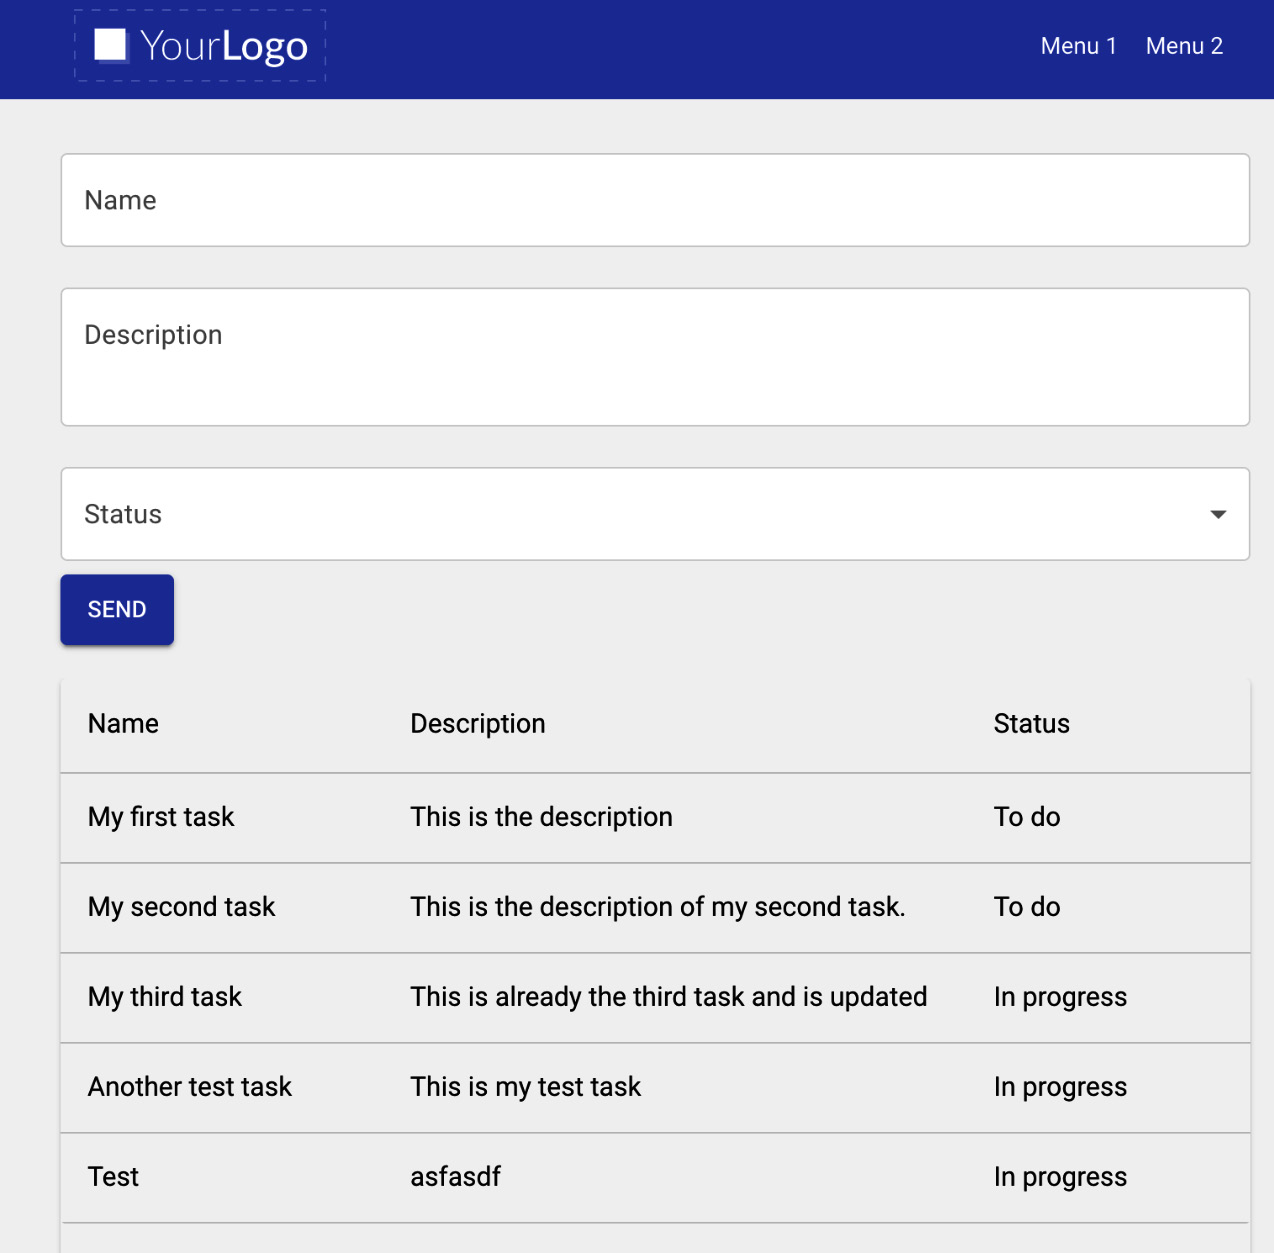
Figure 9.1 – An overview of our current Tasks page
Let’s search for a column in our components and drag it just above the Create form:
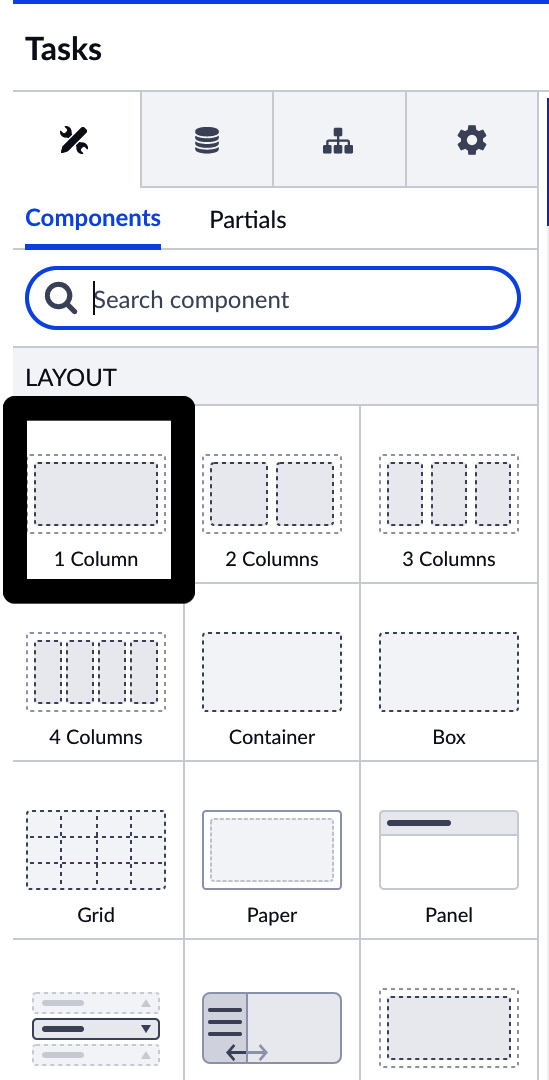
Figure 9.2 – A column component
After dragging this on the page, you will end up with the following:
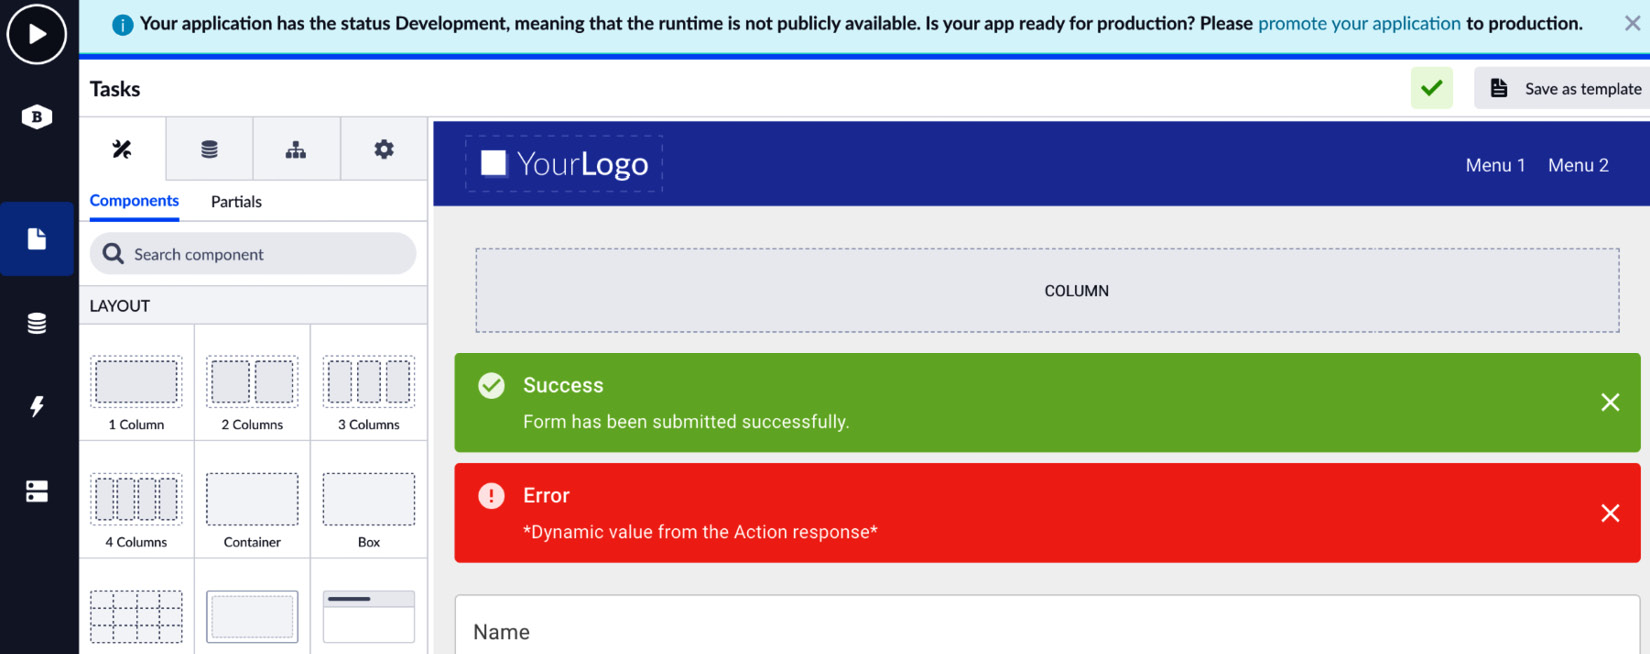
Figure 9.3 – The Tasks page with a new column above the Create form
We will now search for a dialog component and drag it onto our new column:
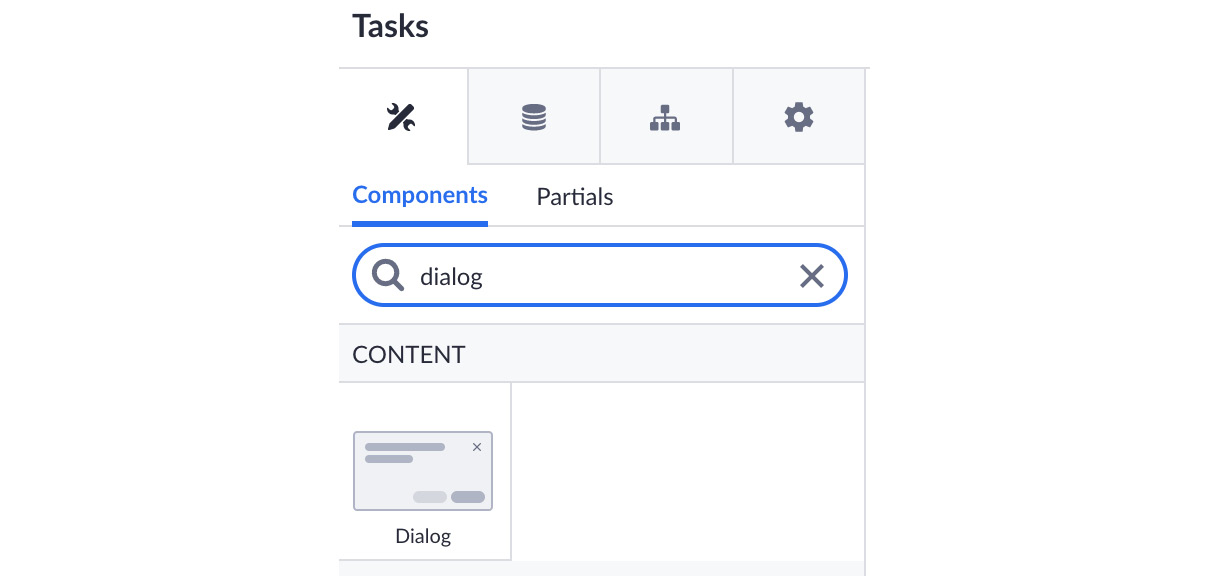
Figure 9.4 – The Dialog component
Now, let’s select the Dialog component and give it a new name, so we can easily recognize...


