


Painting buttons with stencils
We will now use a custom stencil to texture-paint some icons onto the buttons on the steering wheel. Lots of icons can be found online by searching for dashboard icons, but you can download a pre-made icon stencil from the link provided in the Technical requirements section of this chapter to save time.
In the following steps, we will prepare the buttons for texture painting so that we can use the stencil:
- Add a new material to the buttons and name the material
Buttons.In the material, add an Image Texture node.
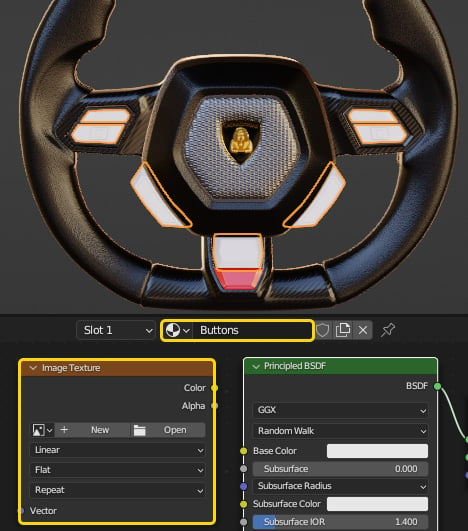
Figure 10.31 – Creating a new material for the buttons
- In the Image Texture node, generate a new black image named
Button Iconsand set the resolution to2048x2048.
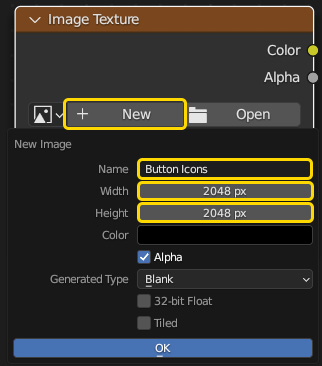
Figure 10.32 – Generating a new image for the buttons
- With the buttons selected in object mode, switch to the Texture Paint workspace. The object has already been UV-unwrapped. ...


