


Creating custom brushes in GIMP
We will now learn to create and import into Blender our own custom-made brushes and stencils. This will allow us to texture-paint more realistic and detailed shapes and patterns onto objects. In the following steps, we will draw a brush in GIMP and load it into Blender:
- Open GIMP and create a new image with Ctrl + N. Set the resolution of the new image to
256x256, and click OK.
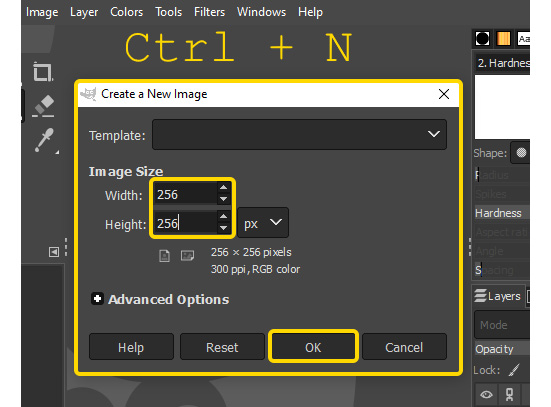
Figure 9.17 – Generating a new image in GIMP
- In the Layer menu at the top of the screen, open the Transparency section and click on Add Alpha Channel.
This will allow us to create a transparent background for this image.
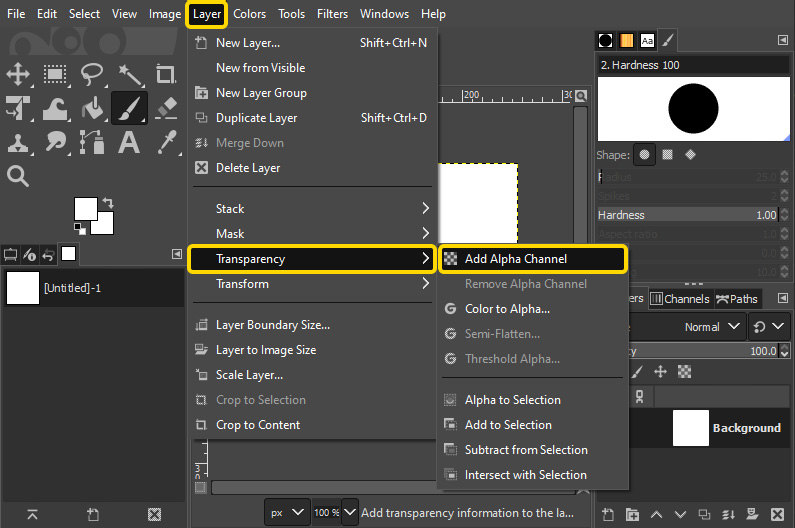
Figure 9.18 – Adding an alpha channel to the image
- Select the entire image with Ctrl + A, and press Delete.
This will make the entire image transparent. We now have a background for our brush. Anything we paint over this will be the shape of the brush.
...


