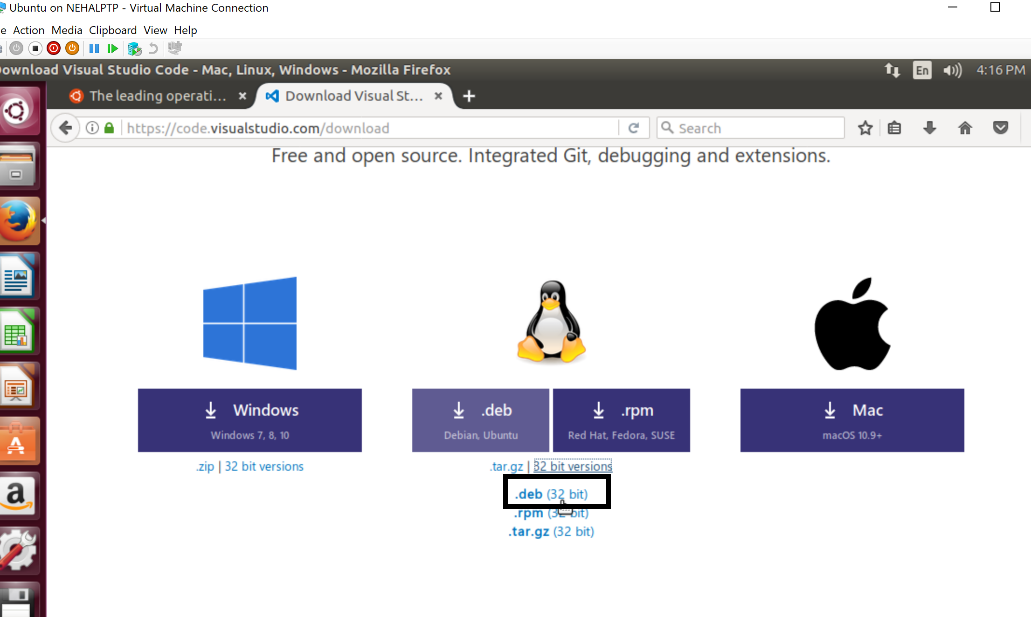
To install Visual Studio Code in Linux, download the .deb (32 bit) file from http://code.visualstudio.com/download, as shown in the following screenshot:

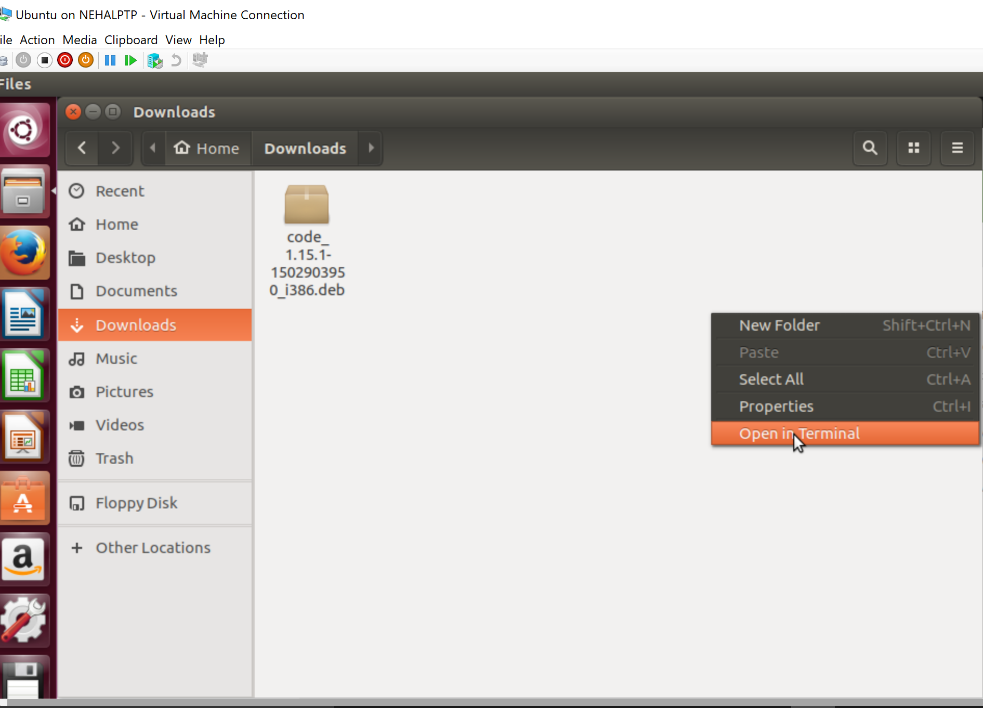
Open the folder location the .deb file has been downloaded to. Right-click and select Open in Terminal. This will open Terminal from this location. Run the following command:
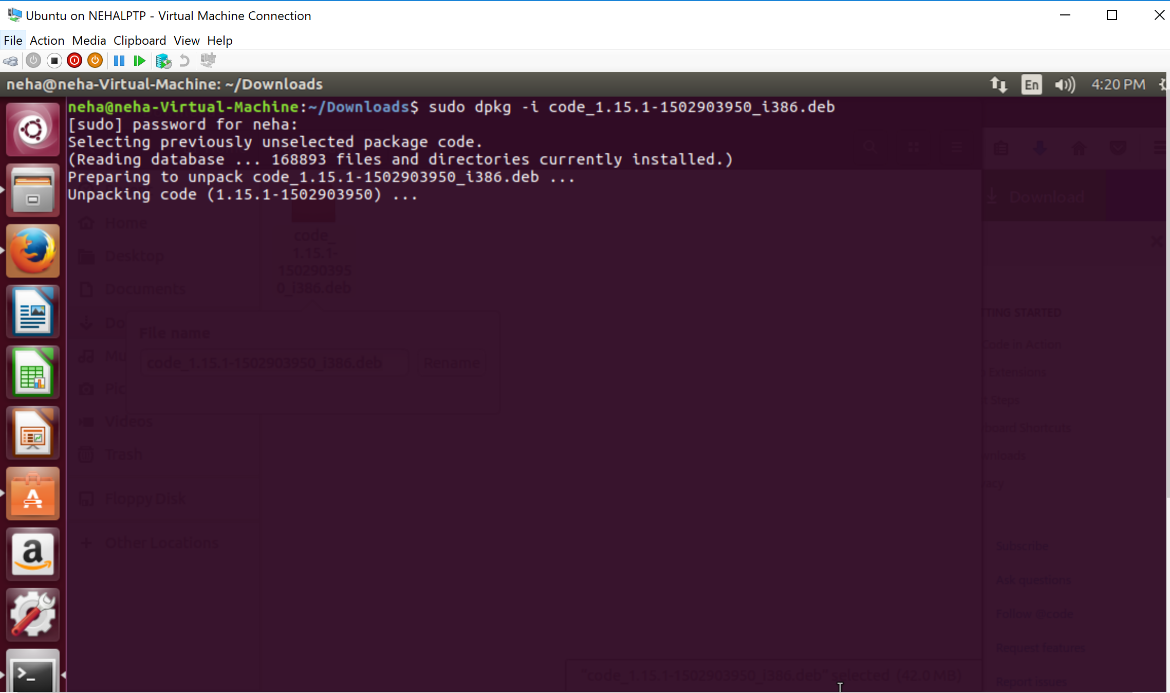
sudo dpkg -i <fileName>.deb
<fileName>: Enter the filename that was downloaded, which is code_1.15.1-1502903950_i386.deb in our case, as shown in the following screenshot:

Right-click on the Downloads folder, and select Open in Terminal. It will display the following terminal window:

It may show error messages stating that dependencies have not been installed. Run the following command to install the dependencies:
sudo apt-get install -f
This will complete the installation of Visual Studio Code in this Ubuntu machine.
Now, let's install the .NET Core 2.0 SDK. Open the folder location where the dotnet-sdk-2.0.0 file is downloaded. Right-click and select Open in Terminal. It will open Terminal from this location. Run the following command:
sudo apt-get install dotnet-sdk-2.0.0
Congratulations! We are all set to run Visual Studio Code! Please refer to the Installing Visual Studio Code section of this chapter to get an overview of Visual Studio Code.
Open Extensions View from the Visual Studio Code activity bar. Search F# and install the Ionide-fsharp extension for F# language support, as we discussed in the Installing Visual Studio Code section under the Install .NET Core 2.0 and tools (Windows) section.
Now, search C# and install the C# for Visual Studio Code (powered by OmniSharp) extension for C# language support.


