


Modifying quality settings for lighting
Before we move to emissive materials, you may have noticed that there is a limit to how many active lights there are.
To change the quality settings to improve the light count, go through the following steps:
- Navigate to the Project Settings tab.
- Select Quality Settings.
- Change Quality to
Medium. - Set Pixel Light Count to
10(Figure 6.13). Be aware that increasing the pixel light count can negatively impact the performance of low-end devices, so monitor their performance and adjust the pixel light count as necessary to achieve a balance between visual quality and performance.
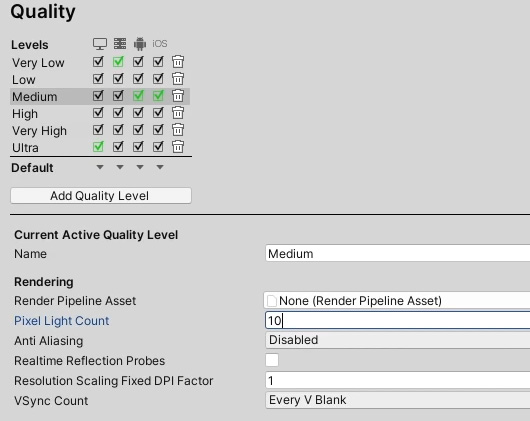
Figure 6.13 – Quality settings for optimizing the amount of available lights rendered in our demo scene
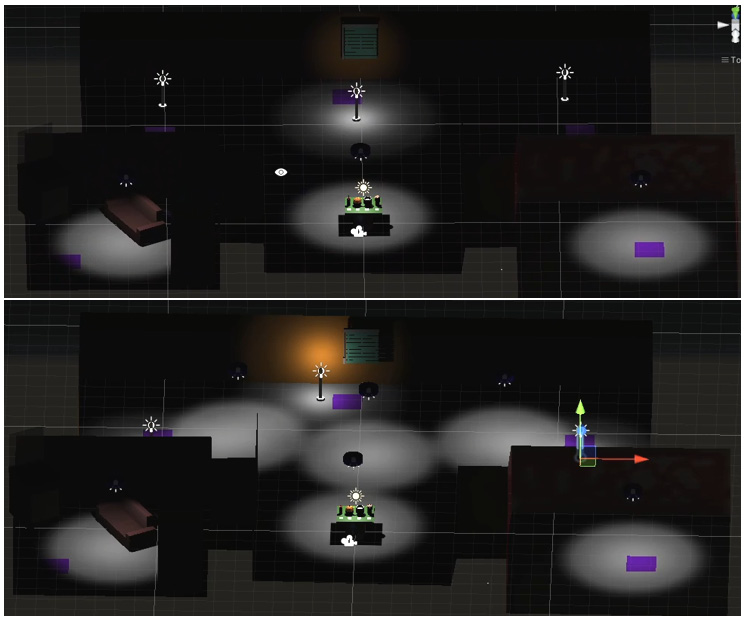
Figure 6.14 – Optimizing rendered lights in our demo scene: before (top) and after (bottom)
We can now give our lightbulbs a glow with emissive materials.


