Using the Cocos command
The next step is using the cocos command. It is a cross-platform tool with which you can create a new project, build it, run it, and deploy it. The cocos command works for all Cocos2d-x supported platforms and you don't need to use an IDE if you don't want to. In this recipe, we take a look at this command and explain how to use it.
How to do it...
- You can use the
cocoscommand help by executing it with the--helpparameter, as follows:$ cocos --help - We then move on to generating our new project:
First, we create a new Cocos2d-x project with the
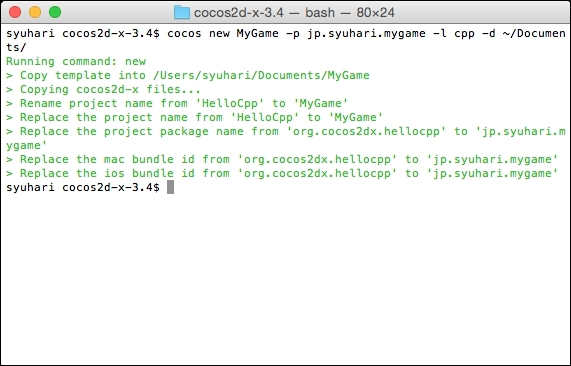
cocos newcommand, as shown here:$ cocos new MyGame -p com.example.mygame -l cpp -d ~/Documents/The result of this command is shown the following screenshot:

Behind the
newparameter is the project name. The other parameters that are mentioned denote the following:MyGameis the name of your project.-pis the package name for Android. This is the application ID in the Google Play store. So, you should use the reverse domain name as the unique name.-lis the programming language used for the project. You should usecppbecause we will use C++ in this book.-dis the location in which to generate the new project. This time, we generate it in the user's documents directory.
You can look up these variables using the following command:
$ cocos new —helpCongratulations, you can generate your new project. The next step is to build and run using the
cocoscommand. - Compiling the project:
If you want to build and run for iOS, you need to execute the following command:
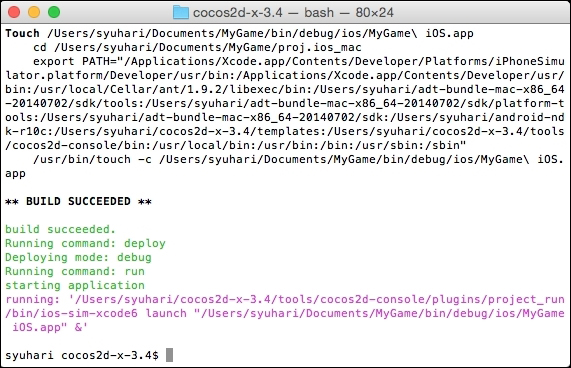
$ cocos run -s ~/Documents/MyGame -p iosThe parameters that are mentioned are explained as follows:
-sis the directory of the project. This could be an absolute path or a relative path.-pdenotes which platform to run on. If you want to run on Android you use-p android. The available options are IOS, Android, Win32, Mac, and Linux.- You can run
cocos run –helpfor more detailed information.
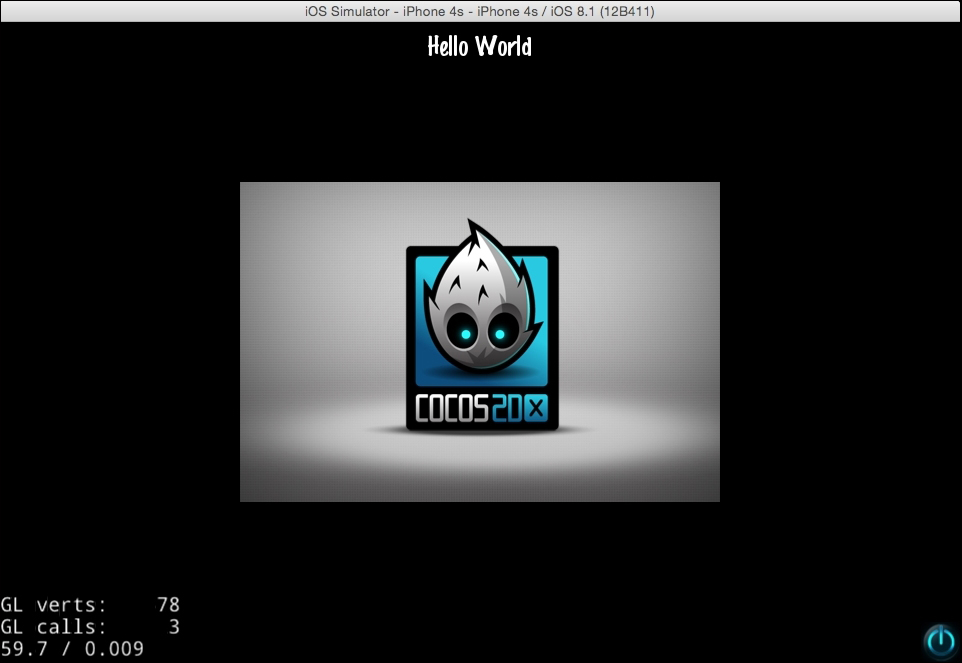
The result of this command is shown in the following screenshot:

- You can now build and run iOS applications on cocos2d-x. However, you have to wait for a long time if this is your first time building an iOS application. It takes a long time to build a Cocos2d-x library, depending on if it was a clean build or a first build.

How it works...
The cocos command can create a new project and build it. You should use the cocos command if you want to create a new project. Of course, you can build using Xcode or Eclipse. You can easily develop and debug using these tools.
There's more...
The cocos run command has other parameters. They are the following:
--portraitwill set the project as a portrait. This command has no argument.--ios-bundleidwill set the bundle ID for the iOS project. However, it is not difficult to set it later.
The cocos command also includes some other commands, which are as follows:
- The
compilecommand: This command is used to build a project. The following patterns are useful parameters. You can see all parameters and options if you execute thecocos compile [–h]command:cocos compile [-h] [-s SRC_DIR] [-q] [-p PLATFORM] [-m MODE] - The
deploycommand: This command only takes effect when the target platform is Android. It will re-install the specified project to the android device or simulator:cocos deploy [-h] [-s SRC_DIR] [-q] [-p PLATFORM] [-m MODE]Tip
The
runcommand continues to compile and deploy commands.


