Tools and the Control panel
I won't be going over all the available tools in this introductory chapter but will be reviewing some of those that are vital to successfully using Adobe Illustrator. In addition, I will share the Control panel for making choices and discuss the panel that Adobe has chosen as its replacement when in the Essentials workspace.
The Bezier curve
The development of Illustrator began from the earlier success of the PostScript language developed by the founders of Adobe: John Warnock and Chuck Geschke. The original was released in 1987 (which happens to be the same year I graduated from high school) for Apple Macintosh. The first official Windows offering occurred two years later with version 2.0 in 1989. Just like its predecessor, Illustrator was based on the PostScript language, which creates vector paths defined by mathematical formulas. The smooth curves were a welcome improvement in desktop publishing from prior pixel-based solutions.
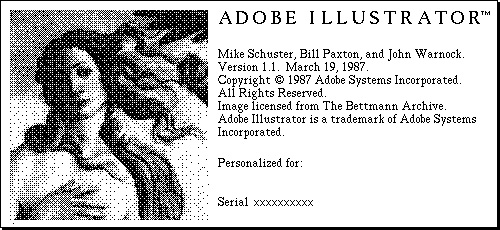
Figure 1.7 – Original Illustrator splash screen
So, the curve is fundamentally what makes Adobe Illustrator unique and essential. It is smooth at any resolution. In fact, it is generally stated that vector-based files are "resolution independent." It could be scaled to work just as well if it were for a business card or the side of a 10-story building.
The next couple of pages of tools are all based on the Bezier curve. If you are somewhat unfamiliar with all the tools and their shortcuts, you may use the following as a reference guide:
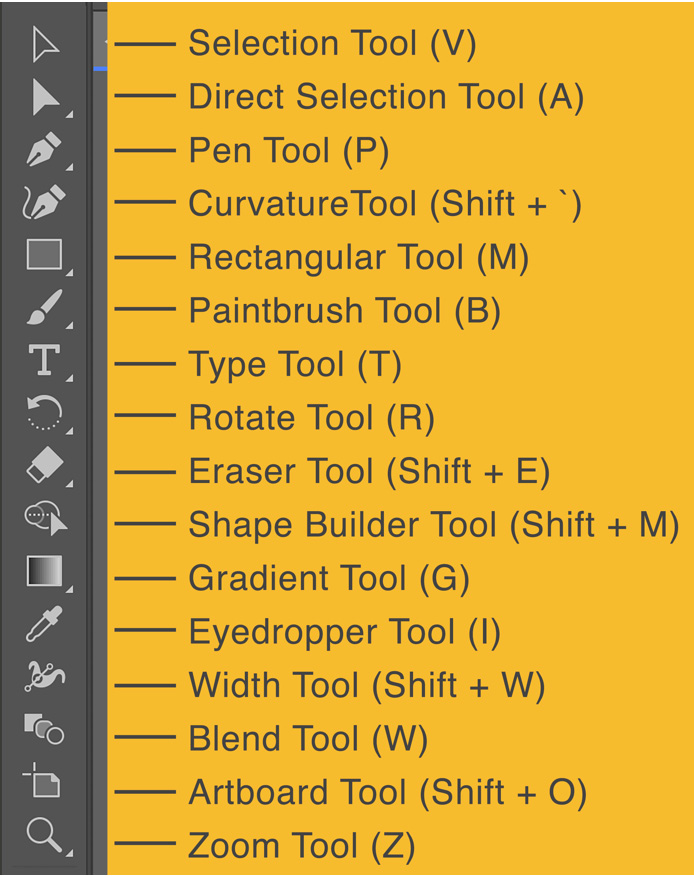
Figure 1.8 – Tools and their shortcuts in the Essentials workspace
Additional tools will be located under each of the tools that show a small triangle in the lower-right corner, and we will review all of them in later chapters.
Pen Tool
One of the most important tools to get skilled with in Adobe Illustrator is the Pen tool. It develops paths with either straight or curved segments between anchor points. It isn't always the most intuitive tool in the collection from Illustrator, but it is one of the most flexible.
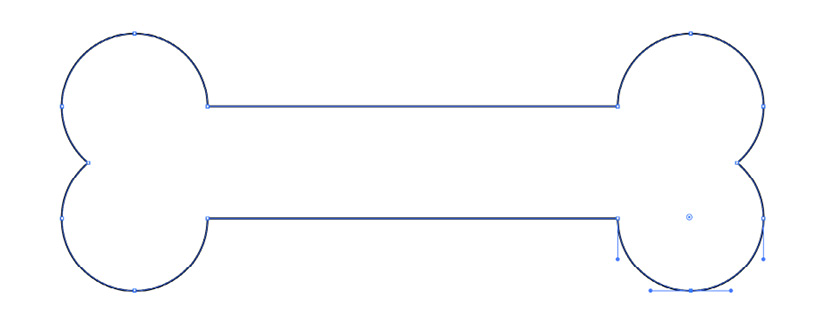
Figure 1.9 – Path and anchors
Using the Direct Selection tool, you can edit any anchor or grouping of anchors. In addition to moving the anchor's position, you can also adjust its angle and size if it is a curvilinear segment of a path. Using the Anchor Point tool, you can also convert a corner anchor to a curve anchor and vice versa. To be more efficient when drawing with the Pen tool, several techniques can be used that will allow you to draw and edit simultaneously, and we will be going over these, and more, in the chapters to follow.
Type
Type has always been a strength of Adobe Illustrator since that is exactly how Adobe got started (think PostScript). For many years, Illustrator only had Adobe PostScript Type 1 fonts, but as the TrueType format (designed by Apple) gained in popularity, Adobe decided to allow support for both in version 7 and beyond.
This allowed content to be created for additional media, as Type 1 contains PostScript information for printing, while TrueType is a screen-appropriate font and not intended for print. Meanwhile, with the introduction of OpenType, which offers information for both print and screen, creators have found it to be the preferred method due to its flexibility.
Type tool is a collection of tools for text; besides the Type tool, there is also the Type on a Path tool and the Vertical Type tool.
Of course, you really can't mention the Type tool and not talk about the Character panel, which you can see here:
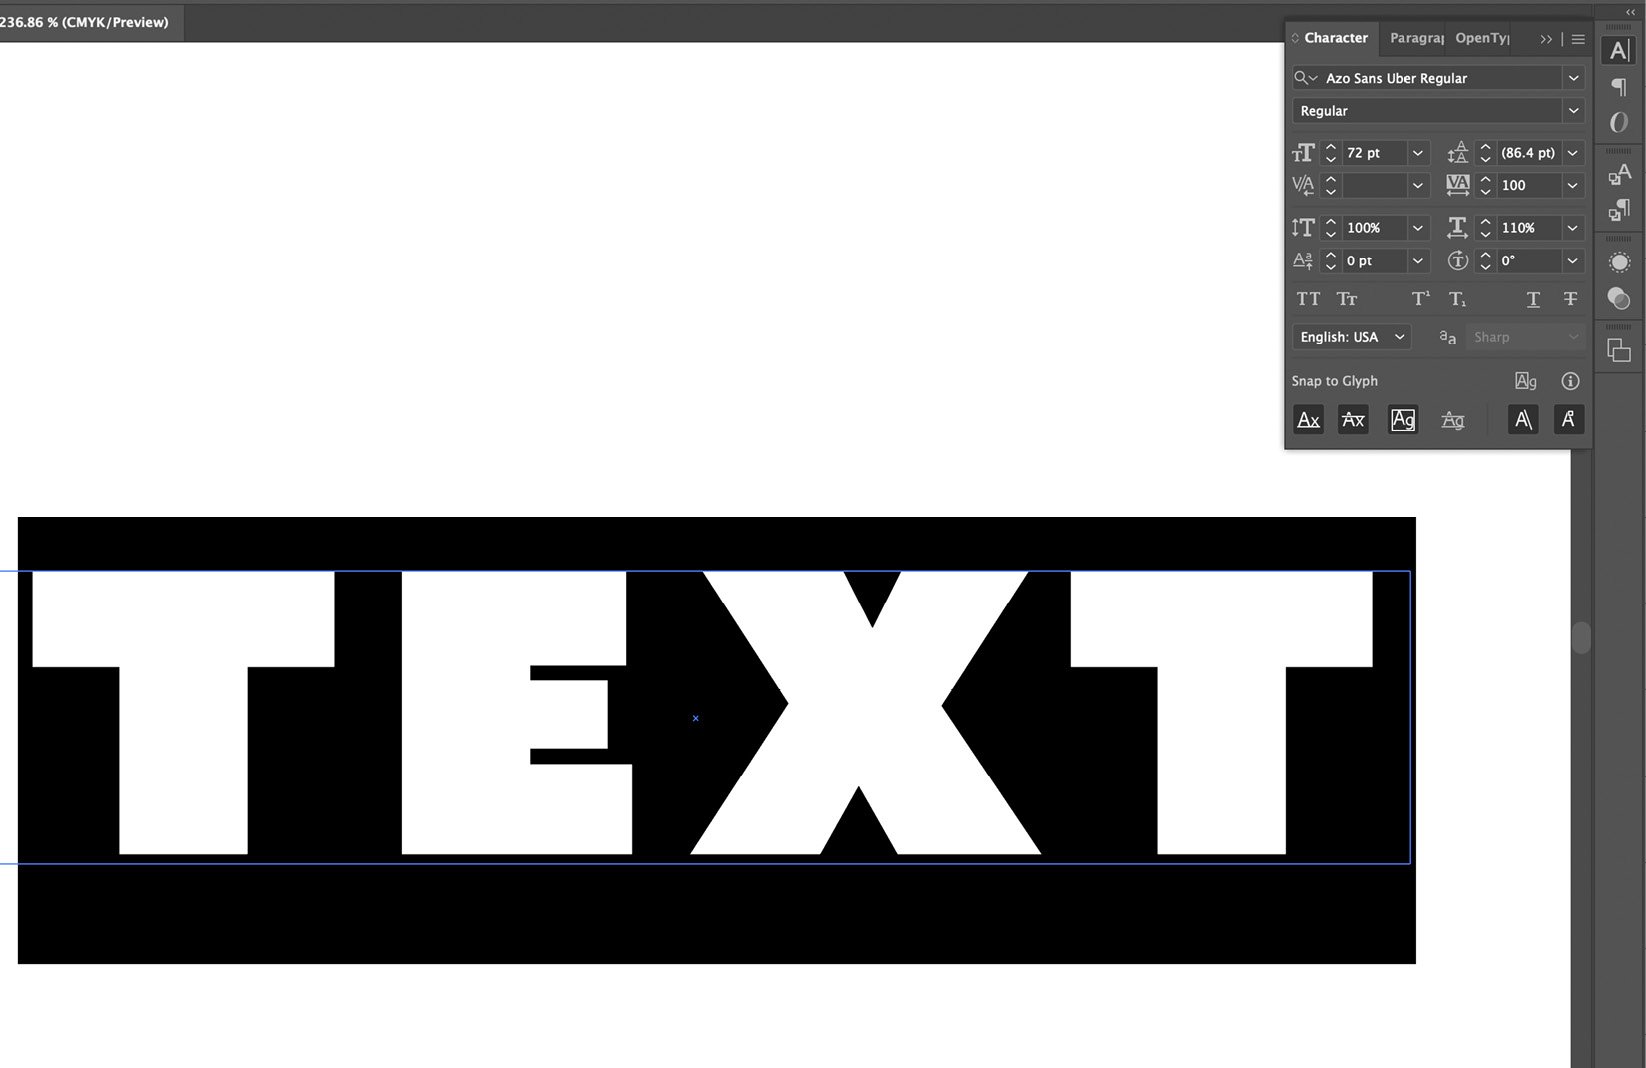
Figure 1.10 – Text editing with the Character panel
The Character panel can be made available by either selecting the Typography workspace or using the Ctrl/Command + T keyboard shortcut. Here, you can choose the font with a What You See Is What You Get (WYSIWYG) view as well as choose the typography Tracking, Kerning, and Leading elements (all elements of spacing).
Pencil tool
As a relative of the Pen tool, the Pencil tool can still be used to create vector paths but allows them to be drawn in a more natural and intuitive way. The best thing about it is that it can be edited in the exact same manner as the Pen tool. Both tools create paths and anchors in their results. It is only their method of creating those paths and anchors that vary.
Shape tools (Rectangle, Ellipse, Polygon, and Star)
Just like the Pen/Pencil tools (and similar), the shape tools make use of the Bezier curve to create their paths. Each shape can then accept the common attributes of Fill and Stroke, as well as the more advanced options and effects.
Shape Builder tool
This tool has grown to be one of my favorite tools in the entire set. After selecting a collection of overlapping shapes, you can quickly combine them by drawing a line across their intersecting paths. In addition, you can also subtract their intersecting shapes by holding down the Alt/Option key while clicking or drawing a line across them.
If you have been using Adobe Illustrator for many years now, you may already know the connection between this tool and the older tool known as Pathfinder. We will also be taking a closer look at Pathfinder and how the combination of these two tools allows for the most options.
Control panel
In the Control panel, you have a multitude of available visuals and choices at your disposal. To investigate just what will be shown in the panel when appropriate, right-click on the contextual menu to the far right of the panel to display the entire list of options:
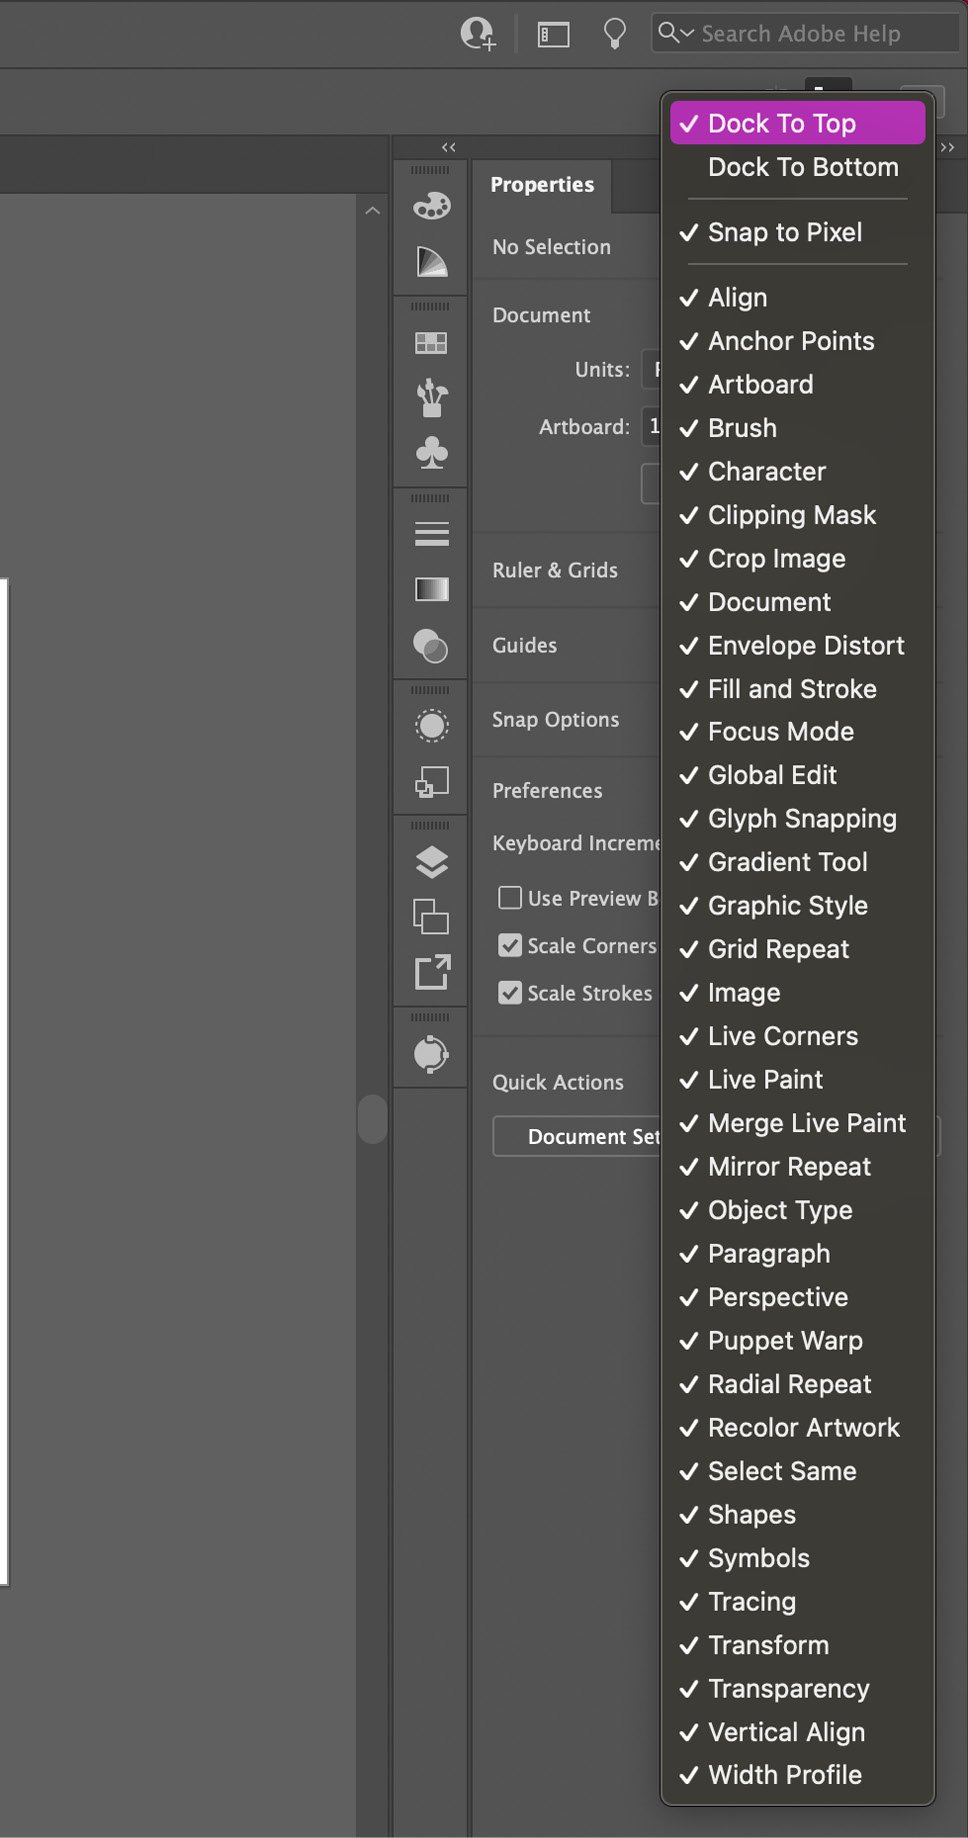
Figure 1.11 – Control panel view options
If any options are unchecked, they will not be displayed inside the Control panel, even when it is appropriate to do so.
As you can see in Figure 1.11, the Control panel allows for a lot of content in one small space on your screen. In addition, you can even choose to dock it to the top or bottom of the GUI.
Important Note
Adobe has elected to remove the Control panel from Essentials, which is their default workspace view. If you want to leverage the benefits of this panel, you can choose any of the other workspaces.
If you have been using Illustrator for quite a while you will understand why I wanted to discuss the Control panel and its usage before moving on to the newer Essentials workspace and the transition to using other panels and methods for finding information and options. If you have only been using Illustrator for a short time, then you may have been keeping within the comfort zone of the Essentials workspace, and this discussion will be helping you to venture into the additional options. Either way, it's important to acknowledge these foundational options before moving forward.


