Visual Studio is an essential package for code editing when editing the C++ code for your UE4 game.
Installing Visual Studio
Getting ready
We're going to set up a C++ coding environment to build our UE4 applications. We'll download Visual Studio 2017, install it, and set it up for UE4 C++ coding.
How to do it...
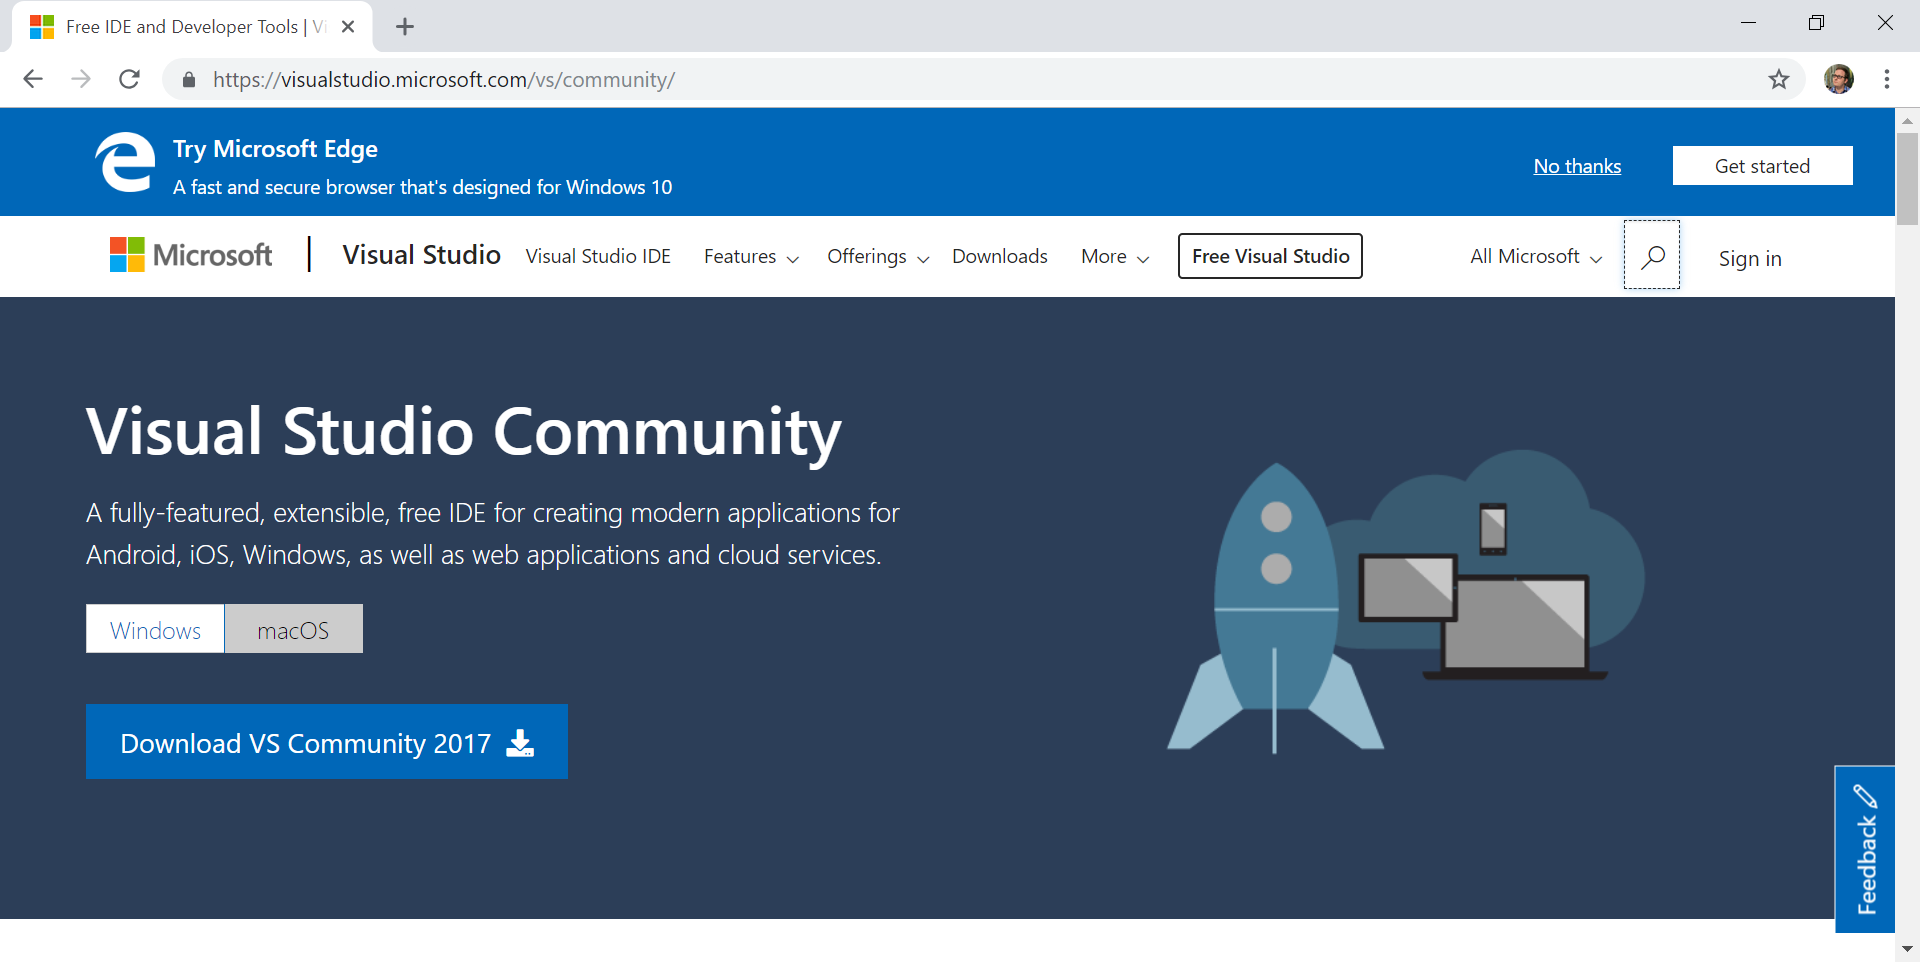
- Begin by visiting https://www.visualstudio.com/en-us/products/visual-studio-community-vs.aspx. Click on Download VS Community 2017. This downloads the ~1,250 KB loader/installer:

- Launch the installer, and continue through the installer until you get to the window where you select the components of Visual Studio 2017 that you want to add to your PC. Keep in mind that the more features you select, the larger your installation will be.
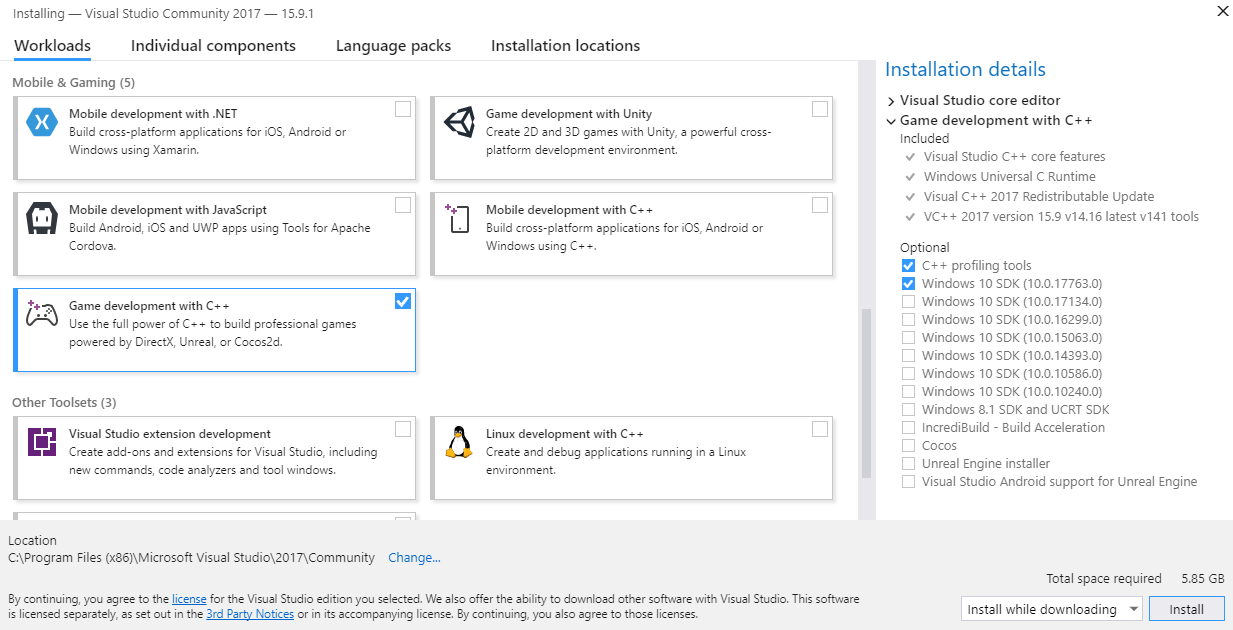
- Support for C++ is now an optional part of Visual Studio and isn't installed by default, so we have to select that we want it installed. Under the Workloads section, scroll down to the Mobile and Gaming heading and check the Game development with C++ option:

- After you have selected the tools you'd like to add on to Visual Studio, click the Install button. The installer tool will download the required components and continue setup. After finishing installation, the installer may ask you to restart your computer. Go ahead and do so.
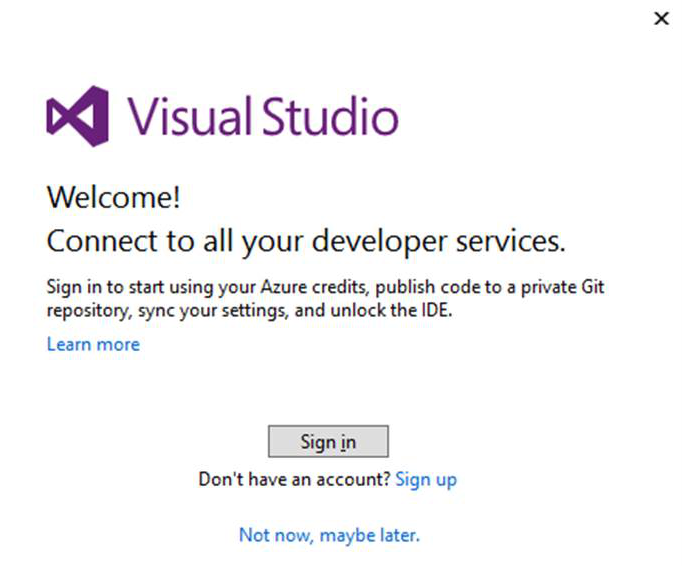
- After you download and install Visual Studio 2017, launch it. You will be presented with a Sign in dialog box:

You can Sign in with your Microsoft account (the one you use to sign into Windows 10) or Sign up for a new account. After you've signed in or signed up, you will be able to sign into Visual Studio itself. It may seem odd to sign into a desktop code editing program, but your sign-in will be used for source control commits to your repositories. On first signing into Visual Studio, you can select (one time only) a unique URL for your source code repositories, as hosted on Visualstudio.com (https://visualstudio.microsoft.com/).
How it works...
Visual Studio is an excellent editor, and you will have a fantastic time coding within it. In the next recipe, we'll discuss how to create and compile our own code.


