To get the most out of this book
It’s not assumed that you know any Python or computer science to get started. All you need is basic problem-solving skills at the level of high school algebra. All Python, computer science, software development, and data science will be taught assuming little to no knowledge.
|
Software/hardware covered in the book |
Operating system requirements |
|
Python 3.11 |
Windows, macOS, or Linux |
|
Jupyter notebooks |
Windows, macOS, or Linux |
Each great journey begins with a humble step. Our upcoming adventure in the land of Python is no exception. Before you can begin, you need to be prepared with the most productive environment. In this section, you will see how to do that. We will be using Python 3.11 (from https://python.org). Future versions of Python 3 will be compatible.
Installing Jupyter on your system
We will be using Jupyter Notebooks to run Python for most of this book. To install Jupyter Notebook on Windows, macOS, or Linux, it’s recommended that you download Anaconda, which includes Python and nearly all data science libraries that we will use in this text. To download Anaconda, follow these steps:
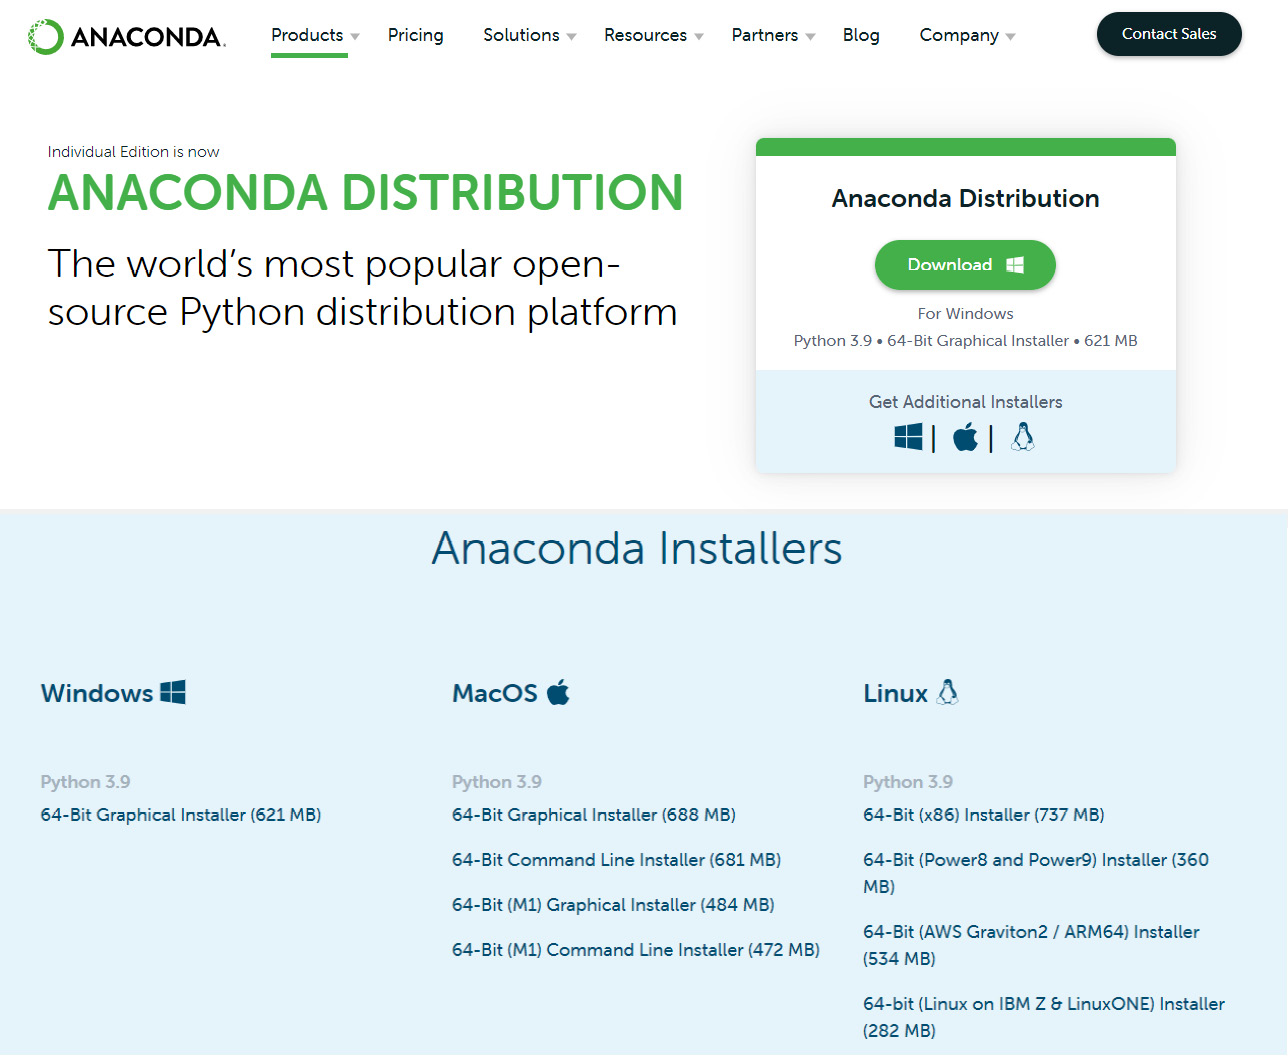
- Head to https://www.anaconda.com/distribution/ to install the Anaconda Navigator, which is an interface through which you can access your local Jupyter Notebook.
- Now, based on your operating system (Windows, macOS, or Linux), you need to download the Anaconda installer.
- Have a look at the following figure, which shows where we can download the Anaconda files for Windows, with other options presented:

Figure 0.1 – The Anaconda home page
Launching the Jupyter Notebook
To launch the Jupyter Notebook from Anaconda Navigator, you need to follow these steps:
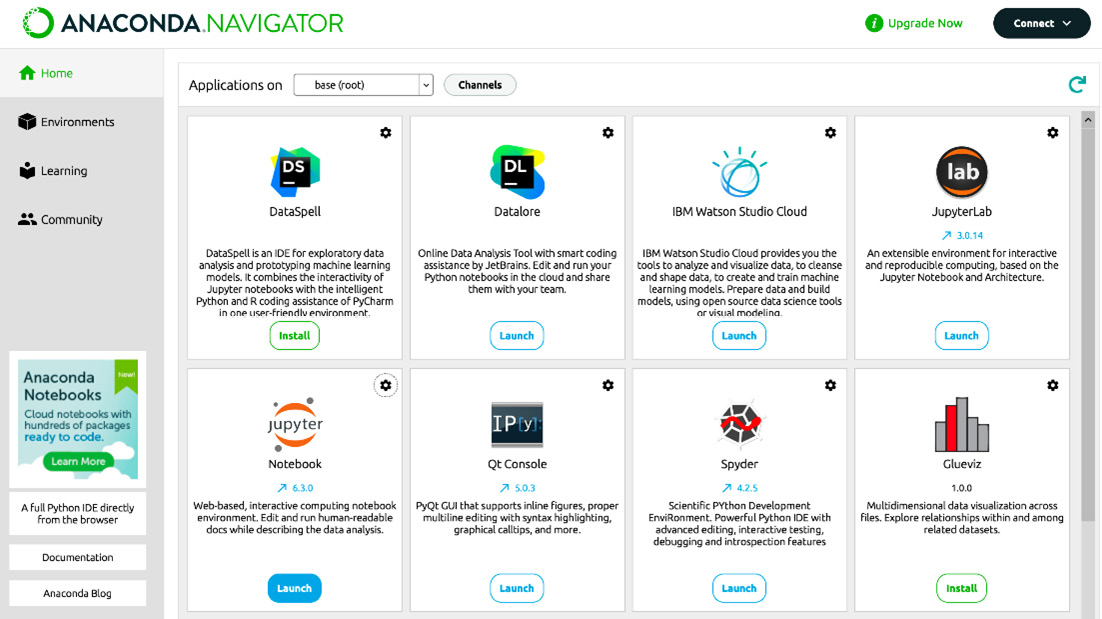
- Once you launch Anaconda Navigator, you will see the following screen:

Figure 0.2 – The Anaconda installation screen
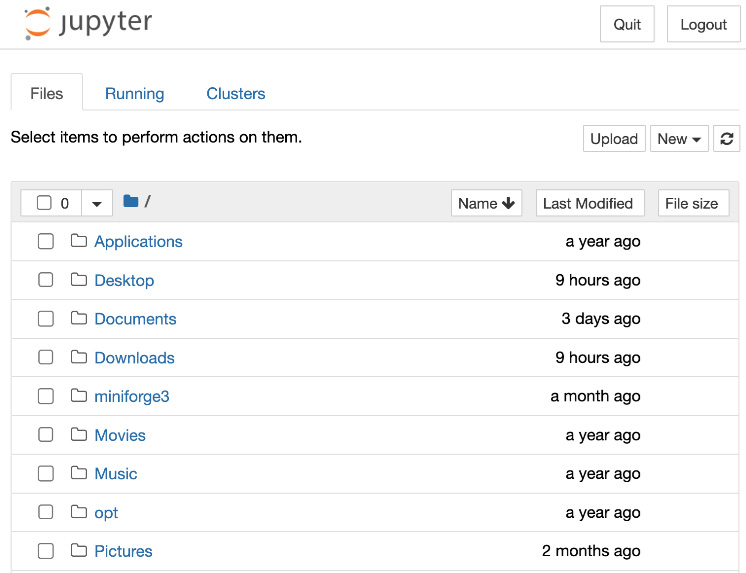
- Now, click on Launch under the Jupyter Notebook option and launch the notebook on your local system. When that happens, you should see a Jupyter Notebook open in a web browser window similar to the following screenshot:

Figure 0.3 – The Jupyter Notebook
Congratulations! You have successfully installed a Jupyter Notebook on your system.
To install the Python terminal on your system
Jupyter Notebook comes with Python pre-installed; however, we will show you how to install Python directly to the terminal on your system using the following steps:
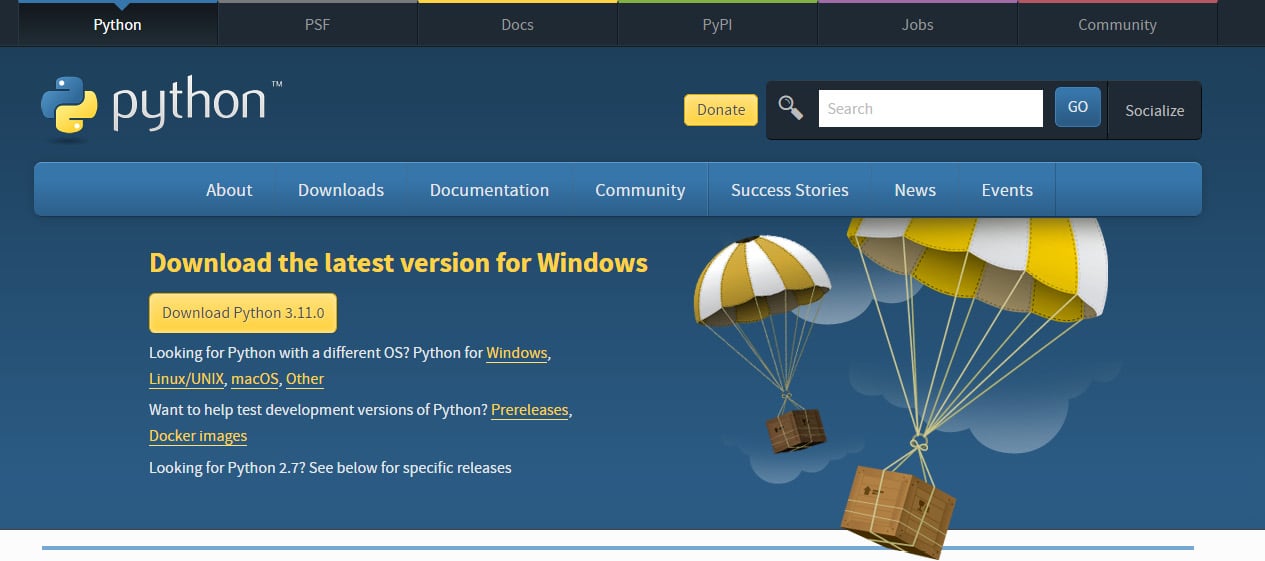
- Open the following link, which is the Python community website URL: https://www.python.org/downloads/.
- Select the operating system (Windows, macOS, or Linux):

Figure 0.4 – The Python home page
- Once you have downloaded the software, you need to install it.
- Have a look at the following screenshot in which we have installed the Python terminal on a Windows system. We load it through the Start menu, search for
Python, and click on the software.
The Python terminal will look like this:

Figure 0.5 – The Python terminal interface
Congratulations! You have successfully installed the Python terminal on your system.
A few important packages
Some of the exercises in this book require the following packages:
- Matplotlib
- Seaborn
- NumPy
- Pandas
- Scikit-learn
- Keras
All these packages are automatically included with Jupyter Notebook, with the exception of Keras, which will be used in Chapter 12, Deep Learning with Python, where you are encouraged to use Google Colab notebooks online, which include Keras automatically.
If you ever need to download any package or library explicitly, you can do so as follows:
- Direct terminal installation of NumPy:
pip install numpy
- Direct terminal installation using Anaconda:
conda install numpy
Note that most packages and libraries may be installed in a similar fashion.
To install Docker
- Head to https://docs.docker.com/docker-for-windows/install/ to install Docker for Windows.
- Head to https://docs.docker.com/docker-for-mac/install/ to install Docker for macOS.
- Head to https://docs.docker.com/v17.12/install/linux/docker-ce/ubuntu/ to install Docker on Linux.
If you are using the digital version of this book, we advise you to type the code yourself or access the code from the book’s GitHub repository (a link is available in the next section). Doing so will help you avoid any potential errors related to the copying and pasting of code.


