Building the lab prerequisite for Azure Arc
We have designed this book to be a hands-on focused book, so you will see a lot of implementation steps and example deployments. In order to prepare for that, we will need you to prepare your Azure accounts in advance.
In this section, we will create the required Azure infrastructure to simulate the on-premises environments. If you have an on-premises infrastructure, you may use that as well, rather than hosting everything in Azure.
Getting started with Azure
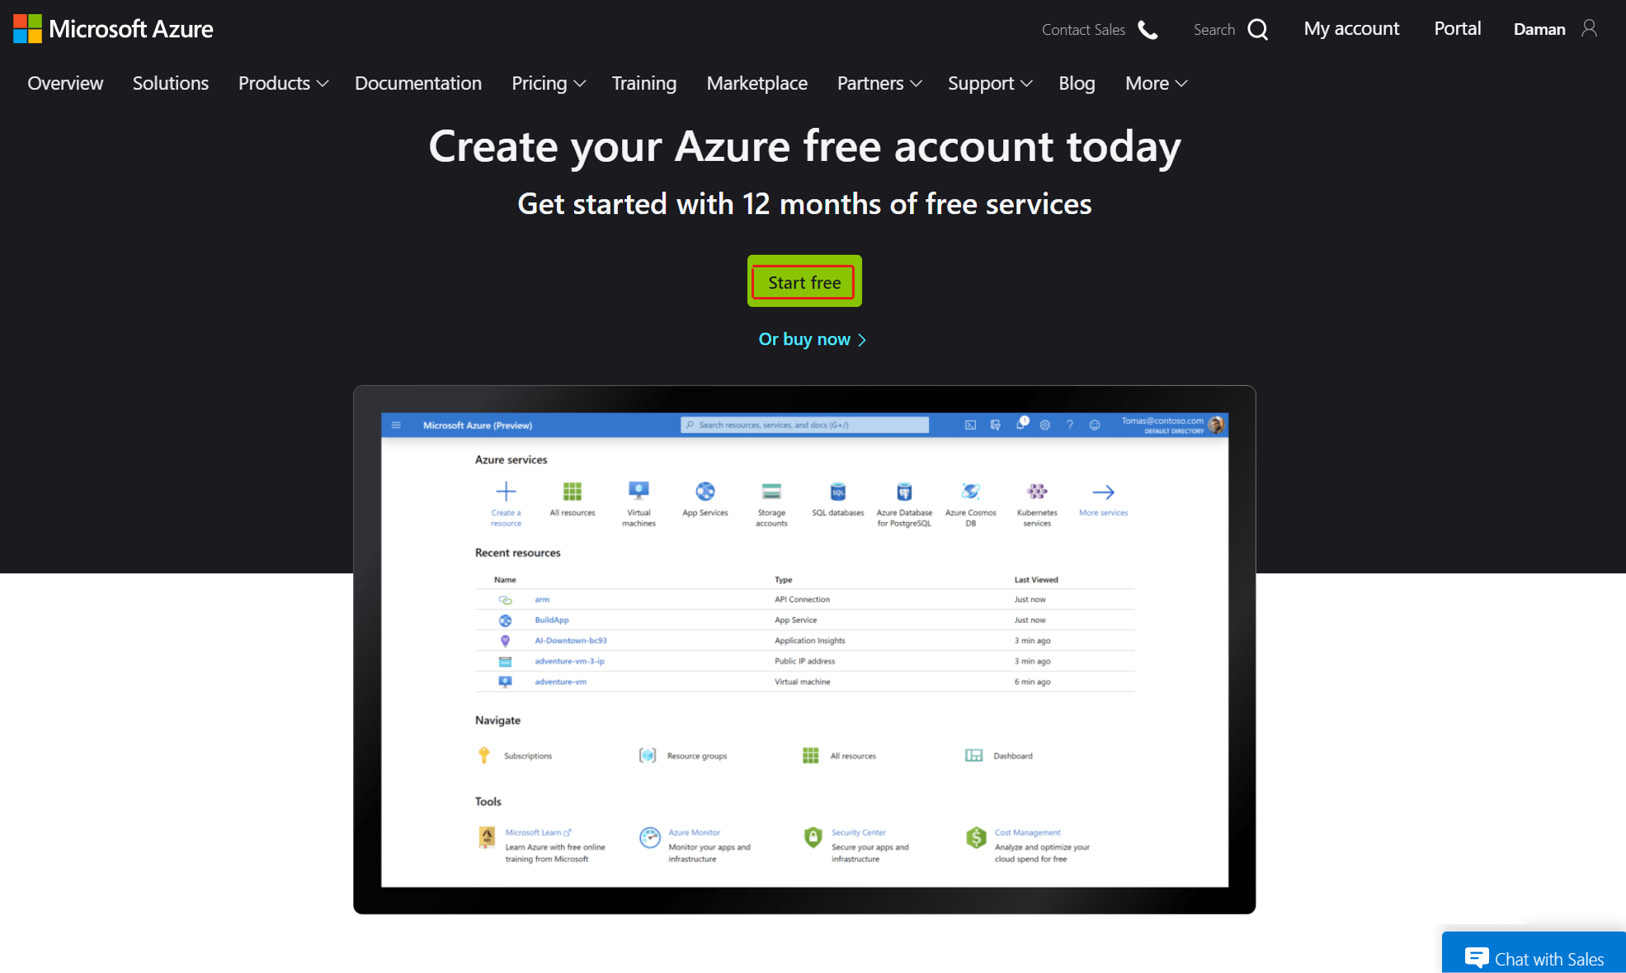
To start your Azure journey, you can go to https://azure.microsoft.com/free/. This takes you to the landing page of the free account offer, which looks like this:

Figure 1.5 – Signing up for a free trial
You can explore the page to learn more about the offer. You can use the services that follow on the sign-up page for free for 12 months, within the free service limits for the service. For instance, you get 750 hours of a Windows VM for free. You can spend these hours over 12 months. In addition to that, you get $200 of Azure credit for the first 30 days.
To create your free account, you need to do the following:
- Go to https://azure.microsoft.com/free/ and click on the Start free button.
- Log in with a Microsoft account or a GitHub account. If you don't have one yet, you can create one.
- First, you need to verify your identity by phone. You can do that by entering your phone number and giving the verification code that you receive.
- Next, you will have to give the details of a credit card. Don't worry, you won't be charged. By default, the Azure subscription that you create has a spending limit on it, so you can't use more than the free $200 that you receive until you remove this limit manually.
- Fill in the personal details and click Next.
- Finally, agree to the agreement and click Sign up. Your free Azure account will be ready in a few moments. Go to portal.azure.com and start using it.
Creating a resource group in Azure
A resource group is a container that holds related resources for an Azure solution. A resource group includes those resources that you want to manage as a group. We'll be creating three resource groups, each for its own individual lab and purpose, which will be used in their respective chapters:
- The
On-prem-Serverresource group will be created to host the Windows VMs considered to be on-premises servers. - The
On-prem-Kubernetesresource group will be created to host the Kubernetes cluster that will be managed by the Azure Arc management pane in Chapter 3, Azure Arc Enabled Kubernetes. - The
On-prem-Dataresource group will be created in the same fashion to host the data services managed by Azure Arc.
Let's create the resource groups in Azure by following these steps:
- Log in to the Azure portal using https://portal.azure.com with your Azure credentials.
- Click on + Create a resource and search for
resource groupas you can see here:
Figure 1.6 – Searching resource group in Azure
- Click Create on the resource group page.
- Select your subscription, as seen in Figure 1.7, and enter the resource group name as
On-prem-Server. - Next, choose the region closest to your location:

Figure 1.7 – Creating a resource group in Azure
- Click on Review + create and then Create to start the deployment.
- Repeat the steps to create two additional resource groups for Kubernetes and a data lab environment, named
On-prem-KubernetesandOn-prem-Data respectively.
You've now created resource groups to host Azure resources.


