
For configuration and user management follow these steps:
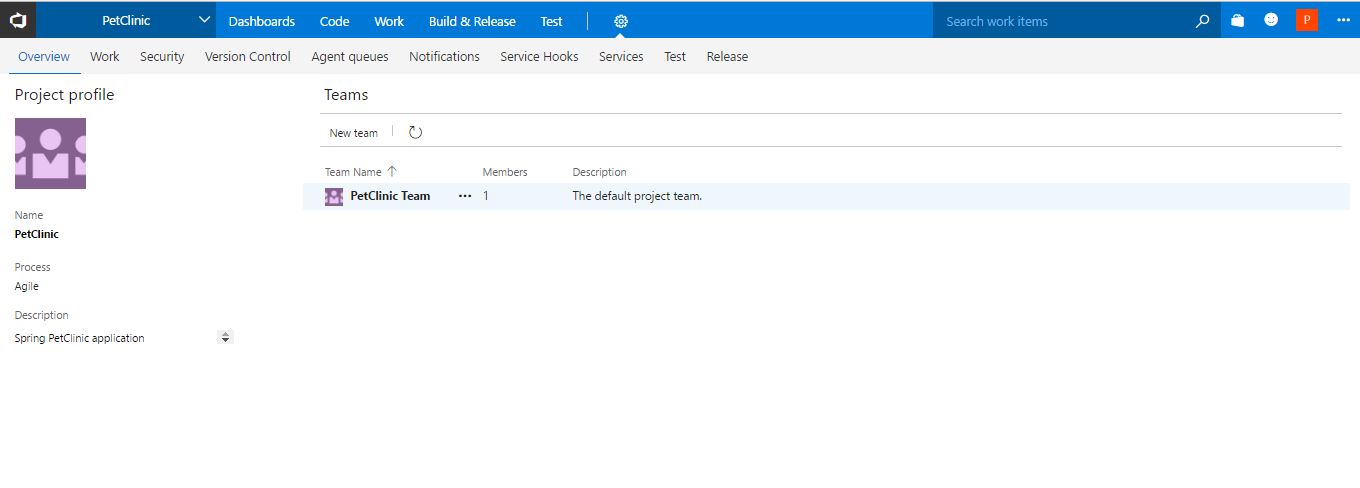
- Open the newly created project PetClinic and click on the settings icon. On the Project profile page, the team information is available. Click on PetClinic Team:
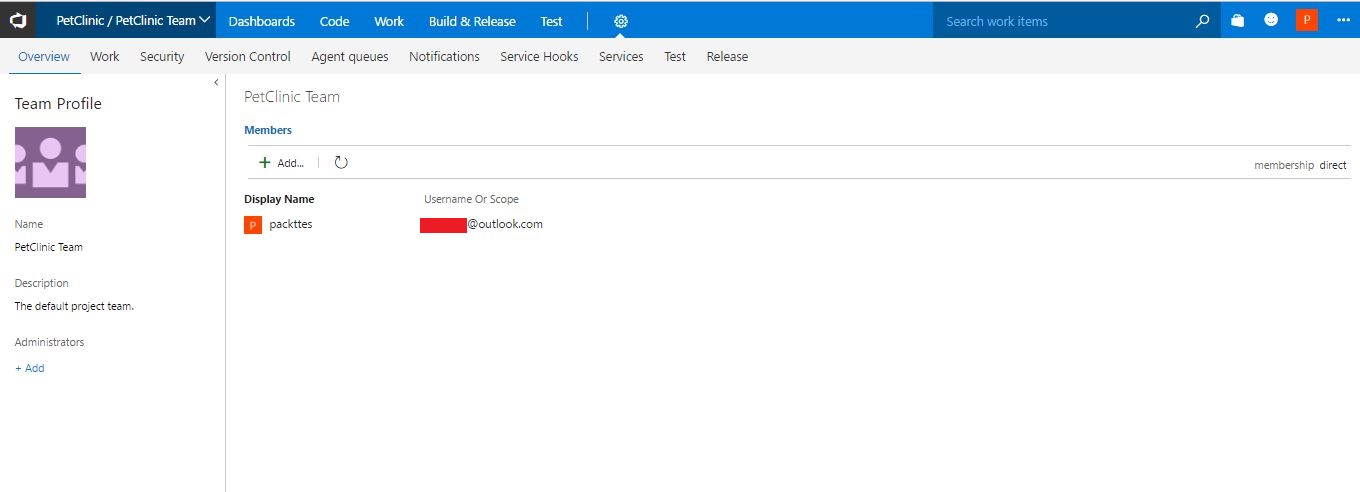
- By default, the admin account is already available as a team member. Click on +Add to add a new team member for collaboration:
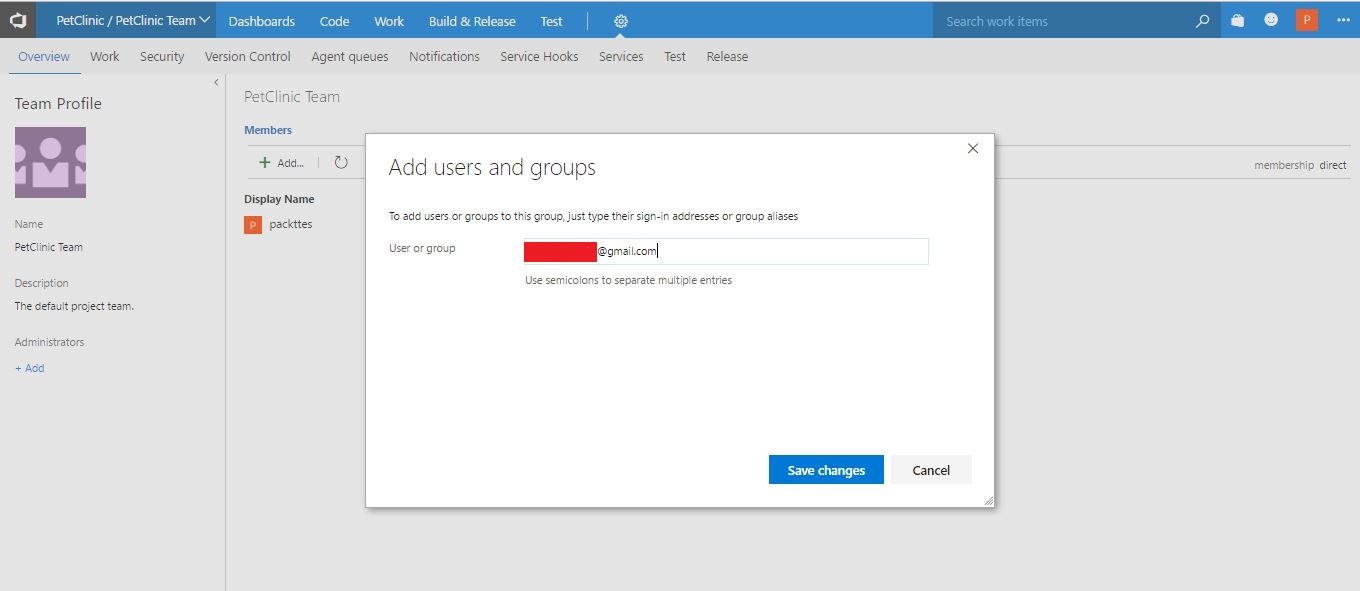
- Use sign-in addresses or group aliases and click on Save changes:
- Verify the team members of PetClinic Team in the dashboard:
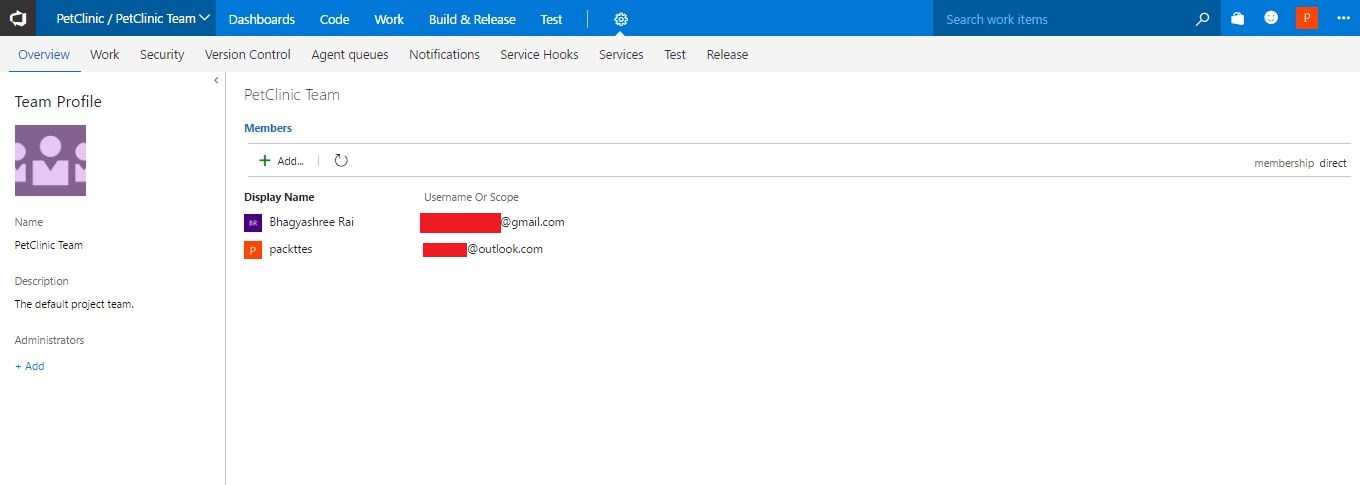
- Go to Dashboards of the team project and verify the Team Members section as well:
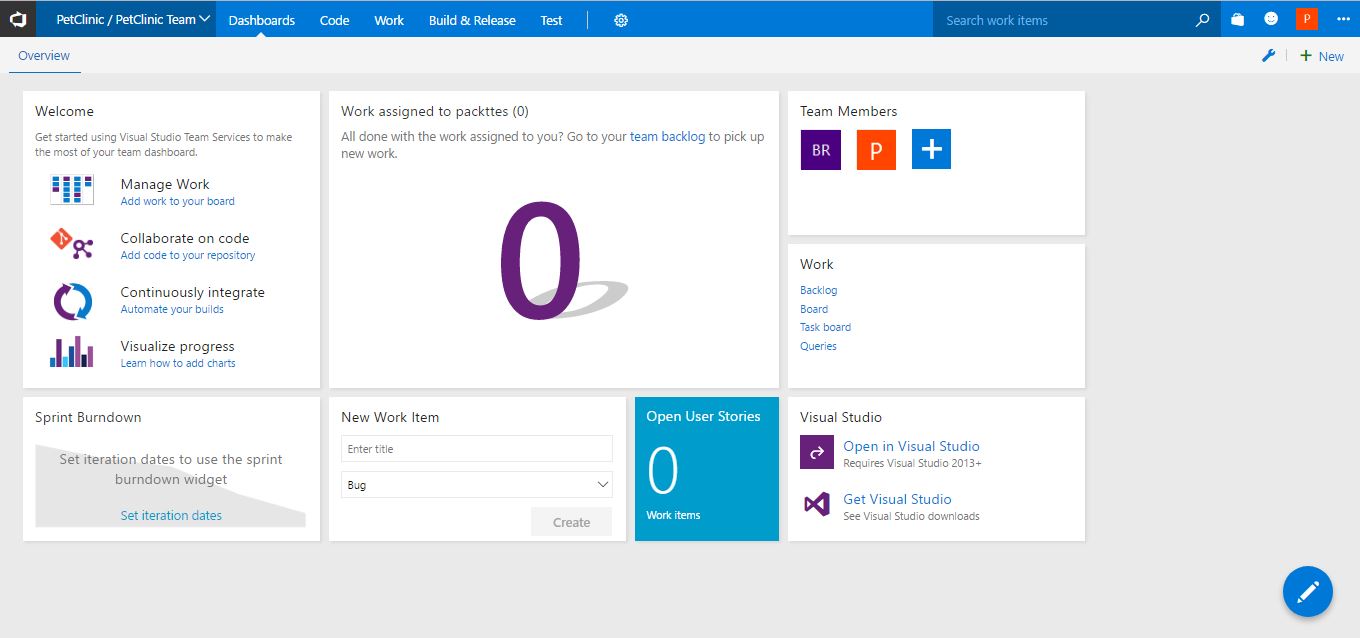
We have successfully added a team member to the main team of the project. This is how we can create a project and manage a team. In the next section, we will discuss how agile can be managed in VSTS.