By default, Kubernetes uses the GCE provider for Google Cloud. We can override this default by setting the KUBERNETES_PROVIDER environment variable. The following providers are supported with values listed in this table:
| Provider | KUBERNETES_PROVIDER value | Type |
| Google Compute Engine | gce | Public cloud |
| Google Container Engine | gke | Public cloud |
| Amazon Web Services | aws | Public cloud |
| Microsoft Azure | azure | Public cloud |
| Hashicorp Vagrant | vagrant | Virtual development environment |
| VMware vSphere | vsphere | Private cloud/on-premise virtualization |
| Libvirt running CoreOS | libvirt-coreos | Virtualization management tool |
| Canonical Juju (folks behind Ubuntu) | juju | OS service orchestration tool |
Let's try setting up the cluster on AWS. As a prerequisite, we need to have AWS Command Line Interface (CLI) installed and configured for our account. The AWS CLI installation and configuration documentation can be found at the following links:
- Installation documentation: http://docs.aws.amazon.com/cli/latest/userguide/installing.html#install-bundle-other-os
- Configuration documentation: http://docs.aws.amazon.com/cli/latest/userguide/cli-chap-getting-started.html
Then, it is a simple environment variable setting, as follows:
$ export KUBERNETES_PROVIDER=aws
Again, we can use the kube-up.sh command to spin up the cluster, as follows:
$ kube-up.sh
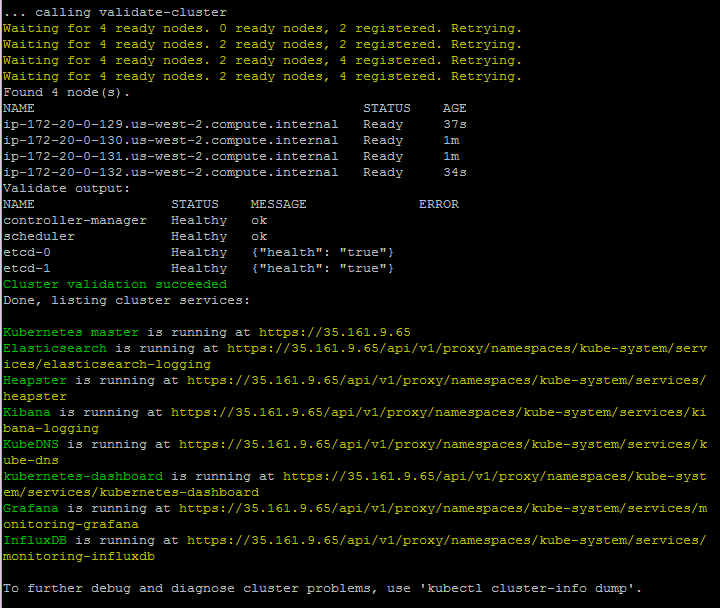
As with GCE, the setup activity will take a few minutes. It will stage files in S3 and create the appropriate instances, Virtual Private Cloud (VPC), security groups, and so on in our AWS account. Then, the Kubernetes cluster will be set up and started. Once everything is finished and started, we should see the cluster validation at the end of the output:

Note that the region where the cluster is spun up is determined by the KUBE_AWS_ZONE environment variable. By default, this is set to us-west-2a (the region is derived from this Availability Zone). Even if you have a region set in your AWS CLI, it will use the region defined in KUBE_AWS_ZONE.
Once again, we will SSH into master. This time, we can use the native SSH client. We'll find the key files in /home/<username>/.ssh:
$ ssh -v -i /home/<username>/.ssh/kube_aws_rsa ubuntu@<Your master IP>
We'll use sudo docker ps --format 'table {{.Image}}t{{.Status}}' to explore the running containers. We should see something like the following:

We see some of the same containers as our GCE cluster had. However, there are several missing. We see the core Kubernetes components, but the fluentd-gcp service is missing as well as some of the newer utilities such as node-problem-detector , rescheduler , glbc , kube-addon-manager , and etcd-empty-dir-cleanup. This reflects some of the subtle differences in the kube-up script between various Public Cloud providers. This is ultimately decided by the efforts of the large Kubernetes open-source community, but GCP often has many of the latest features first.
On the AWS provider, Elasticsearch and Kibana are set up for us. We can find the Kibana UI using the following syntax as URL:
https://<your master ip>/api/v1/proxy/namespaces/kube-system/services/kibana-logging
As in the case of the UI, you will be prompted for admin credentials, which can be obtained using the config command, as shown here:
$ kubectl config view
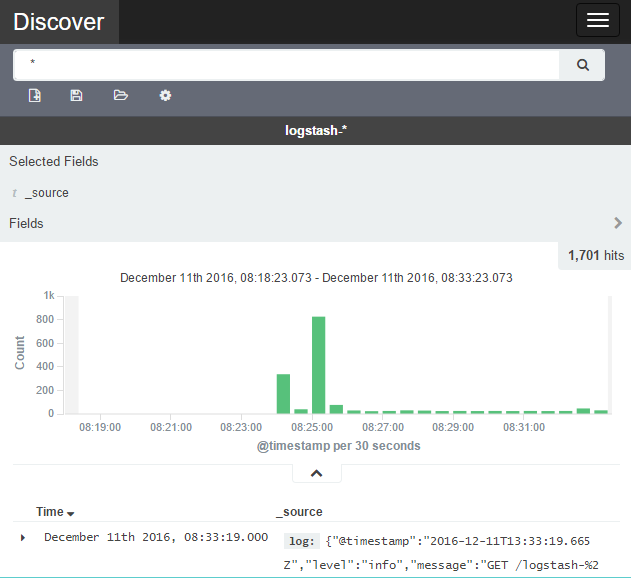
On the first visit, you'll need to set up your index. You can leave the defaults and choose @timestamp for the Time-field name. Then, click on Create and you'll be taken to the index settings page. From there, click on the Discover tab at the top and you can explore the log dashboards:


