


Setting up the project
Now that we have our goals in mind, let’s start building our project:
- To get started, open Unity Hub on your computer.
- From startup, we’ll opt to create a new project by clicking on the New button.
- Next, under Project Name, put in a name (I have chosen
MobileDev), and under Templates, make sure that 3D is selected. Afterward, click on CREATE and wait for Unity to load up:
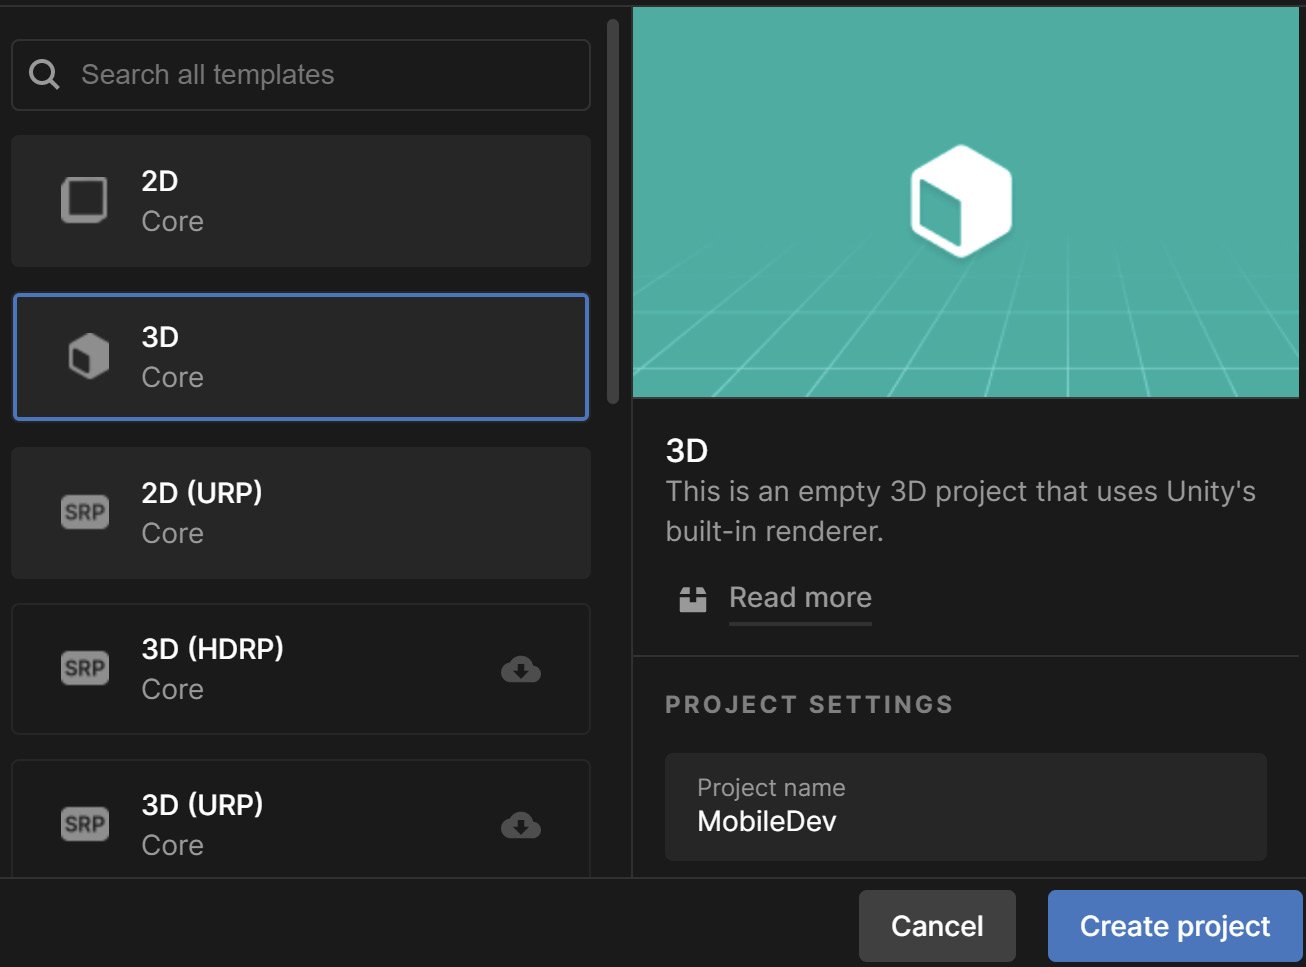
Figure 1.1 – Creating a 3D project
- After it’s finished, you’ll see the Unity Editor pop up for the first time:
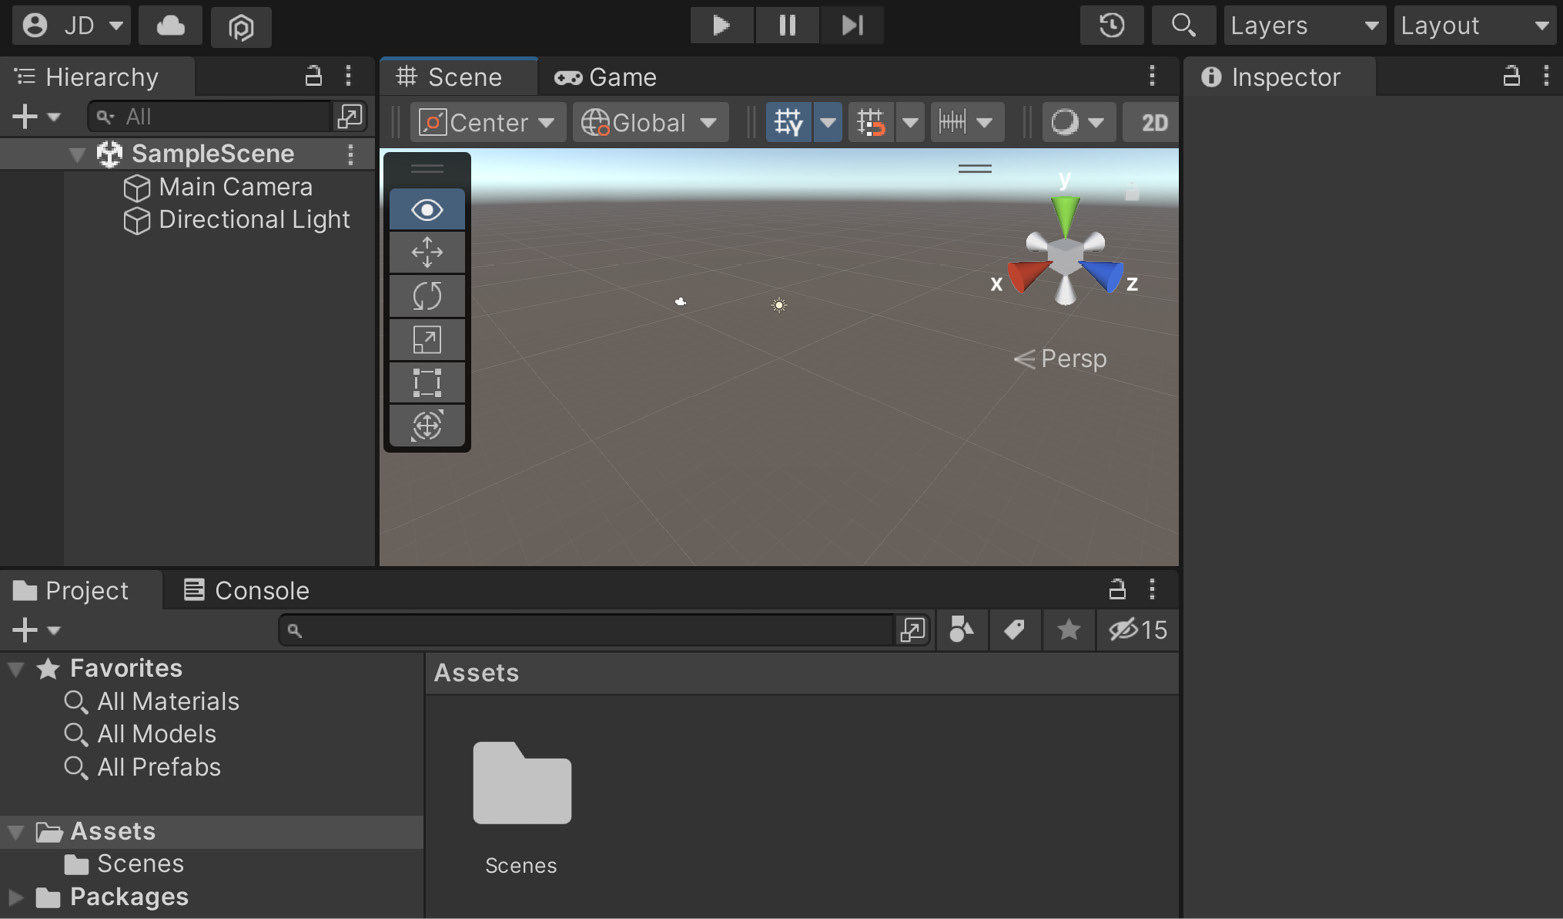
Figure 1.2 – The Unity Editor
- If your layout doesn’t look the same as in the preceding screenshot, go to the top-right section of the toolbar and select the drop-down menu there that reads Layout. From there, select Default from the options presented:
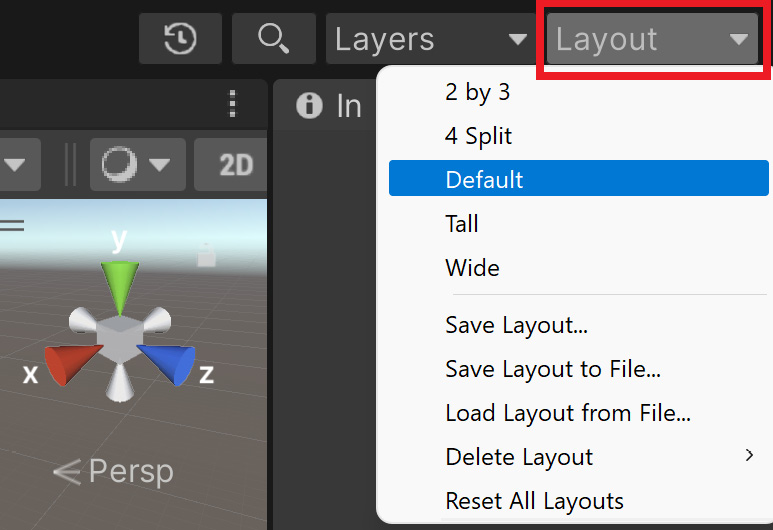
Figure 1.3 – The Layout button
We now have opened Unity for the first time and have the default layout displayed!
Tip
If this is your first time working with Unity, then I highly recommend that you read the Unity’s interface section of the Unity Manual, which you can access at https://docs.unity3d.com/Manual/UsingTheEditor.html.
Now that we have Unity open, we can actually start building our project.


