For the purposes of this book, we focus on the MongoDB Community Edition for the simple reason that it's free of charge. This version is also an excellent way to get your feet wet, so to speak, allowing you to learn about and experiment with MongoDB risk free. Before beginning installation, be sure to check the minimum requirements for your operating system in the MongoDB installation manual: https://docs.mongodb.com/manual/installation/.
Installing MongoDB
Installing MongoDB on Windows
The version featured in this book is MongoDB 4.0. The minimum requirement for a Windows installation is Windows Server 2008 R2, Windows 7, or later.
https://support.microsoft.com/en-gb/help/2731284/33-dos-error-code-when-memory-memory-mapped-files-are-cleaned-by-using.
Download and install
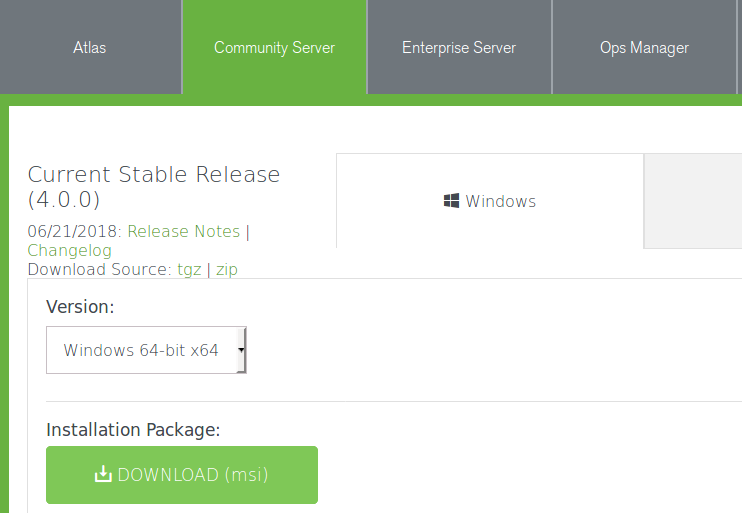
- Go to the MongoDB download center at: https://www.mongodb.com/download-center#community.
- Select the appropriate operating system where it says Version.
- Click on DOWNLOAD (msi):
- When prompted, choose Save File.
- Click on the saved MSI file to start the installer.
- Click OK when the security prompt appears asking to Open Executable File?
- Click Run when the security warning appears.
- Click Next to start the MongoDB Setup Wizard.
- Read the license agreement and click on the checkbox and Next. Note that if you do not accept the license agreement the installation will terminate.
- When asked Choose Setup Type, for the purposes of this illustration, select Complete. MongoDB Compass, which is a handy utility which greatly facilitates database management, is automatically installed.
- Now that all choices have been made, click on Install and click Yes when the User Account Control security warning pops up.
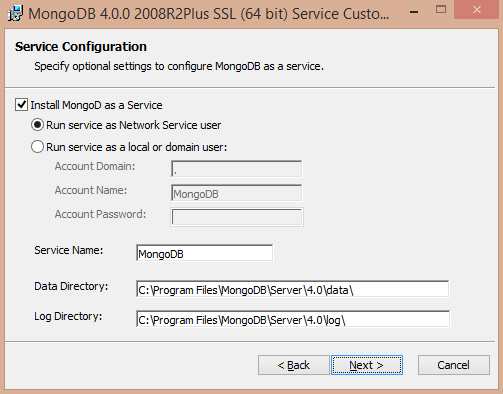
- As of MongoDB v4.0, the installation wizard lets you configure startup options. If you want to have MongoDB start automatically and run in the background, choose Run service as Network Service user. You can also configure the directory where MongoDB stores its data files (Data Directory), and where log files are stored (Log Directory):
- Click Next to continue and Finish when the installation completes.
MongoDB Compass
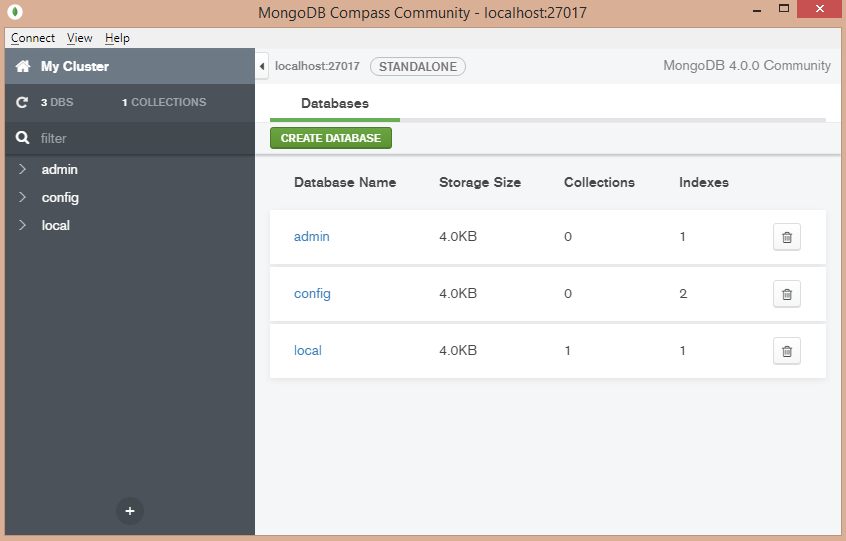
Assuming you elected to install the complete package, MongoDB Compass will auto-launch once the installation completes. You will need to scroll down through its license agreement (separate from the license agreement for MongoDB itself), and click Agree. You can follow and then close the initial help tutorial, and also set Privacy Settings that control whether or not you will be sending crash reports, usage statistics, and requesting automatic updates to/from MongoDB Inc.
This utility is described in more detail in the Chapter 2, Understanding MongoDB Data Structures, We also use this utility to create our first database and collection (see following sections). Here is the Compass screen as seen on Windows:
MongoDB Windows file locations
If using the Windows MSI installer (recommended), the MongoDB program files will be stored here:
C:\Program Files\MongoDB\Server\<version>
You have the option, during the installation process, of specifying the location where the database and log files are stored. Once finished, here is a look at the new directory structure:
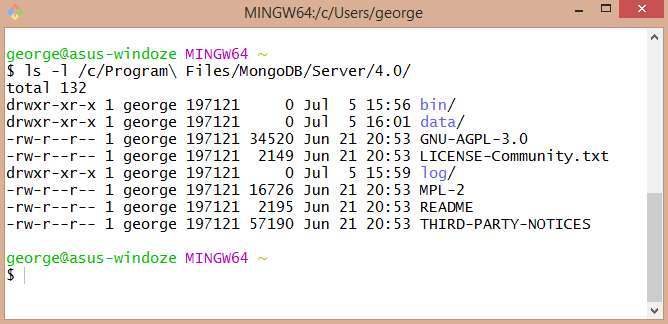
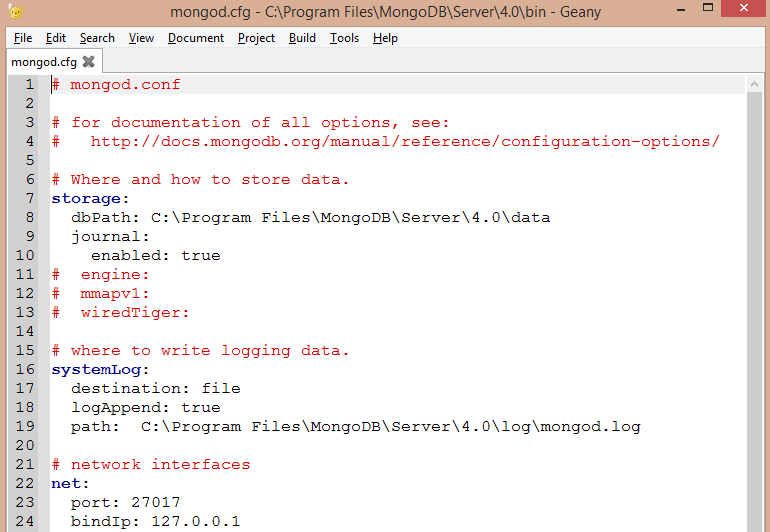
The configuration file, which contains the locations of the database and log files, defaults to:
C:\Program Files\MongoDB\Server\4.0\bin\mongod.cfg
This file is automatically generated by the installer. By default, here are its contents:
