Before we start building our first Angular application, let's set up the development environment to get started with Angular apps.
Building a Hello World app with Angular
Setting up the development environment
The first thing to do before writing any code is to set up the local development environment. We need an editor to write the code, a local server to run the application, package managers to manage the external libraries, compilers to compile the code, and so on.
Installing Visual Studio Code
Visual Studio Code is one of the greatest editors used to write Angular applications. So, we start with installing Visual Studio Code. Navigate to https://code.visualstudio.com/ and click on Download Code for Windows. Visual Studio Code supports platforms such as Windows, Linux, and OS X. So, you can also download it for other platforms depending on your need.
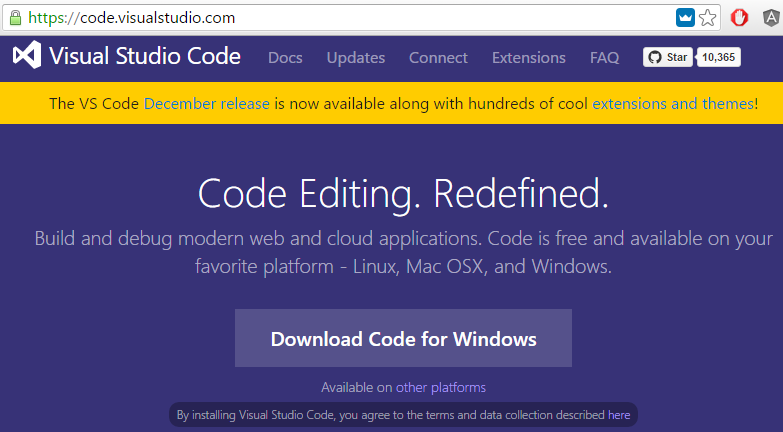
Visual Studio Code is an open source and cross-platform editor that supports Windows, Linux, and OS X. It is one of the powerful text editors that includes features such as navigation, keyboard support with customizable bindings, syntax highlighting, bracket matching, auto indentation, and snippets, with support for many programming languages. It has built-in support to IntelliSense code completion, richer semantic code understanding and navigation, and code refactoring. It provides a streamlined, integrated debugging experience, with support for Node.js debugging. It is a lighter version of Visual Studio. It doesn't contain any built-in development server, such as IIS Express. However, it is very important to test a web application in a local web server as part of the development process. There are several ways available in the market to set up a local web server.
However, I chose lite-server as it is a lightweight, development-only node server that serves the static content, detects changes, refreshes the browser, and offers many customizations. Lite-server is available as an NPM package for Node.js. First, we will see how to install Node.js in the next section.
Installing Node.js
Node.js is used to develop server-side web applications. It is an open source and cross-platform runtime environment. The built-in libraries in Node.js allow applications to act as a standalone web server. Node.js can be used in scenarios where lightweight, real-time response is needed, such as communication apps and web-based gaming.
Node.js is available for various platforms, such as Windows, Linux, Mac OS X, Sun OS, and ARM. You can also download the source code of Node.js and customize it according to your needs.
In order to install Node.js, navigate to https://nodejs.org/en/ and download the mature and dependable LTS (long-term support) version for Windows.
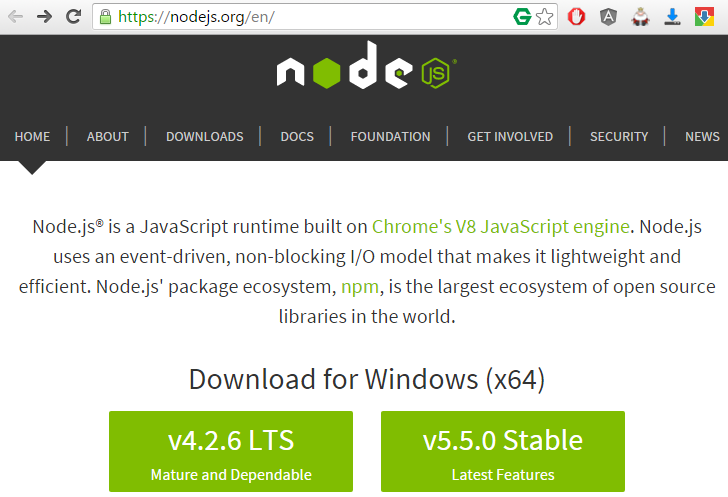
Node.js comes with NPM, a package manager that is used to acquire and manage JavaScript libraries for your development. To verify that the installation of Node.js and NPM is successful, follow these steps:
- Open Windows Command Prompt, type the node -v command, and run it. You will get the version of Node.js that we installed.
- Now, check whether NPM is installed along with Node.js. Run the NPM -v command, and you will get the version number of NPM that is installed.
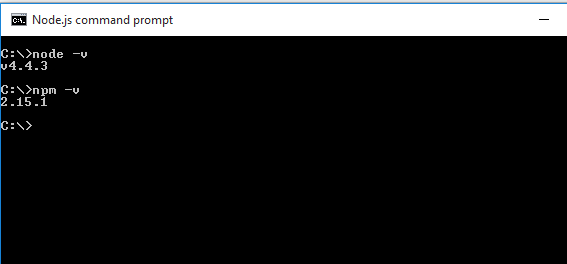
Now, we have all that we need to write our first Angular application. Let's get started.
Creating an Angular application
I assume that you have installed Node.js, NPM, and Visual Studio Code and are ready to use them for development. Now, let's create an Angular application by cloning the git repository with the following steps:
- Open Node.Js Command Prompt and execute the following command:
      git clone https://github.com/angular/quickstart my-
      angular
This command will clone the Angular quickstart repository and create an Angular application named my-angular for you with all the boilerplate codes required.
- Open the my-angular cloned application using Visual Studio Code:
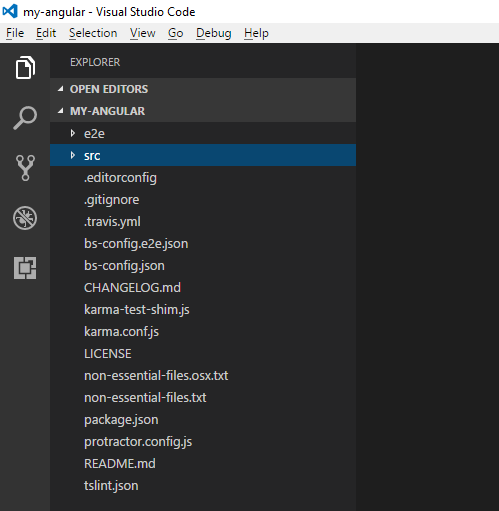
The folder structure and the boilerplate code are organized according to the official style guide at https://angular.io/docs/ts/latest/guide/style-guide.html. The src folder has the code files related to application logic, and the e2e folder has the files related to end-to-end testing. Don't worry about other files in the application now. Let's only focus on package.json for now.
- Click on the package.json file; it will have the details about the configurations of the metadata and project dependencies. The following is the content of the package.json file:
      {
      "name":"angular-quickstart",
      "version":"1.0.0",
      "description":"QuickStart package.json from the
      documentation,
      supplemented with testing support",
      "scripts":{
      "build":"tsc -p src/",
      "build:watch":"tsc -p src/ -w",
      "build:e2e":"tsc -p e2e/",
      "serve":"lite-server -c=bs-config.json",
      "serve:e2e":"lite-server -c=bs-config.e2e.json",
      "prestart":"npm run build",
      "start":"concurrently \"npm run build:watch\" \"npm
      run serve\"",
      "pree2e":"npm run build:e2e",
      "e2e":"concurrently \"npm run serve:e2e\" \"npm run
      protractor\"
      --kill-others --success first",
      "preprotractor":"webdriver-manager update",
      "protractor":"protractor protractor.config.js",
      "pretest":"npm run build",
      "test":"concurrently \"npm run build:watch\" \"karma
      start
      karma.conf.js\"",
      "pretest:once":"npm run build",
      "test:once":"karma start karma.conf.js --single-
      run",
      "lint":"tslint ./src/**/*.ts -t verbose"
      },
      "keywords":[
      ],
      "author":"",
      "license":"MIT",
      "dependencies":{
      "@angular/common":"~4.0.0",
      "@angular/compiler":"~4.0.0",
      "@angular/core":"~4.0.0",
      "@angular/forms":"~4.0.0",
      "@angular/http":"~4.0.0",
      "@angular/platform-browser":"~4.0.0",
      "@angular/platform-browser-dynamic":"~4.0.0",
      "@angular/router":"~4.0.0",
      "angular-in-memory-web-api":"~0.3.0",
      "systemjs":"0.19.40",
      "core-js":"^2.4.1",
      "rxjs":"5.0.1",
      "zone.js":"^0.8.4"
      },
      "devDependencies":{
      "concurrently":"^3.2.0",
      "lite-server":"^2.2.2",
      "typescript":"~2.1.0",
      "canonical-path":"0.0.2",
      "tslint":"^3.15.1",
      "lodash":"^4.16.4",
      "jasmine-core":"~2.4.1",
      "karma":"^1.3.0",
      "karma-chrome-launcher":"^2.0.0",
      "karma-cli":"^1.0.1",
      "karma-jasmine":"^1.0.2",
      "karma-jasmine-html-reporter":"^0.2.2",
      "protractor":"~4.0.14",
      "rimraf":"^2.5.4",
      "@types/node":"^6.0.46",
      "@types/jasmine":"2.5.36"
      },
      "repository":{
      }
      }
- Now, we need to run the NPM install command in the command window by navigating to the application folder to install the required dependencies specified in package.json:

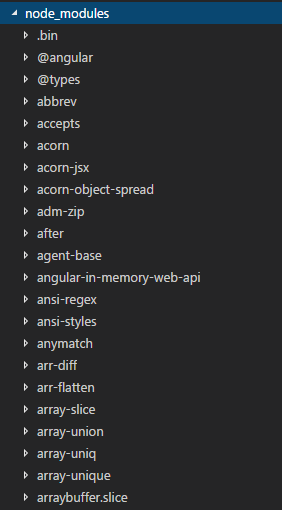
- Now, you will have all the dependencies added to the project under the node_modules folder, as shown in this screenshot:
- Now, let's run this application. To run it, execute the following command in the command window:
npm start
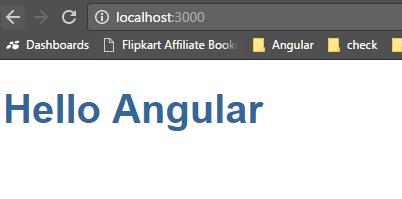
- Open any browser and navigate to http://localhost:3000/; you will find the following page, which is rendered through our Angular application, displayed. Running this command builds the application, starts the lite-server, and hosts the application on it.
Let's now walk through the content of index.html. The following is the content of index.html:
<!DOCTYPE html>
<html>
<head>
<title>Hello Angular </title>
<base href="/">
<meta charset="UTF-8">
<meta name="viewport" content="width=device-width, initial-scale=1">
<link rel="stylesheet" href="styles.css">
<!-- Polyfill(s) for older browsers -->
<script src="node_modules/core-js/client/shim.min.js"></script>
<script src="node_modules/zone.js/dist/zone.js"></script>
<script src="node_modules/systemjs/dist/system.src.js"></script>
<script src="systemjs.config.js"></script>
<script>
System.import('main.js').catch(function(err){ console.error(err); });
</script>
</head>
<body>
<my-app>My first Angular app for Packt Publishing...</my-app>
</body>
</html>
So far, we have seen how to create an Angular application by cloning the official QuickStart repository from GitHub. We will cover the steps to create Angular applications in detail in the upcoming chapters. Note that the scripts are loaded using System.js. System.js is the module loader that loads the modules during runtime.


