Installing Drupal is a two-phase process. The first phase is the readying of the environment to host a Drupal website, and the second is running the installation script to create the website. Let's take a quick look at what Drupal is and the requirements for the first phase.
Installing Drupal
Readying the environment
Physically, Drupal is a collection of folders and files, most often found within a parent folder that is typically referred to as the Drupal root. Drupal also consists of a database, where the site's content and various settings are kept.
The Drupal root will most often be situated on a computer known as a web server that may contain many websites, though the web server could also exist on a laptop for use in developing websites. The environment in which Drupal exists will consist of the following:
- An operating system, which is usually Linux, but can be any another, such as Windows, OS X, or Unix
- A web server, such as Apache or Nginx
- A database, most often MySQL, which may be on the same server or on a separate database server
- The PHP language
The environment in which Drupal exists is collectively referred to as a LAMP environment, which stands for Linux, Apache, MySQL, and PHP, though other combinations exist, such as WAMP for Windows rather than Linux.
To get started, an administrator should first have followed these steps, or similar:
- Gone through the Drupal 8 installation (https://www.drupal.org/docs/8/install/before-a-drupal-8-installation)
- Gathered the code (https://www.drupal.org/docs/8/install/step-1-get-the-code)
- Installed the dependencies with Composer (https://www.drupal.org/docs/8/install/step-2-install-dependencies-with-composer)
- Created a database (https://www.drupal.org/docs/8/install/step-3-create-a-database)
- Configured the installation (https://www.drupal.org/docs/8/install/step-4-configure-your-installation)
Having done so, what exists now is the necessary environment for you to create your Drupal site. You might be thinking that the preceding steps have created the Drupal site already, but this isn't the case. Since I'm going to do this now, this is a good time to mention that my most often-used analogy of a website is a house. What the preceding steps did was select the location, prep the lot, run the utilities for it, pour the foundation, and ensure that you have the materials necessary to build the house. Now, we're going to build it.
"Oh, no!" you might be saying, "does that mean I need to learn all that web programming stuff, like HTML?" Fear not. One of the magical things that Drupal does is create all of the geeky stuff that's necessary for a website. After following a few steps, you will have a "vanilla" Drupal site, unadorned and not customized very much, but present and totally usable. Yes, just like a house that might be built in a cookie-cutter fashion, you have the ability to choose the paint, carpet, tiles, curtains, and appliances to make it unique and best reflect your vision, but those customizations are a topic outside of the scope of this book, although we will select a few "appliances" later on.
Unlike a house, there's no cutting, nailing, or other labor-intensive things to be done here with the raw materials waiting for assembly—just a few simple steps. First, though, there are a few pieces of information that you will need to know about in order to answer the questions that are asked about the new site during Drupal's installation process:
- Which URL has been assigned to the site? If the site is on a remote server, it might be something with a familiar look, like http://www.mysite.com. On a local system, it could be something simple like http://mysite or even http://localhost.
- What will the Drupal admin username and password be?
- What will the email address for the site be?
- What are the username and password for the database, and what is its name?
The installation process cannot be completed without the answers to these questions. Once you have them, we're ready to proceed!
We'll start by opening a browser. Any current version of the common ones, such as Chrome, Firefox, IE, Edge, or Safari, can be used. In the address bar, enter the URL that has been assigned to this site:
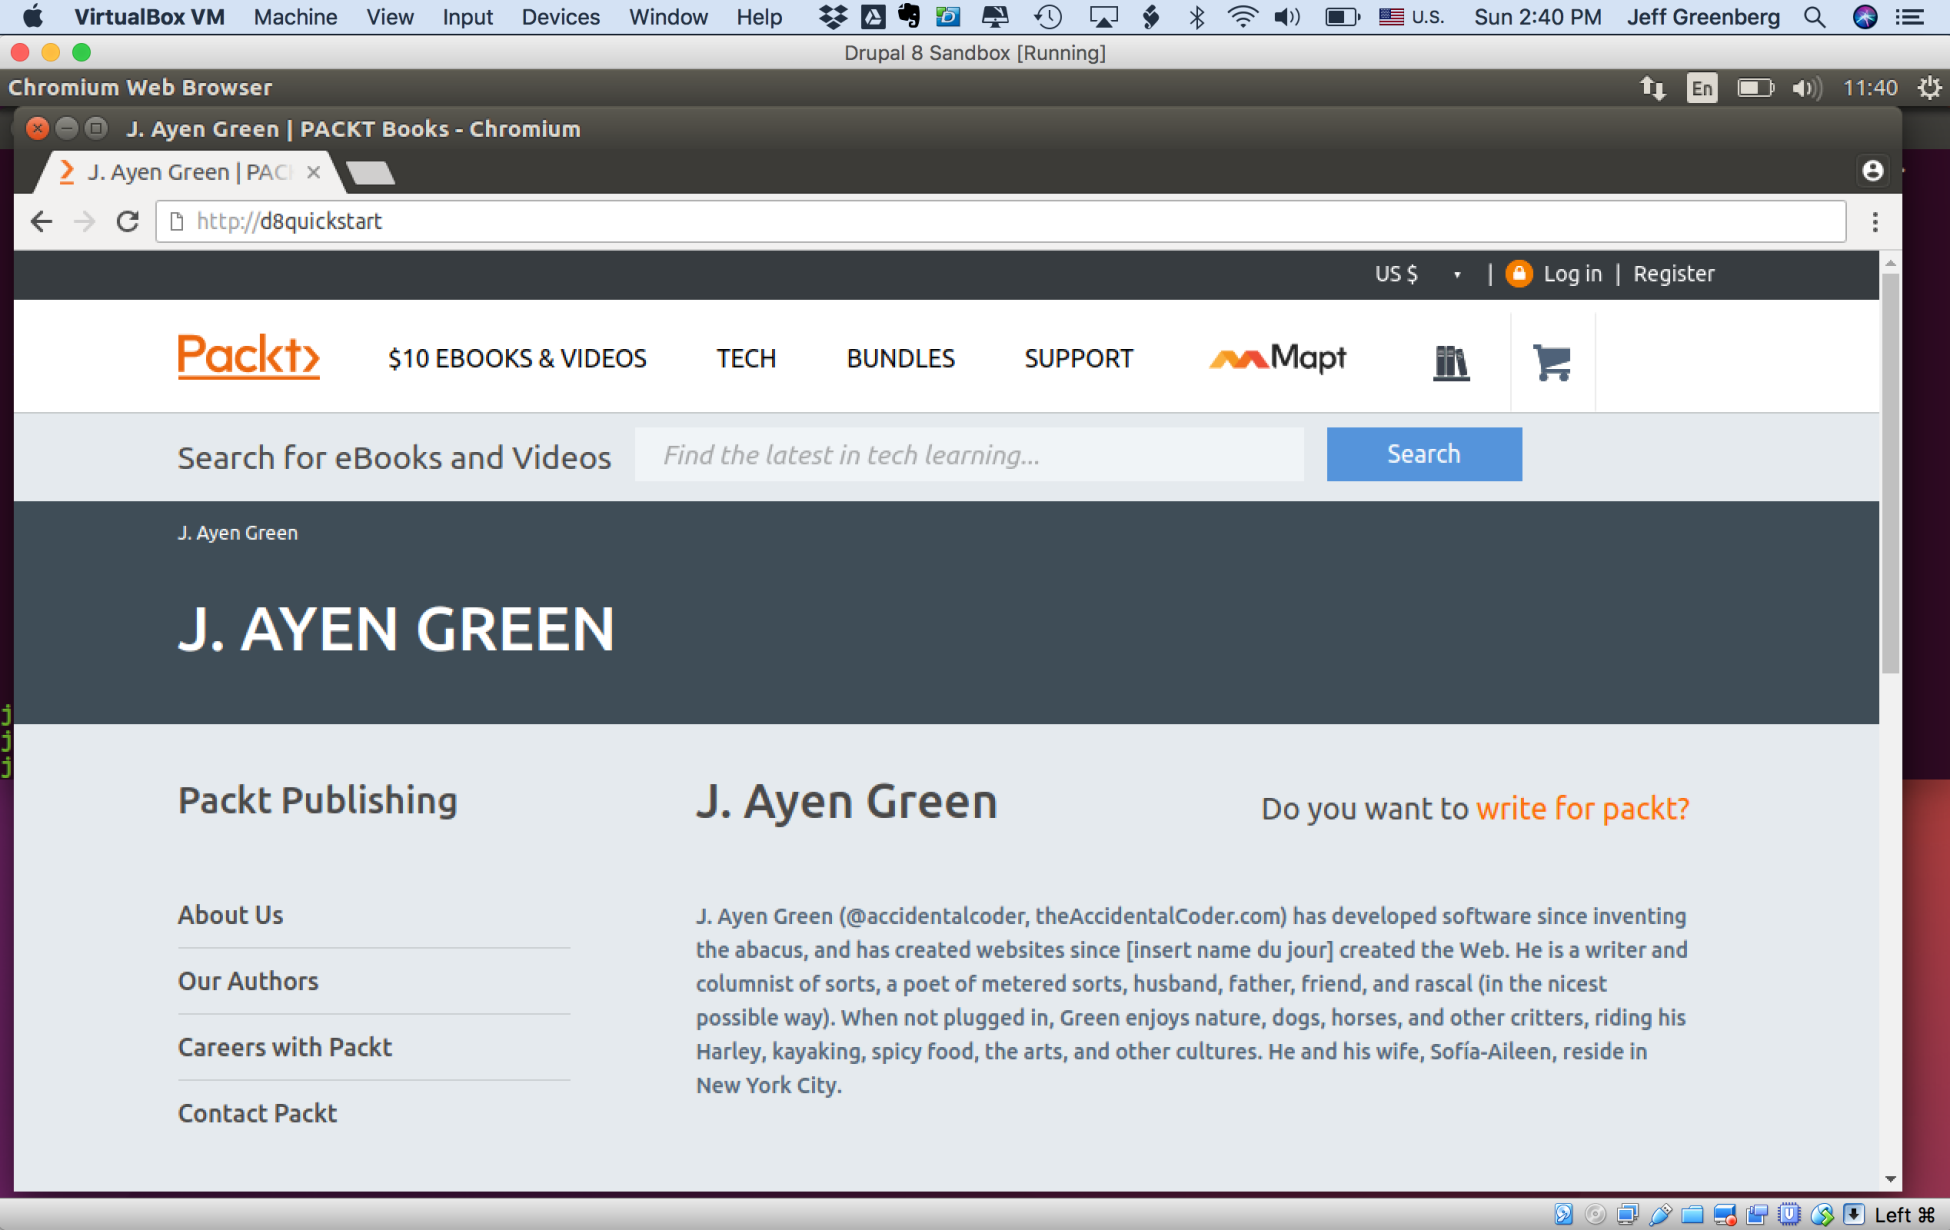
Running the Drupal installation script
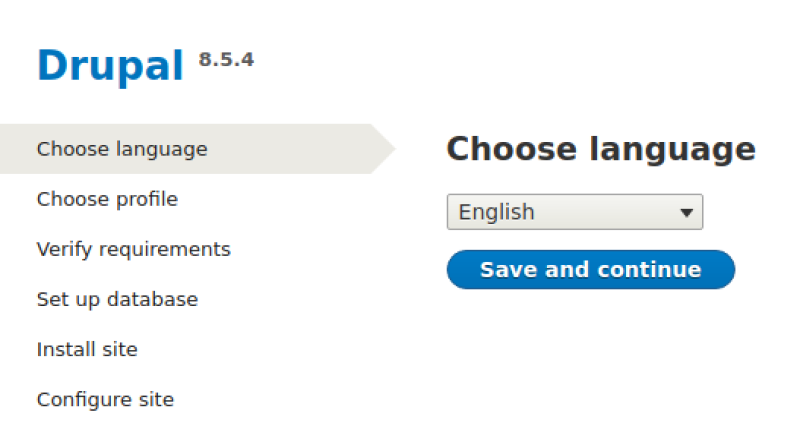
This is the moment when you find out whether all of the pre-installation steps taken by your administrator were completed successfully. If so, you will see a screen similar to the following:
A variety of things can go awry at this point, and the reasons for this include the following:
- The web server entry is misconfigured or pointing to the wrong folder
- The URL doesn't match the one that was configured
- The host's entry for the URL is needed but is missing or has been mistyped
- The Drupal files aren't in the correct place, or the web server entry is pointing to the Drupal folder rather than the web/folder within it
- The file permissions are incorrect
Hopefully, you will receive the page shown in the preceding screenshot; if not, the preceding issues can be quickly resolved so that you can.
You will notice that the URL in the address bar is different than the one you entered. When Drupal determines that the site has not been installed, which in this case is determined by there being no viable database, it redirects the request for the home page (the URL you entered) to the installation page, located at d8quickstart/core/install.php.
Let's take a look at some of the things on this first screen. The Drupal version number is given at the top left of the page; this is 8.5.4 in my case. It is up to you regarding which version you install, but it should definitely be 8 dot something, and it is worth noting that installing older versions, such as installing 8.5.3 rather than the current (at the time of writing) 8.5.4, would risk using a version containing a security issue that has since been fixed.
The default installation language is shown.
You can select a different language than that presented. Drupal offers dozens, but do continue with English if you want your screens to match the examples that are used in this book.
Lastly, the list of steps down the left-hand side are not clickable because they are used as a progress indicator rather than a menu. As you proceed through the installation, the current step will be highlighted, just like Choose language is now. Let's move on by clicking the Save and continue button.
An installation profile is a configuration or collection of settings and software that's predetermined to be used for a specific purpose. Currently, Drupal has only three available in a normal installation: Standard, Minimal, and Unami, with Standard being the default setting, and the one we want. From here, click the Save and continue button.
If Drupal finds the files and folders that it needs to continue, it will move quickly past the Verify requirements step to Set up database. Otherwise, it will display a list of the issues that need to be addressed before it can continue. Some issues that frequently arise from steps during the pre-installation that were missed or performed incorrectly include the following:
- In the Drupal file folder structure, there is a default folder within a sites folder, and inside the default folder should be a files folder. It is not present in the Drupal installation files and needs to be created manually. Often, this step is missed, or the folder is created but in a way that will not allow Drupal to write to it.
- The default sites folder contains a file called default.settings.php. That file needs to be copied within the same folder and named settings.php. This, too, is often missed, or the file is present but will not allow Drupal to write to it.
- Missing PHP extensions, such as ext-gd. Messages of issues such as this should be referred to your server administrator.
Once things are as Drupal expects to find them, it will move on to inquiring about the database configuration:
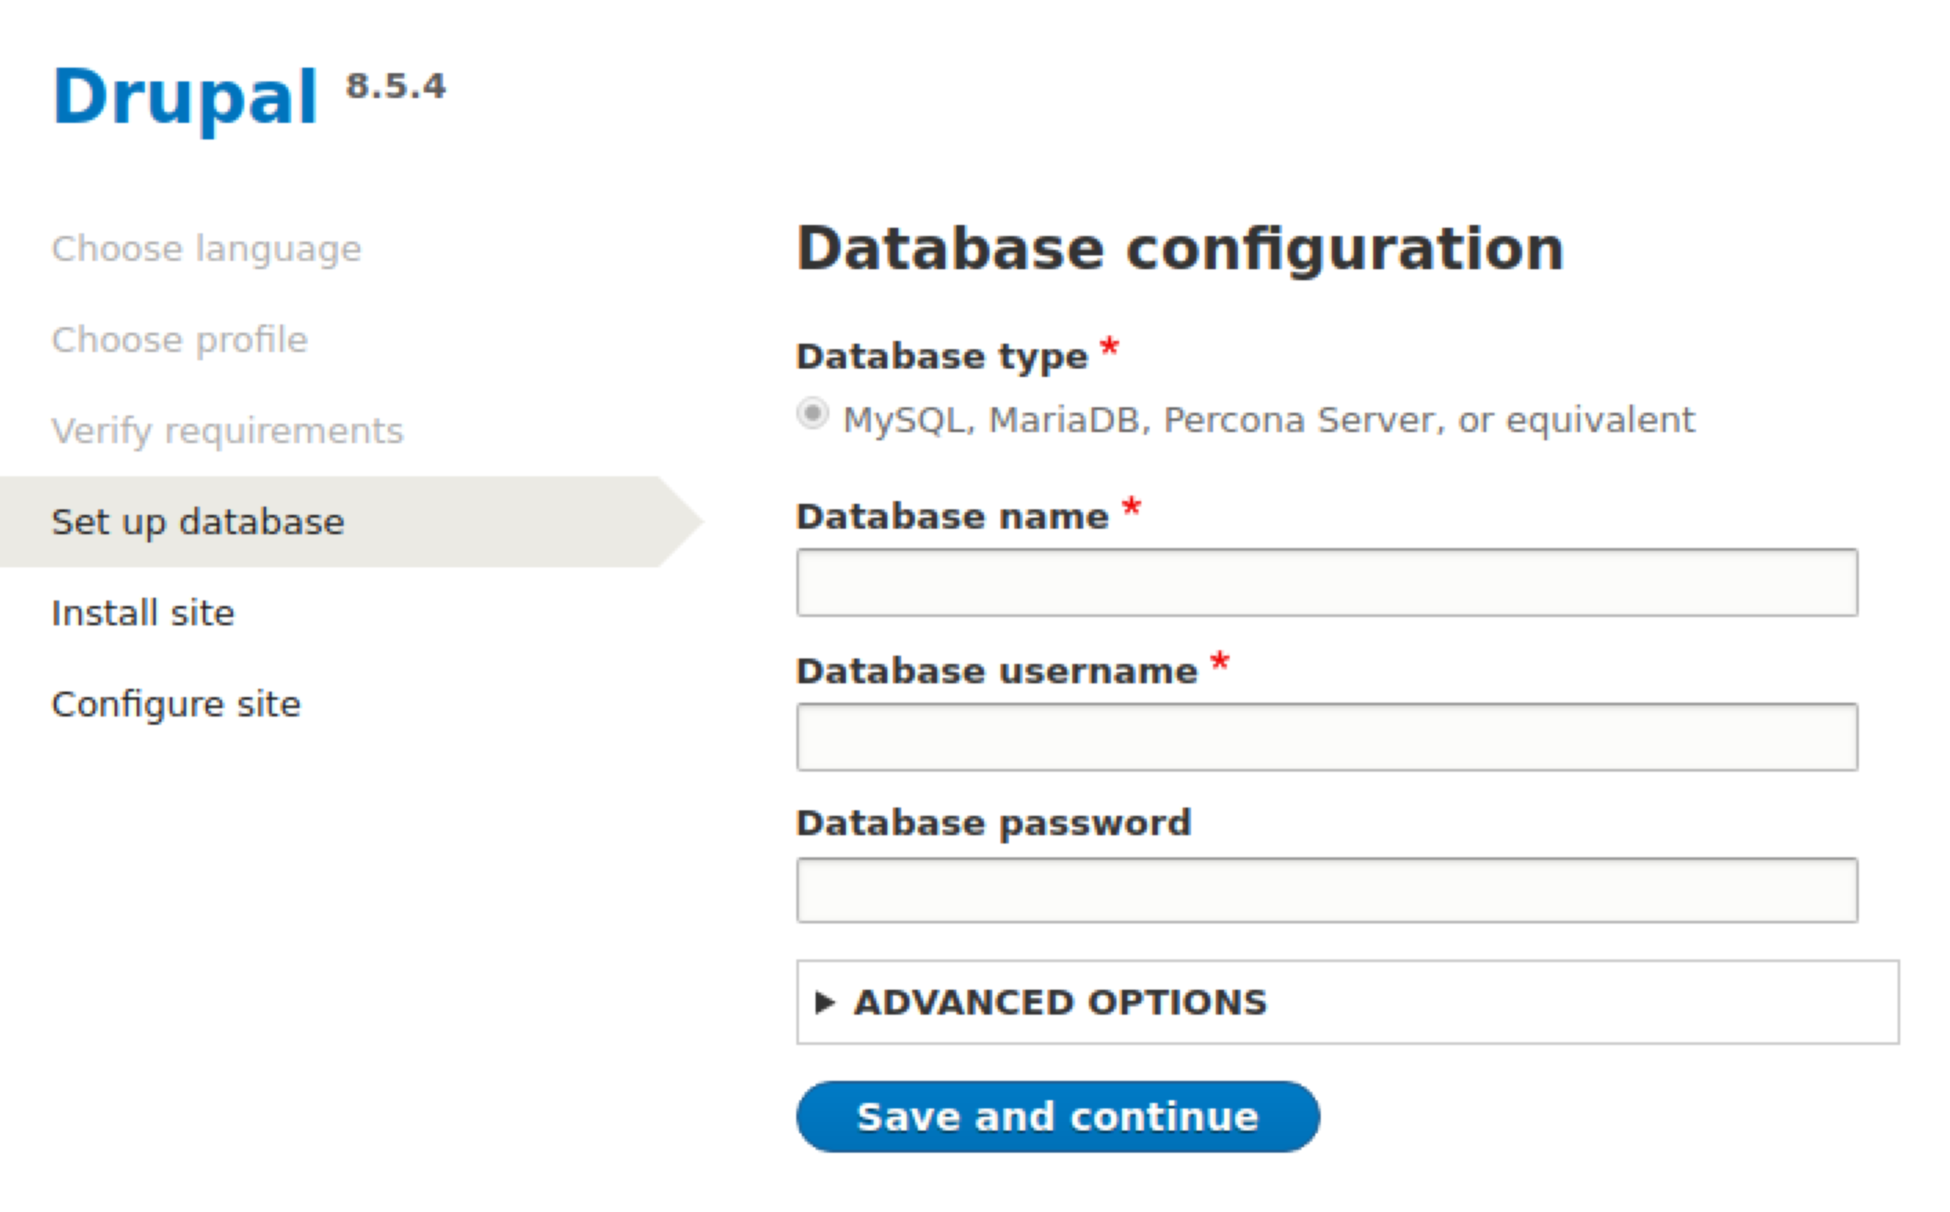
It's time to make use of the database credentials that you obtained. In the text boxes provided, enter the database name, database username, and database password, and then click the Save and continue button.
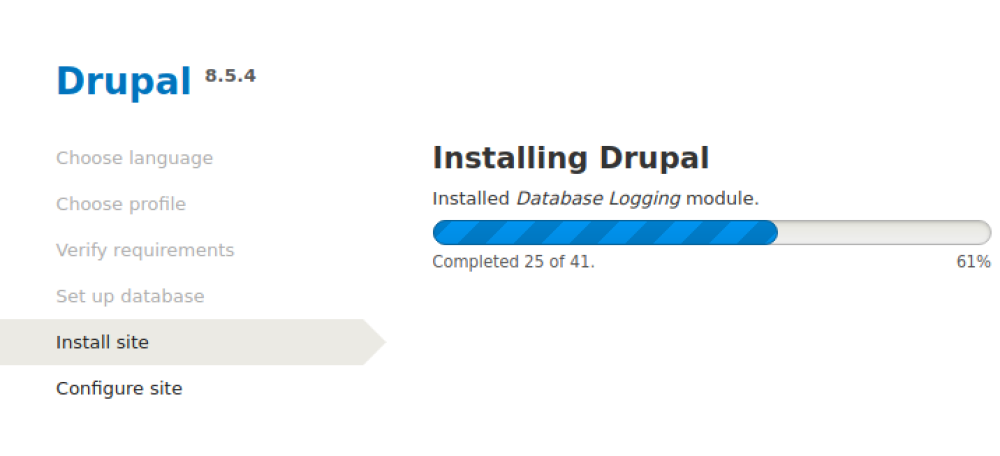
At this point, Drupal will begin installing itself, entering configuration information into the database and initializing data structures. A meter will keep you informed of its progress, as shown in the following screenshot:
Once Drupal has installed itself, there is a final step in the process, that is, providing the site configuration. You will need the information that you obtained earlier to answer these questions:
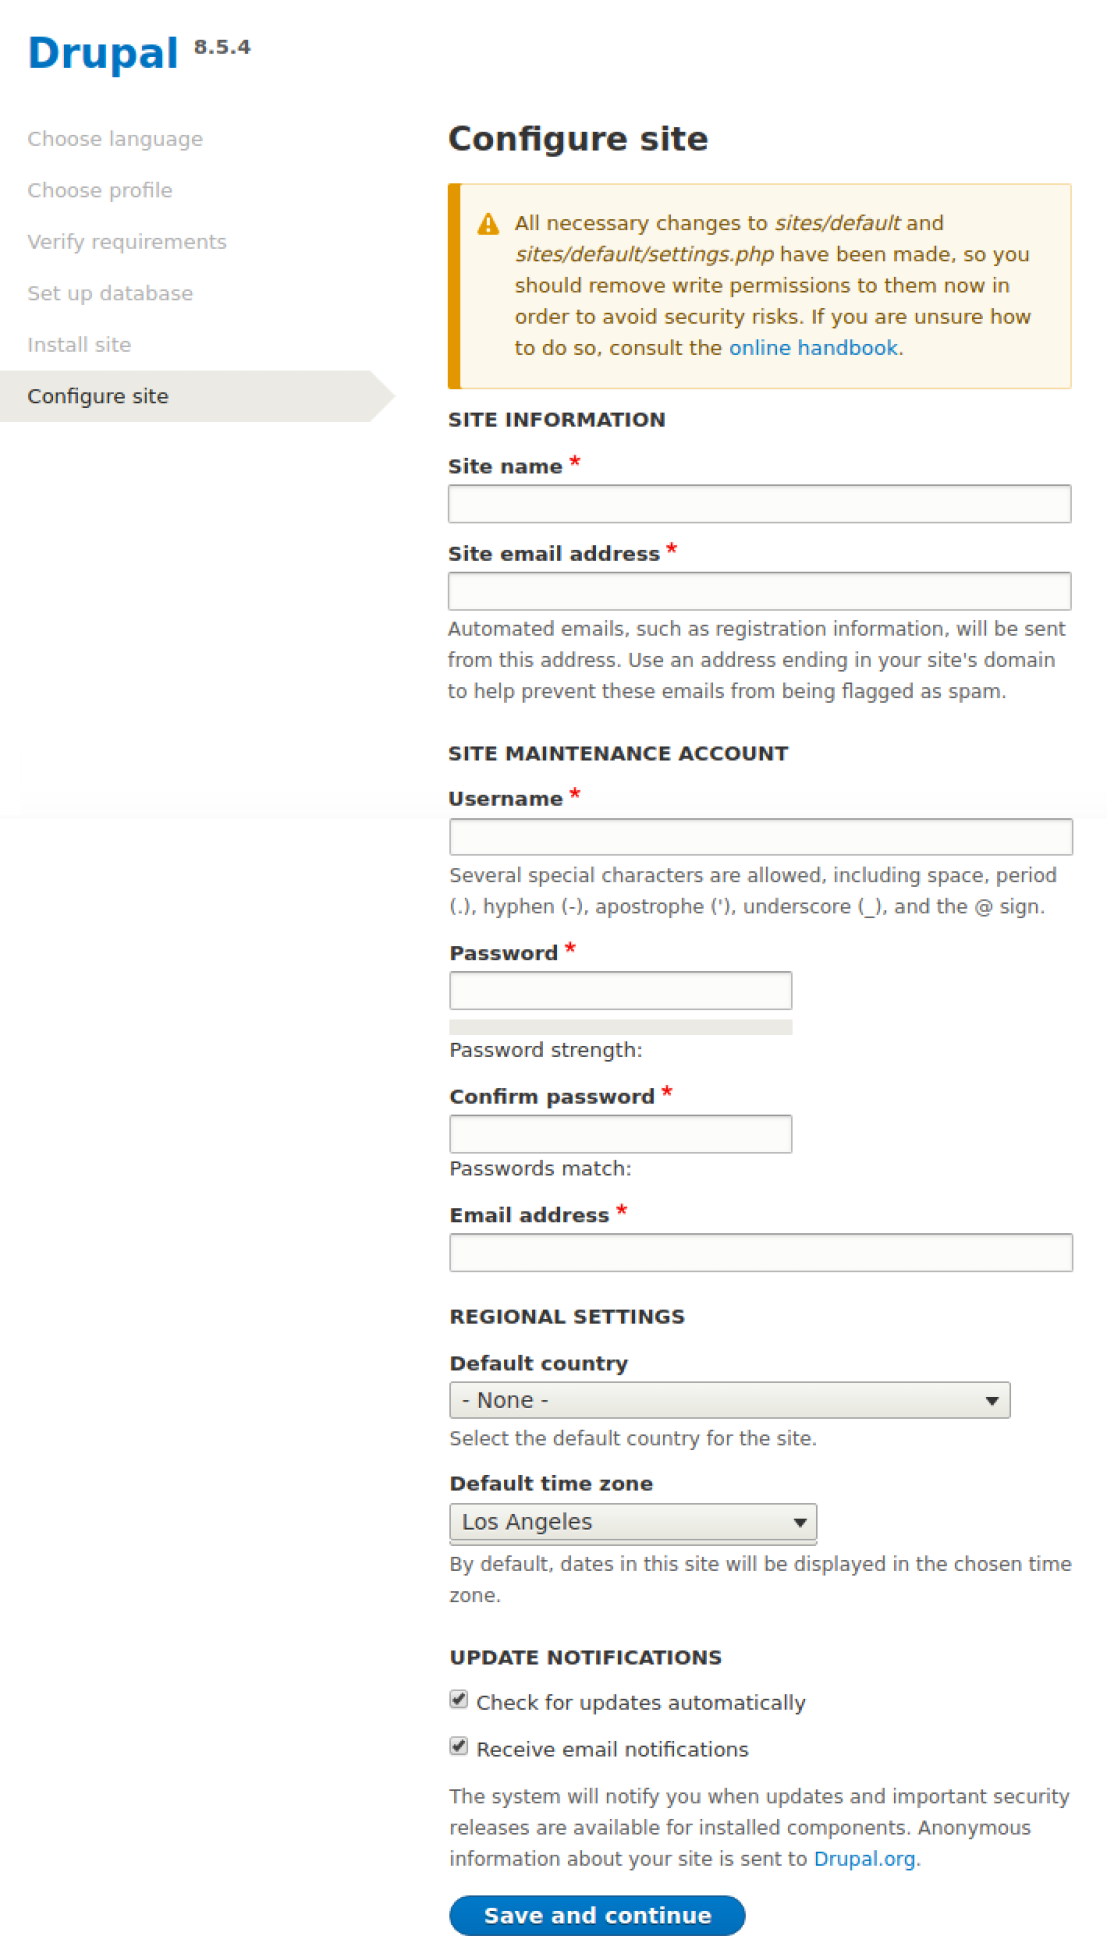
Site information
The Site name that you enter will be the name Drupal identifies with the site, and the name that it will display if configured to show the site name rather than just a logo or logotype. This and any of the settings that you enter on this page can be changed at any time.
The Site email address is used to send contact messages when a contact form is enabled.
Site maintenance account
The capability to perform various tasks in Drupal is provided to a user by way of permissions that are granted, not by username, but by user role. We'll discuss this topic more in a later chapter. For now, the main thing you need to know is that the user role with the most capability is Administrator, and of the administrators, there is a single superuser login that is granted every permission. This role is most often referred to as User 1 because this is always the first user that's configured for a site, and so receives that user ID.
The username, email address, and password entered here will be assigned to User 1. If this will not be you, and if you have not been given the credentials to use on behalf of the person it will be, make a note of the values that you enter so that they can use them to log in and change them.
Regional settings
Drupal creates log entries for certain events, and sends messages on behalf of the site, such as notifications of new content to subscribed users, login instructions for users receiving new accounts, and so on. The server itself might be located in one time zone, and may host several sites. The date and time on the computer might not necessarily be the same as that of the organization to which the site belongs. The location and time zone entered here are used to ensure that the log entries and communiques use the correct time.
Update notifications
Like any software, Drupal occasionally needs updating. Also, because much of its functionality comes via add-on modules and contributed modules, they occasionally need updating too, and each can have different update schedules or be updated on a completely ad hoc basis. Therefore, Drupal will perform a check on a daily basis to see if any new releases are available.
These checks are important, because the reason for the update can be to fix security-related issues. For that reason, it is normally good to keep the checkboxes checked. However, there are instances where there is no need to do so, for example, when there is an IT group that will be monitoring releases so that it isn't necessary for the site to do so, or in the case where the site is a local copy of a site used for development that will always match another site's versions. Again, the choices made here can be changed at any time, so if you're not certain, leave them selected.
Click the Save and continue button, and Drupal will render and display the new website for you!
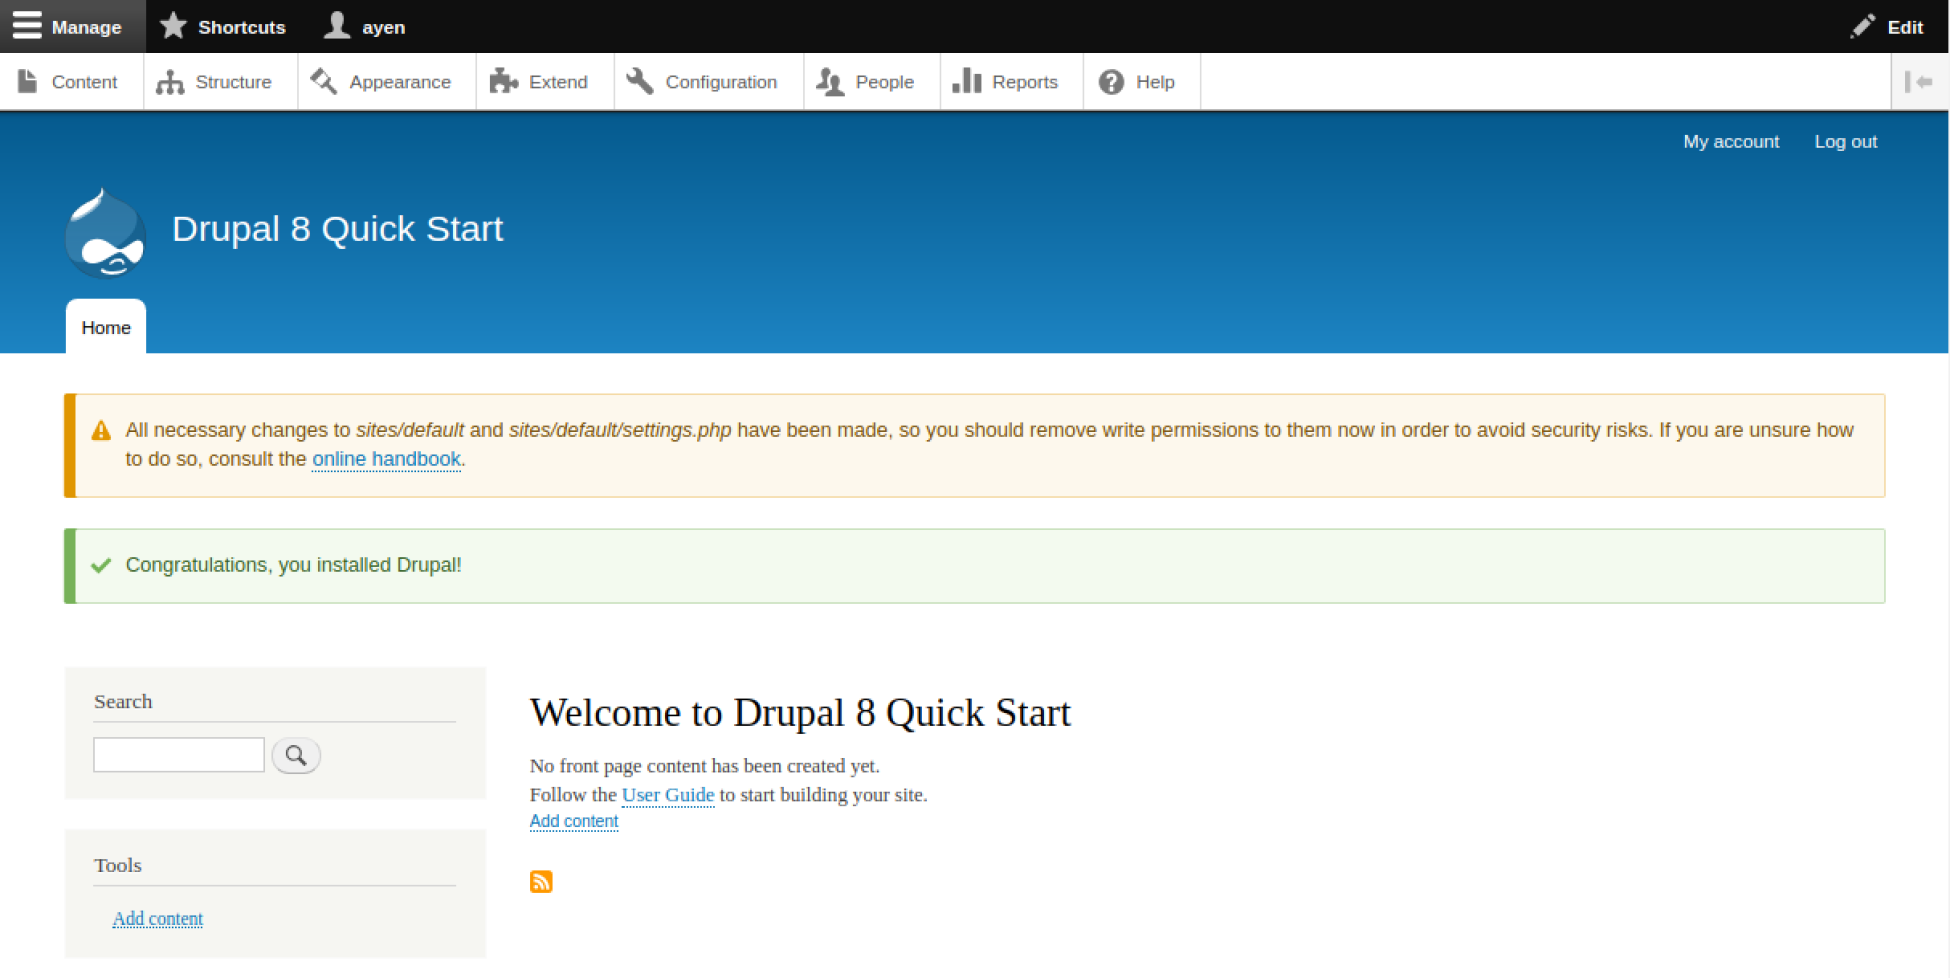
Congratulations! How was that for a quick start? You are looking at a fully functional Drupal site. However, what is a content management site without content? Are you ready to continue? Let's move on and give you the grand tour.


