


Applying Displacement maps in Blender
We will now learn how to load an image as a Displacement map and tell Blender how to correctly process it with the help of a Displace modifier. A Displace modifier is used to deform a mesh according to the value of the colors of a Displacement map.
In the following steps, we will prepare a mesh for displacement:
- Add a plane with Shift + A.
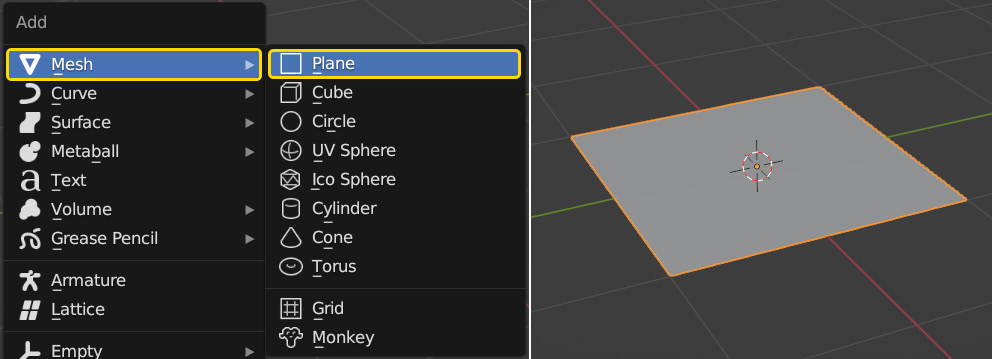
Figure 6.12 – Adding a plane
- In Edit mode, subdivide the plane by pressing W and selecting Subdivide.
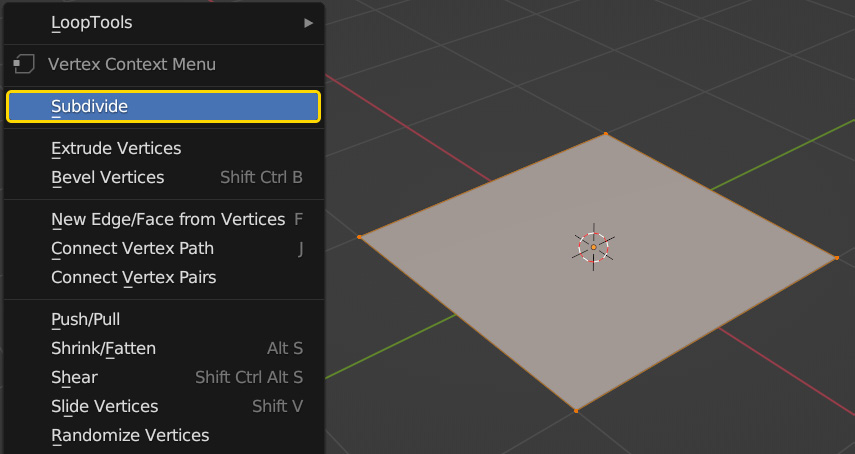
Figure 6.13 – Subdividing the plane
- In the Subdivide menu that appears in the bottom-left corner of the screen, set the number of cuts to
100.This will give us lots of geometry, which in turn will give us a more detailed result.
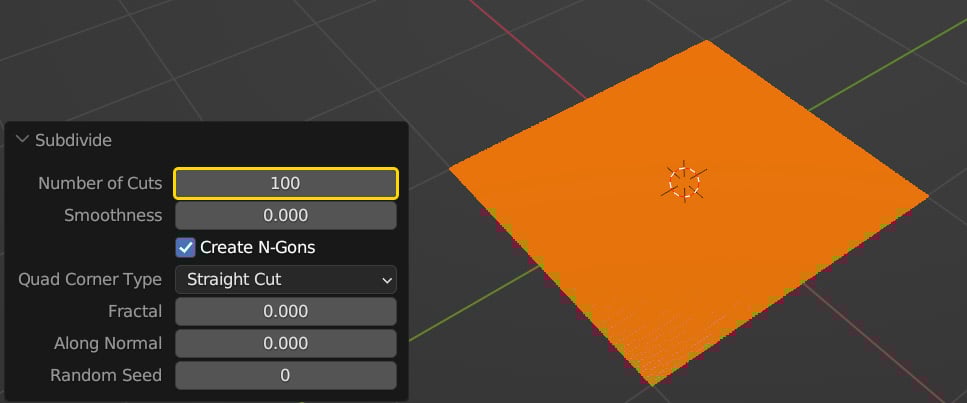
Figure 6.14 – Increasing the number of subdivisions
The plane now has 20,604 edges, which will help achieve a good displacement result. The higher...


