After having planned and organized your work and created your Git repository, you should now configure a VSTS build pipeline, which will allow you to do continuous integration of your application:
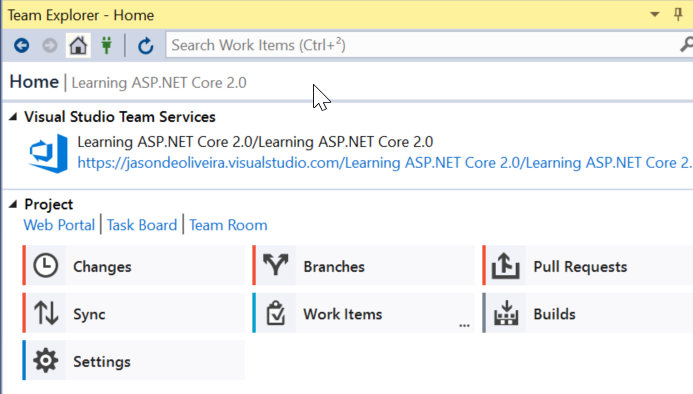
- Open Visual Studio 2017 and go to the Team Explorer tab, then click on the Builds button:

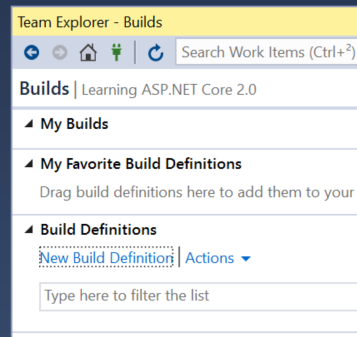
- Next, click on the New Build Definition link:

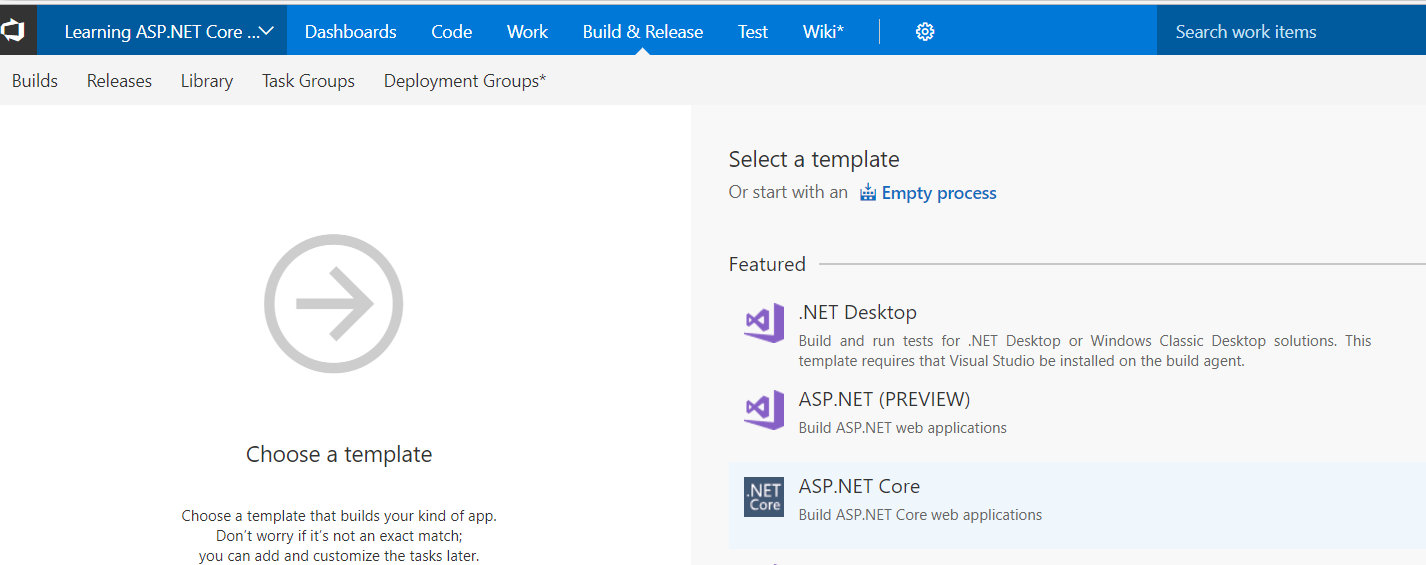
- The VSTS website is opened and you are presented with a choice of build definition templates, select the ASP.NET Core template:

- In the new build definition, enter a name and select your default agent queue. We recommend using Hosted VS2017:

- For choosing a source repository, click on Get sources. For our example, we use the default values (This project, Branch: master, Clean: false):

- To enable continuous integration, click on Triggers in the build definition menu, then click on the Enable this trigger button...


