Creating your course
Once you receive a notice saying that you've been approved to create courses, follow these steps:
- Log in to Studio at https://studio.edx.org (for edX) or https://studio.edge.edx.org (for edX Edge). The URL will vary for the installations of Open edX.
Note
You can experiment with a sandbox installation of edX by logging in to Studio at https://studio.sandbox.edx.org/signin with an e-mail address of
<staff@example.com>and a password ofedx. You can also view a live version of the sandbox course at https://www.sandbox.edx.org, using the same log-in credentials as the sandbox studio. See the Characteristics of your course section for detailed login instructions. - Click on the green + Create Your First Course button.
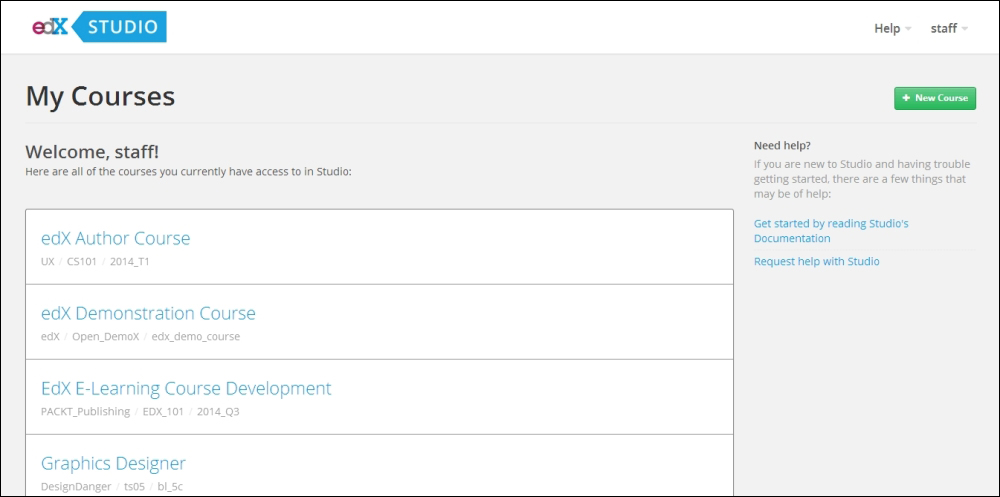
- Click on the green + New Course button (for subsequent courses).

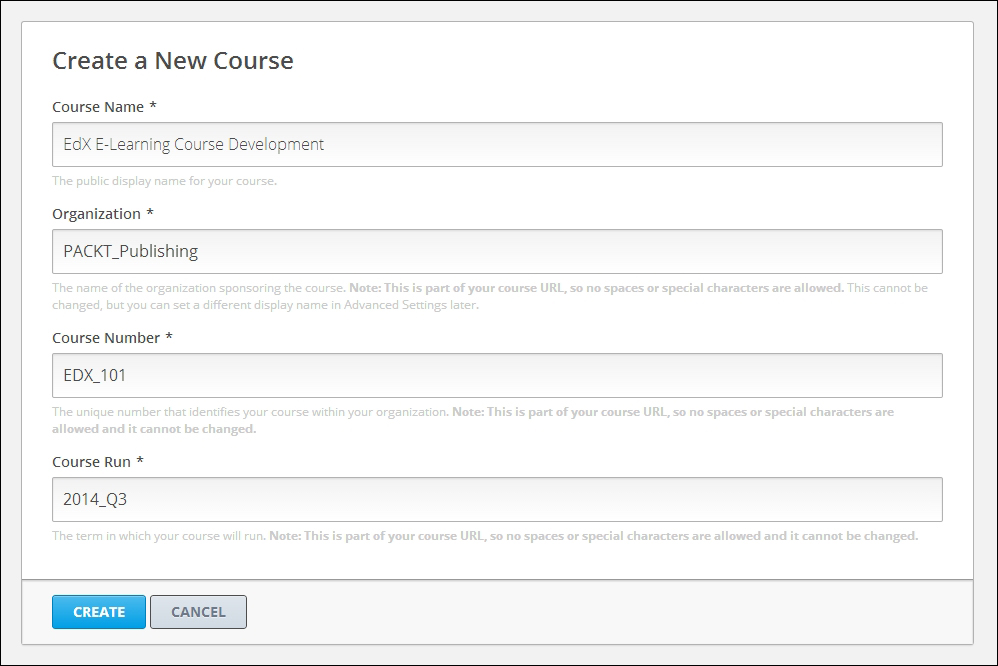
- Enter the course information in the Create a New Course form, as shown in the following screenshot:

Your course information becomes a part of the web address of your course, so enter it carefully. If you are creating your course on edX or edX Edge, you must contact the edX help site (http://help.edge.edx.org) to change it. Also keep in mind that the total number of characters in the following fields is limited to 65:
- Course Name: Enter the title of your course, using title capitalization.
- Organization: Enter the name of your university or company. Do not include whitespace or special characters; use an underscore instead.
- Course Number: Enter an abbreviation and a number for the topic and title of your course. In the preceding example, the course was numbered
EDX_101, which corresponds to EdX Course 101. Do not include whitespaces or special characters here.
Note
If your course is open to the world, be sure to include the "x" at the end. If it is exclusively an on-campus offering, do not include the "x."
- Click the blue Create button.
- View your empty course on edX Edge:
- Click on the blue View Live button in the course outline in Studio
- Log in directly from the edX or edX Edge URL
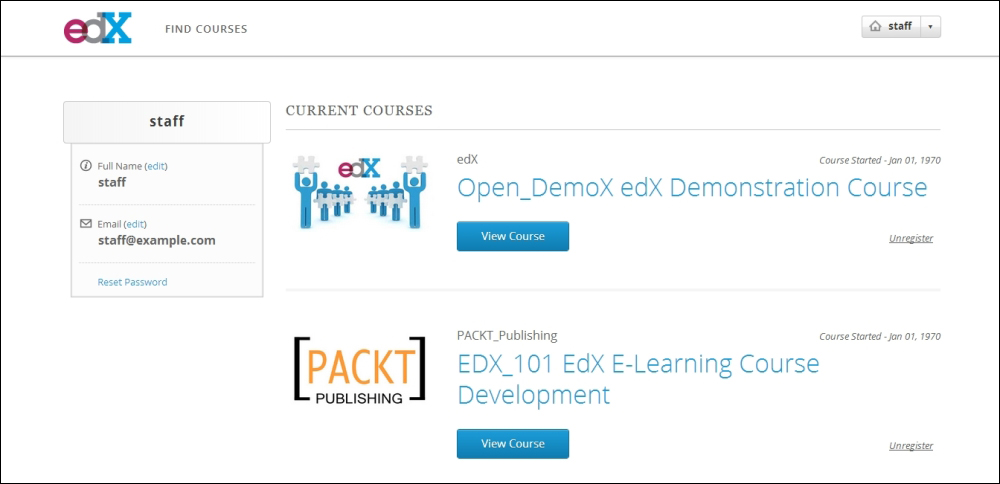
- Find the course you just created in the listing of available courses.

- Click on the blue View Course button to access your course.


