Creating constant and variable speed changes
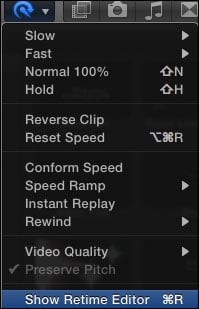
Final Cut Pro X allows you to make speed changes by simply clicking on a clip and going to the Retime menu as shown in the following screenshot. In Motion, applying speed changes is similar, but rather than a Retime menu, we have the Behavior menu to which we apply a speed behavior to the full clip or a portion of a clip.

Getting ready
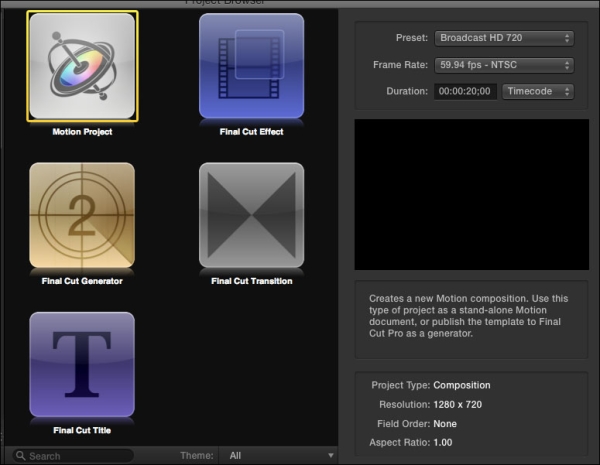
Locate a clip you would like to adjust the look of on your computer by adding some speed adjustments to it. Launch Motion. Select a Motion project with settings suitable for your footage. Choose Open. Use the Command + 1 shortcut to go to the File Browser. Navigate to your footage and import it into your project.

How to do it...
Select the clip in the Layers tab and go to your gear icon underneath the Canvas. Choose Set Speed from under Retiming as shown in the following screenshot:

Press the F7 key to show the HUD. The clip has already been slowed down to 50%. 100% represents the actual speed of a clip. To speed it...


