
We have already used list boxes in the previous chapters, and so we have a fair idea of what they do. Now, let's learn about all the properties of list boxes, which you can tweak to make them better suited for your needs.
- So, let's go to the QlikView document. To look at various list box properties, let's first go ahead and import, or create, some list boxes. For that, we will right-click on the dashboard, go to New Sheet Object and select the List Box... option there. This will result in the following window:
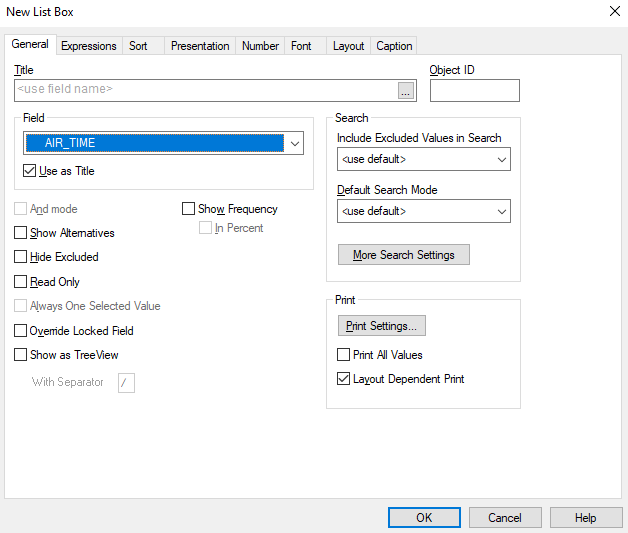
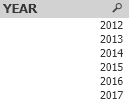
- In the Field drop-down menu, we will choose the YEAR field, just as an example, and then click on OK. As a result, the YEAR list box is created on the dashboard, as shown here:
- In this way, you will get just one field, but if, let's say, you are interested in adding multiple fields, then you can right-click, go to Select Fields, and...