Connecting the electronics
Let's attach all the electronics to the expansion plate. The following steps will guide you how to attach and wire them:
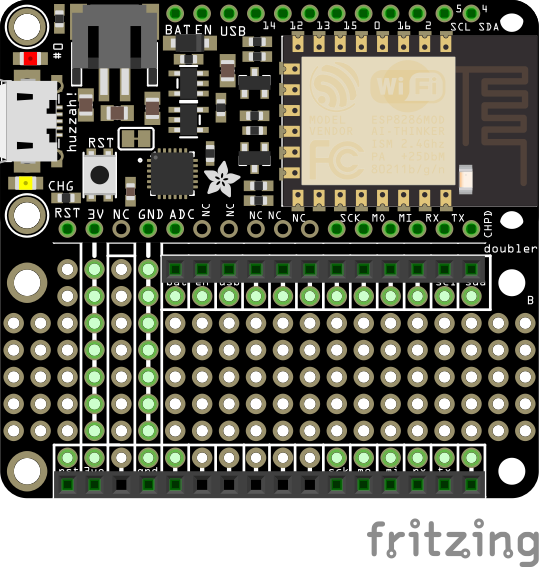
- Using four aluminum standoffs, attach the FeatherWing Doubler - Prototyping Add-on to the base plate (Figure 8.4):

Figure 8.4: Adafruit FeatherWing Doubler - prototyping add-on. Image courtesy of Adafruit Industries (https://www.adafruit.com)
- Place the Adafruit Feather HUZZAH ESP8266 on the FeatherWing Doubler, as shown in the following figure (Figure 8.5):

Figure 8.5: Placing the Adafruit Feather HUZZAH ESP8266 on the FeatherWing Doubler
- Take the Adafruit Stepper and DC Motor FeatherWing and a stick of extra-long male header, and break off five pieces, carefully pulling (or cutting) out the middle one.
- Insert it into M3 and M4. This will make it easy to connect and disconnect the DC motors (Figure 8.6):

Figure 8.6: Adafruit Stepper and DC Motor FeatherWing pre-paired with extra long male headers. Image courtesy of Adafruit Industries (https://www.adafruit...


