Navigating the STM32CubeIDE
When you launch STM32CubeIDE for the first time, you’ll see the Information Center. This center offers quick access to a number of valuable resources for STM32 firmware development.
To exit the Information Center, simply click the X on its tab. If you wish to revisit it later, simply navigate to Help | Information Center.
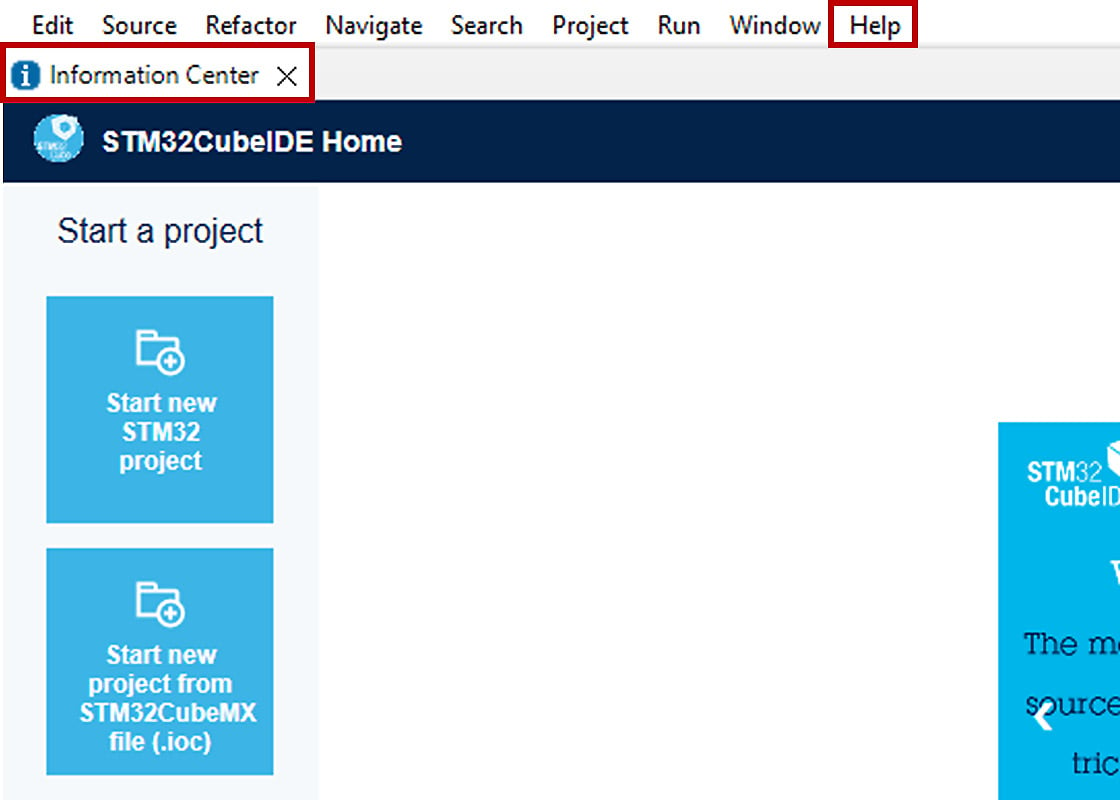
Figure 1.15: Information Center
The STM32CubeIDE is based on the Eclipse framework, and therefore, the layout and elements are similar to those of other Eclipse-based IDEs.
Let’s go through the process of creating a new project:
- Either click Create a New STM32 project in the empty Project Explorer pane or select File | New | STM32 Project.
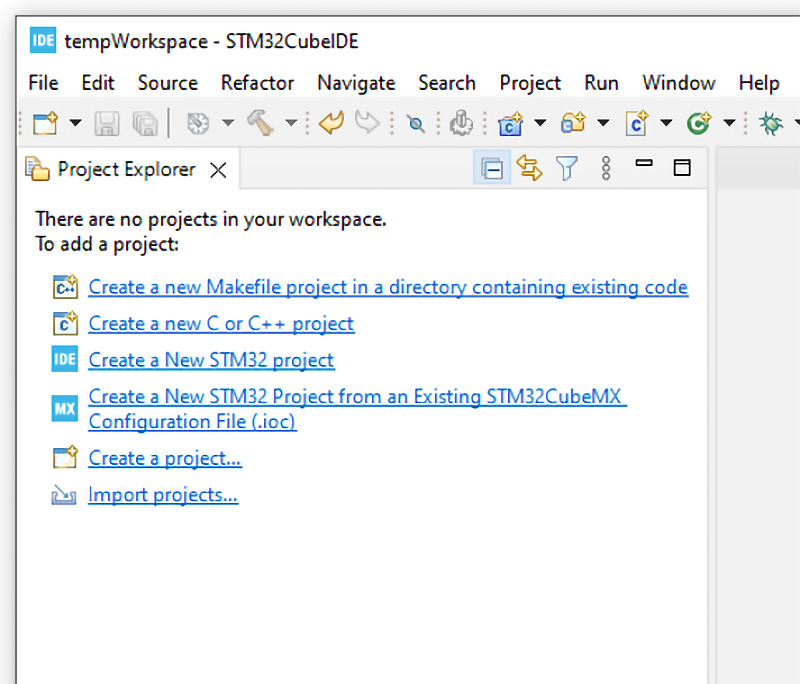
Figure 1.16: A workspace showing an empty Project Explorer pane
- You will be presented with the Target Selection window to select the microcontroller or development board for your project.
- Click the Board Selector tab.
- Enter
NUCLEO-F411into the Commercial Part Number field.
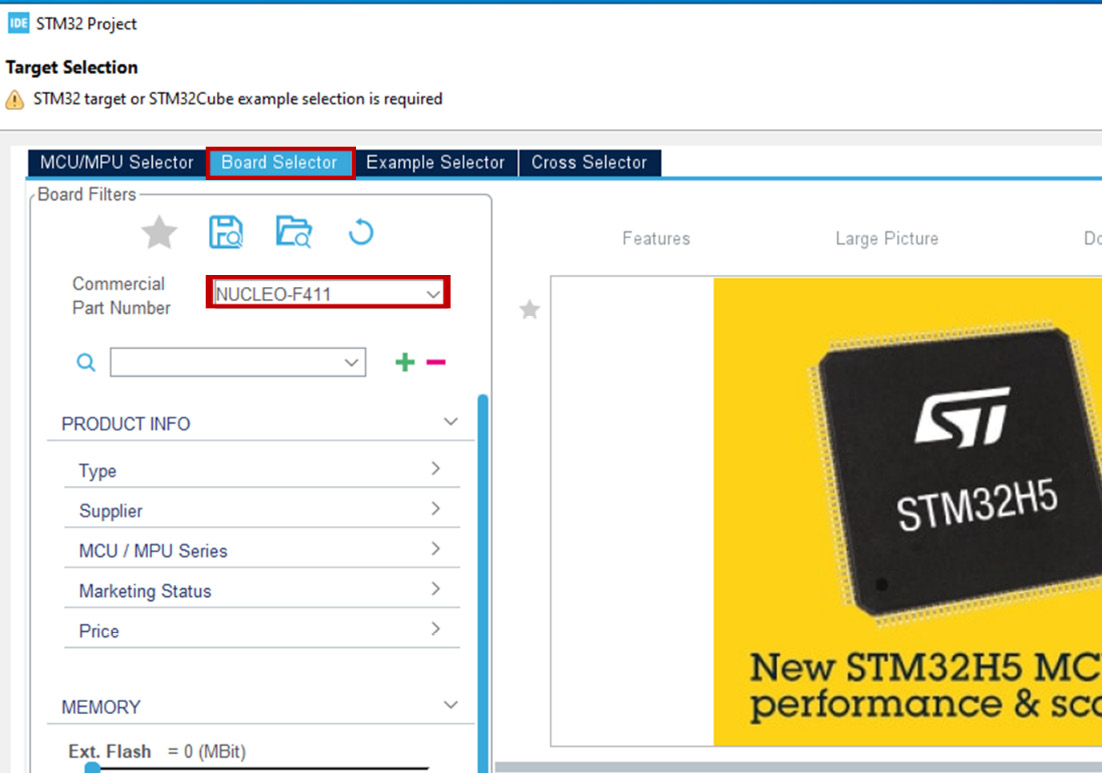
Figure 1.17: The Target Selection window
- From the displayed board list, select NUCLEO-F11RE, and then click Next.

Figure 1.18: The board list with NUCLEO-F411 selected
- Give the project a name.
- For Targeted Project Type, select Empty.
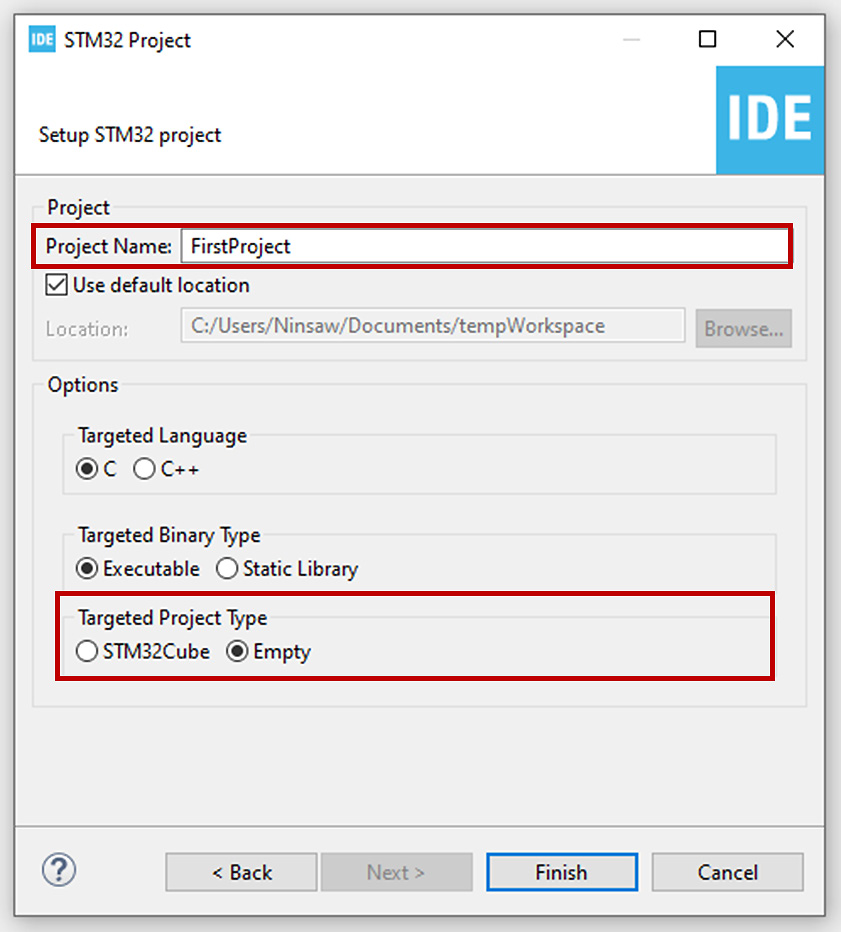
Figure 1.19: The Setup STM32 project window
- Click Finish to create the project.
You will see the new project, containing all the necessary startup files and linker scripts, in the Project Explorer pane.
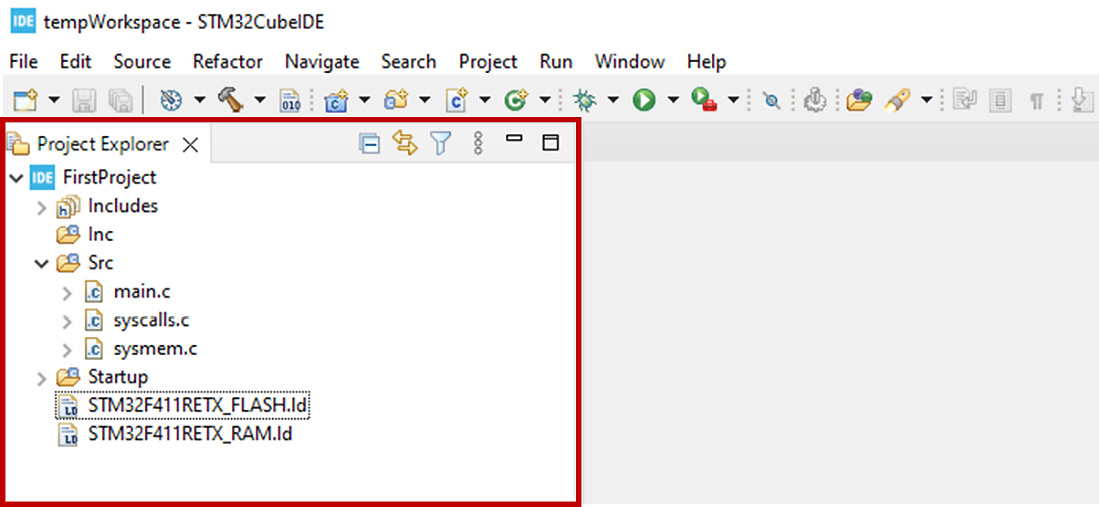
Figure 1.20: The Project Explorer pane showing a new project


