For some of the topics in this book, you may need to take some more initial steps, such as signing up for services and launching a virtual machine.
In this book, we have used the latest stable version of pfSense, which is 2.4.3. pfSense is an open source software and occasionally releases new versions or patches. So, in order to review the latest requirements, you should always refer to the latest documentation. So, let's review it now.
Navigate to the pfSense site's requirements page at https://www.pfsense.org/products/. This page lists some ready-made appliances, which are tried and tested by the pfSense community. If you want to avoid the hassle of building your server and trying out all the components, then it is recommended that you purchase one of the appliances. But, of course, if you are like a tinkerer or a geek, then you can opt for the option of building your server.
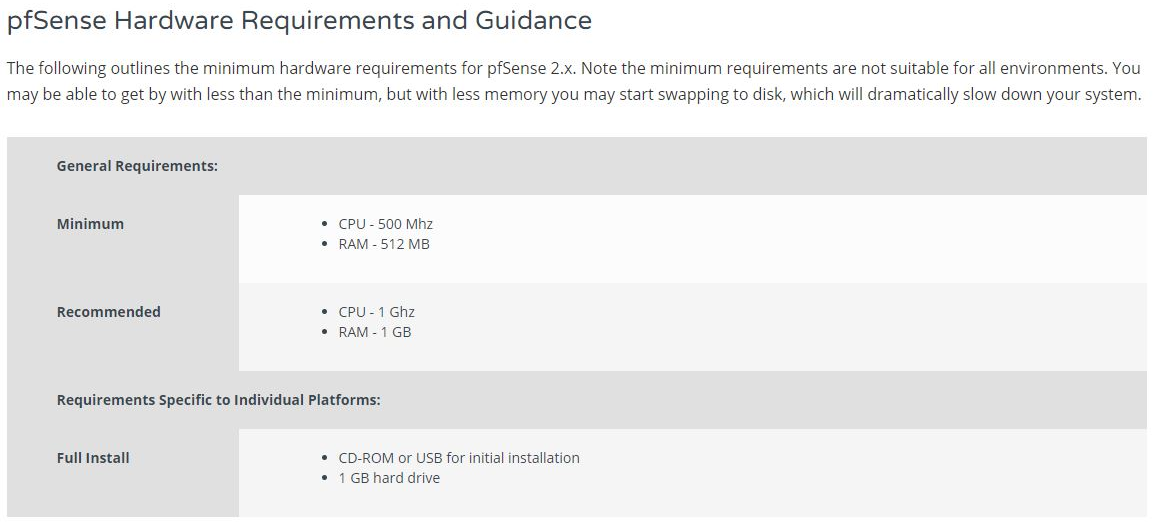
Let's review the hardware requirements for building your own server:

As you can see, the minimum requirements, as of the latest version, are very modest. pfSense can run on a PC with 500 Mhz CPU and 512 MB of RAM. Do you know of any sophisticated software that is capable of running on these low specs? Anyway, the recommended requirements are a bit higher than these. But still, 1 Ghz CPU and 1 GB of RAM is still very modest by modern standards. Here are some additional details for specific components of the system. You can check the compatibility of your network interface cards here as well:

This is very important because pfSense is a firewall and its primary function is securing your network. Besides that, there is also a link to the compatibility list for FreeBSD:

As mentioned earlier, pfSense is based on FreeBSD. So, it'll make sense to check the compatibility of your hardware with the FreeBSD compatibility list as well.
Now that you know all about pfSense and its features, let's install pfSense on a virtual machine.


