Our section header will include the page title, the selected location, and a button that we will use to see the locations:
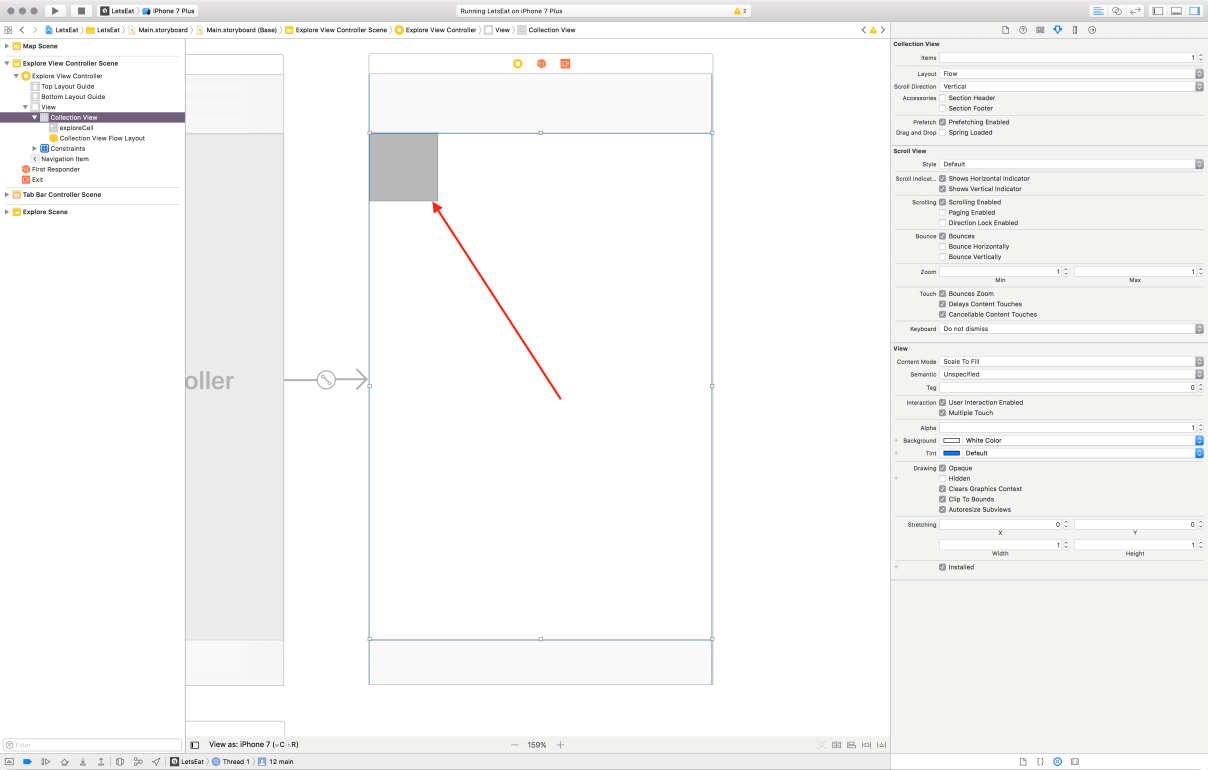
- Select the Collection View in the Main.storyboard outline.
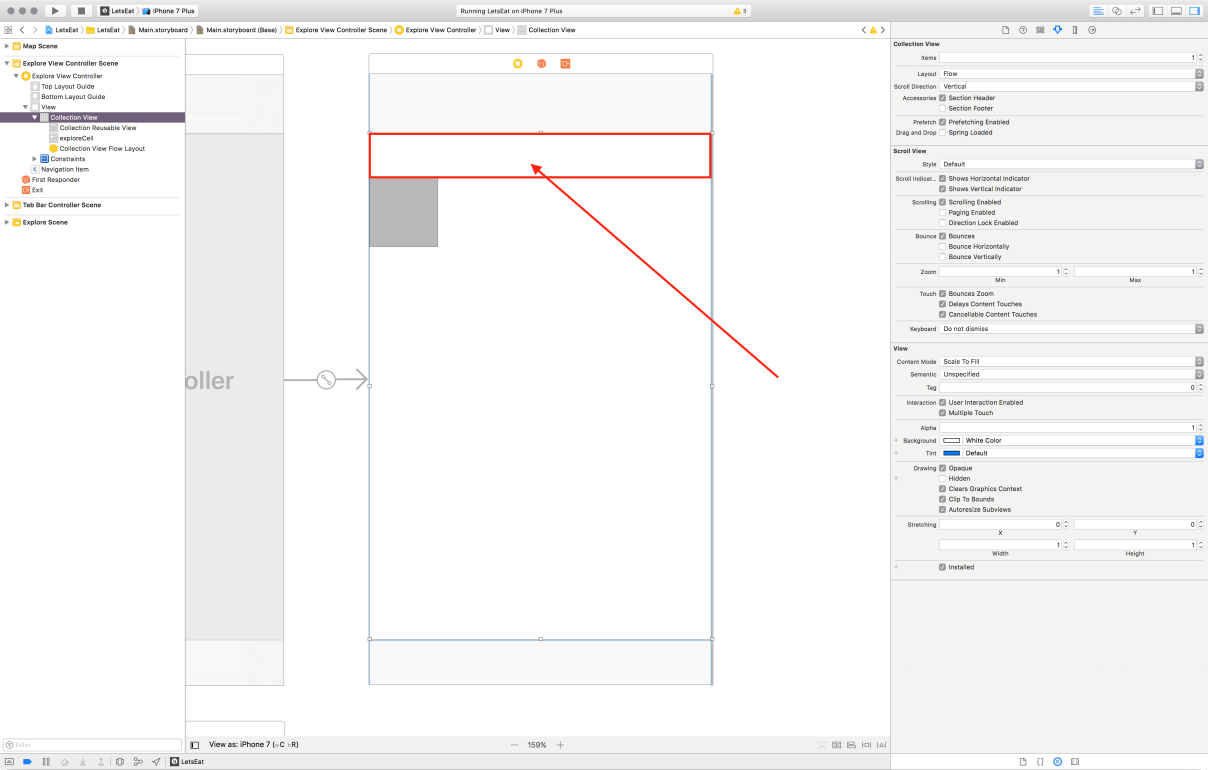
- In your Utilities Panel, select the Attributes inspector and, under Collection View Accessories, select the checkbox next to section header:

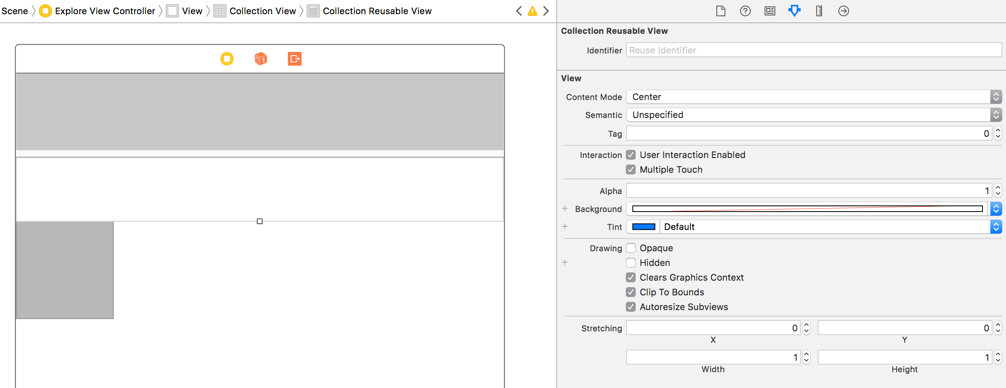
- You will see a box appear above our Demo Grey cell, which is our new section header—select it:

- In the Attributes inspector in the Utilities Panel, update Identifier to header:

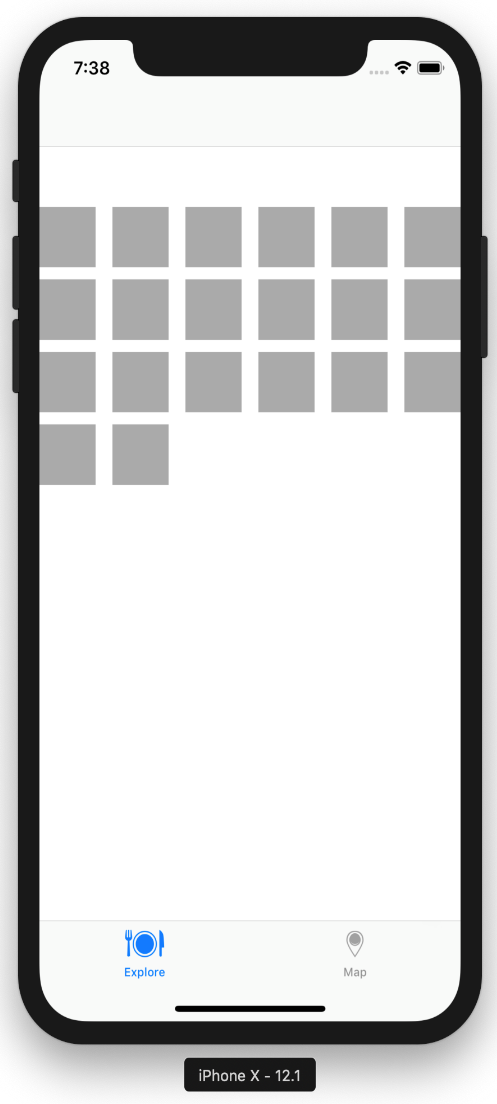
Let's build and run the project by hitting the Play button (or use command + R):

You will see that you now have a grid of boxes and some white space (the section header) near the top of the grid. Before we work on the section header, let's update our grid to match our design of two items per row with a particular cell size.


