Understanding image mapping
We will first discuss how Blender projects images on 3D models, and how we can control this. Let’s look at how a texture appears on a cube by default over the next few steps:
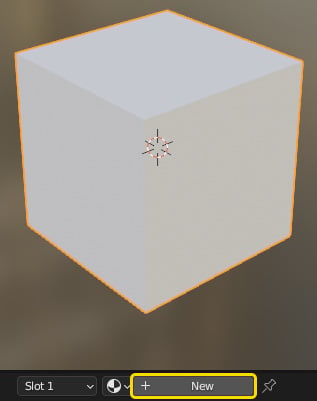
- Add a new material to the default cube.

Figure 3.1 – Adding a material to the default cube
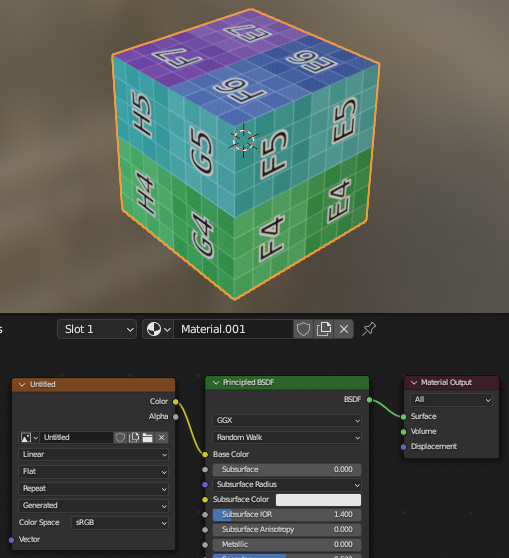
- Using the skills we learned in Chapter 2, Introducing Material Nodes, add an Image Texture node and load or generate an image for the material.

Figure 3.2 – Adding an image texture to the material
- Open the UV Editing workspace from the bar at the top of the screen.

Figure 3.3 – Opening the UV Editing workspace
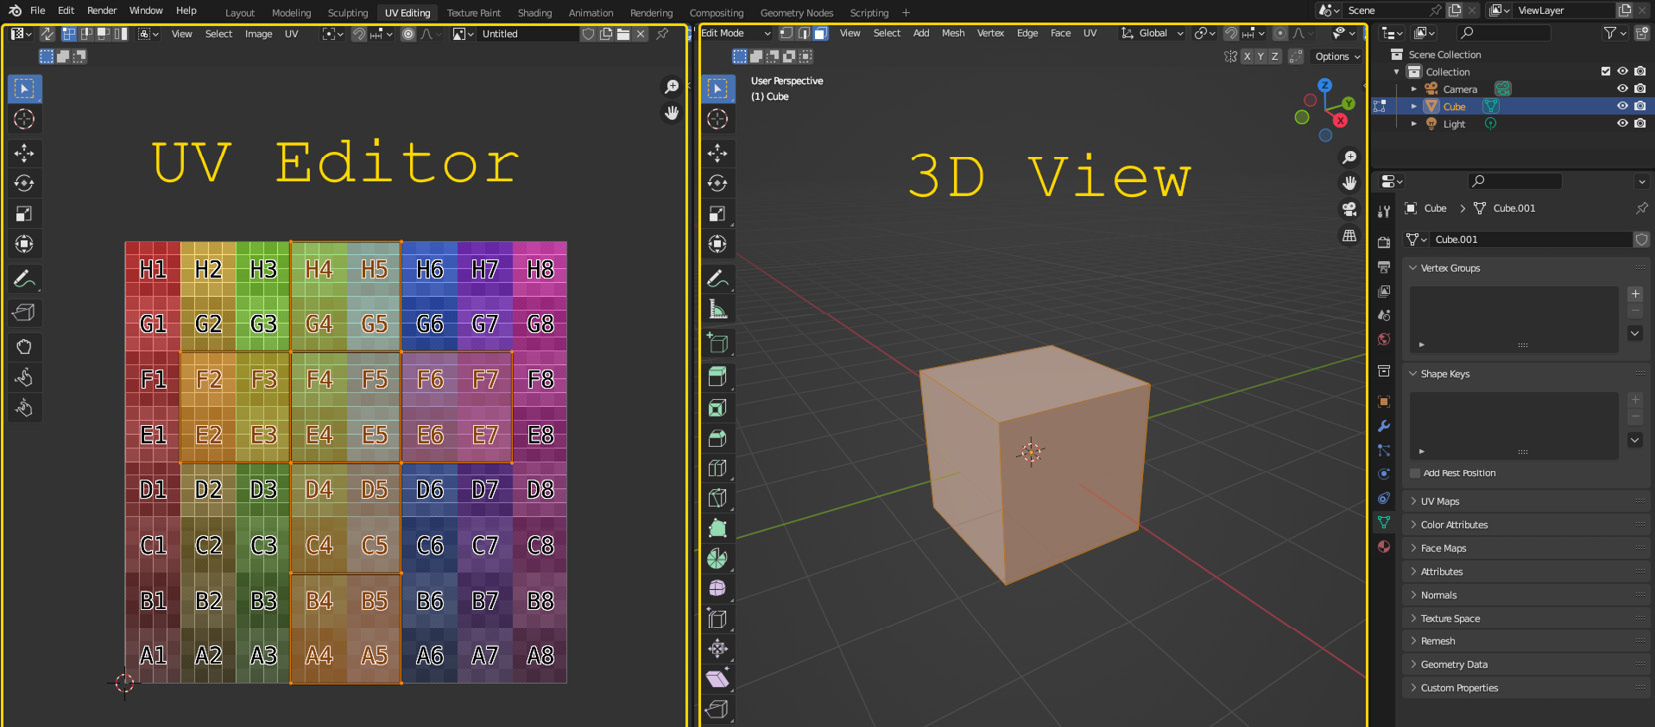
You have now split the screen into two windows. On the left, we have the UV Editor, and on the right, we have the 3D viewport where we can see the object.

Figure 3.4 – The UV Editing workspace
The UV Editor...


