


Generating a Displacement map in GIMP
We will now learn how to convert an albedo map into a Displacement map that we can use in Blender. In the following steps, we will use GIMP to turn a simple brick texture into a Displacement map.
This method of creating Displacement maps is beneficial when creating a Displacement map for a specific texture, but it cannot be used to create completely unique surfaces and patterns:
- Load an image texture into GIMP with Ctrl + O.

Figure 6.5 – Loading a texture into GIMP
- In the top pane, open the Colors menu and select Hue-Saturation.
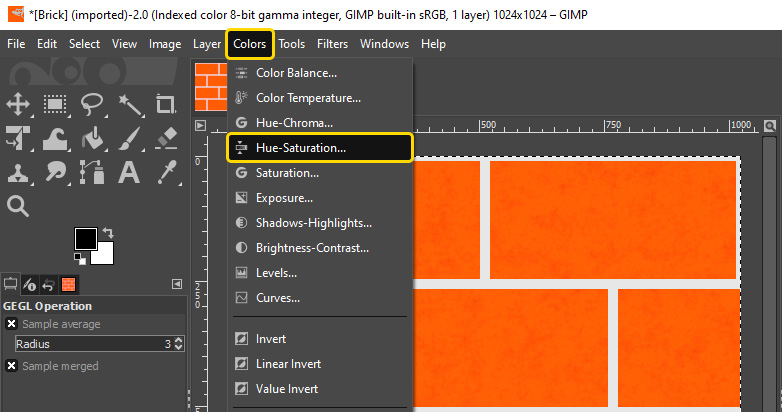
Figure 6.6 – Opening the Hue- Saturation properties
- Drag the Saturation slider to the lowest possible value.
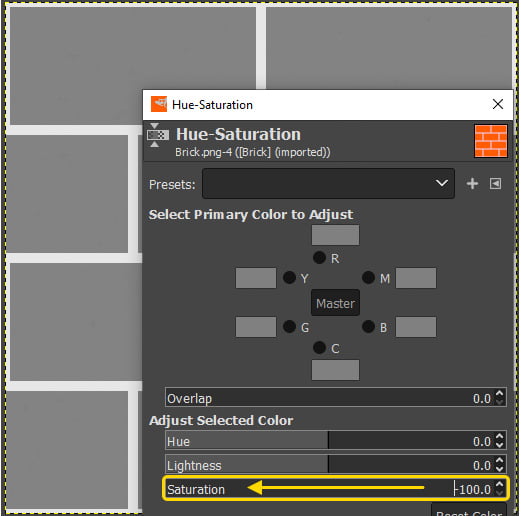
Figure 6.7 – Reducing the saturation
Tip
The Hue-Saturation menu might not work as expected after working with normal maps. To prevent any issues, visit the Image menu in the top pane, open the...


