Setup JMeter to Record Our Browsing Session
- Launch JMeter:

Figure 1.1: JMeter
- Use the Templates… feature of JMeter:

Figure 1.2: JMeter Templates… feature
- Choose Recording with Think Time model and click Create:

Figure 1.3: Recording template
- The test plan is ready:

Figure 1.4: Result of Recording template
- To save time in the future, we will select the HTTP Request Defaults element and fill in the Server Name or IP and Port Number sections:

Figure 1.5: Result of Recording template
Note
With this trick, we will share these two fields in every element HTTP Request Defaults and JMeter will not put them in each HTTP Request during recording.
Caution
During the load test, you should avoid having the injector (JMeter) on the same server as the application under test.
Otherwise, the injected load will be impacted by the application's bad performance, and the application could be impacted by the injector's bad performance.
Our tree is ready; we must now start the proxy server of JMeter.
But before doing that, let's look at the HTTP(S) Test Script Recorder element.
- For the name of recorded transactions, we have two options in Recorder:
Transaction name, which allows you to fully name them as you wish.
Prefix, which will just prepend the prefix to the default name given by JMeter, which is usually the URL path.

Figure 1.6: Transaction naming strategy
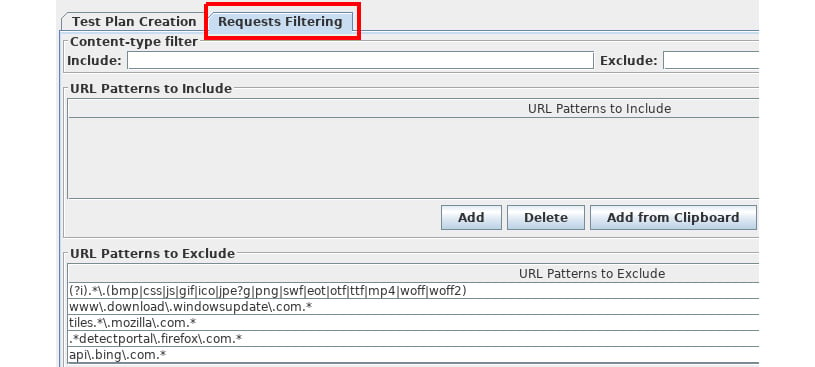
- Note that with the default configuration of the template, static resources (image, CSS file, JS file…) are not recorded:

Figure 1.7: Exclude static resource capture
JMeter is now ready to record our navigation session.


