Building the OpenCV samples with Eclipse
Building and running a few sample applications is a good way to test that OpenCV is correctly set up. At the same time, we can practice using Eclipse.
Let's start by launching Eclipse. The Eclipse launcher should be located at <eclipse>/eclipse.exe (Windows), <eclipse>/Eclipse.app (Mac), or <eclipse>/eclipse (Linux). Run it.
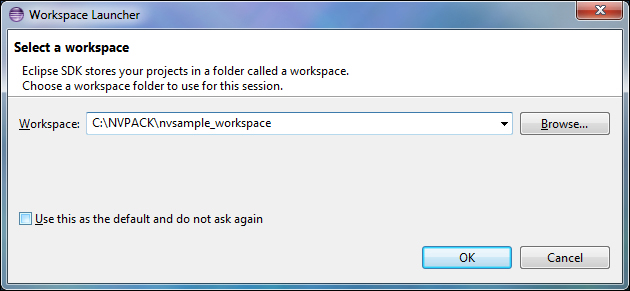
We should see a window called Workspace Launcher, which asks us to select a workspace. A workspac
e is the root directory for a set of related Eclipse projects. If we are using TADP, enter <tadp>/nvsample_workspace, which is a workspace where the OpenCV4Android library, samples, and tutorials are already set up as projects. Otherwise, enter any location you choose.
Tip
We can return to Workspace Launcher anytime via the menu: File | Switch Workspace | Other….
If the Welcome to Eclipse screen appears, click on the Workbench button.
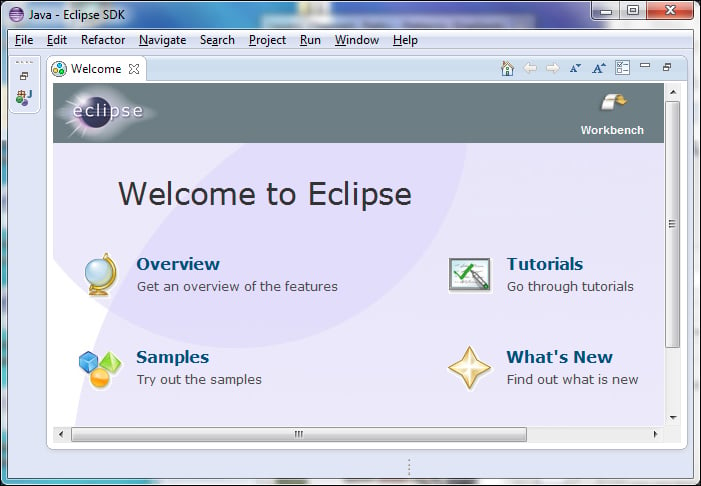
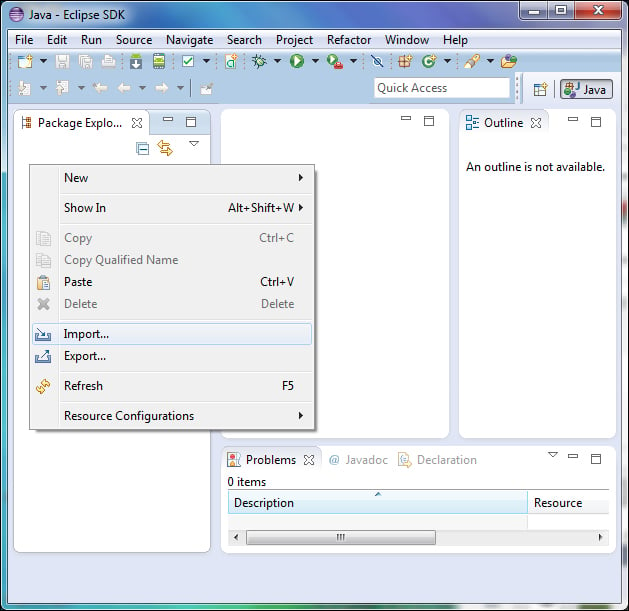
Now, we should see a window with several panels, including Package Explorer. If we are not using TAPD, we need to import the OpenCV sample projects into our new workspace. Right-click on Package Explorer and select Import… from the context menu.
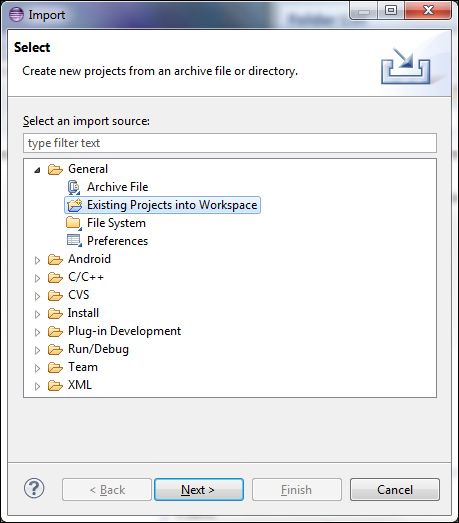
The Import window should appear. Select General | Existing Projects into Workspace, and then click on Next>.
On the second page of the Import window, enter <opencv> in the Select root directory: field. Under the Projects: label, a list of detected projects should appear (If not, click on Refresh). The list should include OpenCV library, samples, and tutorials. Ensure that all projects are selected and click on Finish to import them.
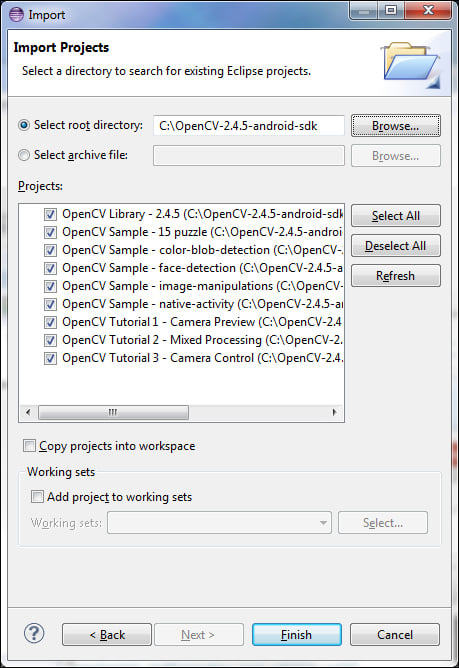
Once the projects are imported, we may need to fix some configuration issues. Our development environment may have different paths, and different versions of the Android SDK, than the ones in the samples' default configuration.
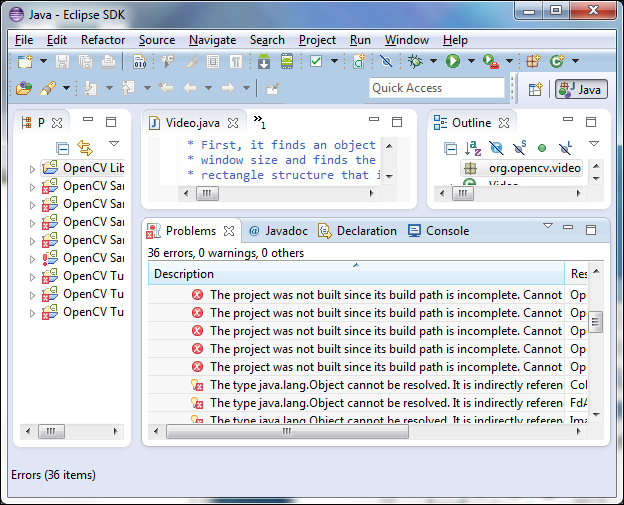
Any resulting errors will be reported in the Problems tab.
Tip
We should start by resolving any errors in the OpenCV Library project, as the samples and tutorials depend on the library.
The following are some of the common configuration problems, and their symptoms and solutions:
The target Android version might not be properly specified. The symptoms are that imports from the java and android packages fail, and there are error messages such as
The project was not built since its build path is incomplete. The solution is to right-click on the project in Package Explorer, select Properties from the context menu, select the Android section, and checkmark one of the available Android versions. These steps should be repeated for all projects. At compile time, OpenCV and its samples must target Android 3.0 (API level 11) or greater, though at runtime they also support Android 2.2 (API level 8) or greater.
If we are working on Mac or Linux, the C++ samples might be misconfigured to use the Windows build executable. The symptom is an error message such as
Program "{ndk}/ndk-build.cmd" not found in PATH. The solution is to right-click on the project in Package Explorer, select Properties from the context menu, select the C/C++ Build section, and edit the Build command: field to remove the.cmdextension. These steps should be repeated for all the native (C++) projects, which include OpenCV Sample - face-detection and OpenCV Tutorial 2 - Mixed Processing.
Tip
If we are using the projects in TADP's
<tadp>/nvsample_workspace, we only need to troubleshoot the projects that have names starting withOpenCV. For this book's purposes, the other TADP samples are not relevant.
Once the OpenCV projects no longer show any errors, we can prepare to test them on an Android device. Recall that the device must have Android 2.2 (Froyo) or a greater version, and a camera. To enable Eclipse to communicate with the device, we must enable the device's USB debugging option with the help of the following steps:
Open the Settings app.
On Android 4.2 or greater, go to the About phone or About tablet section and tap Build number seven times. This step enables the Developer options section.
Go to the Developer options section (on Android 4.0 or greater) or the Applications | Development section (on Android 3.2 or less). Enable the USB debugging option.
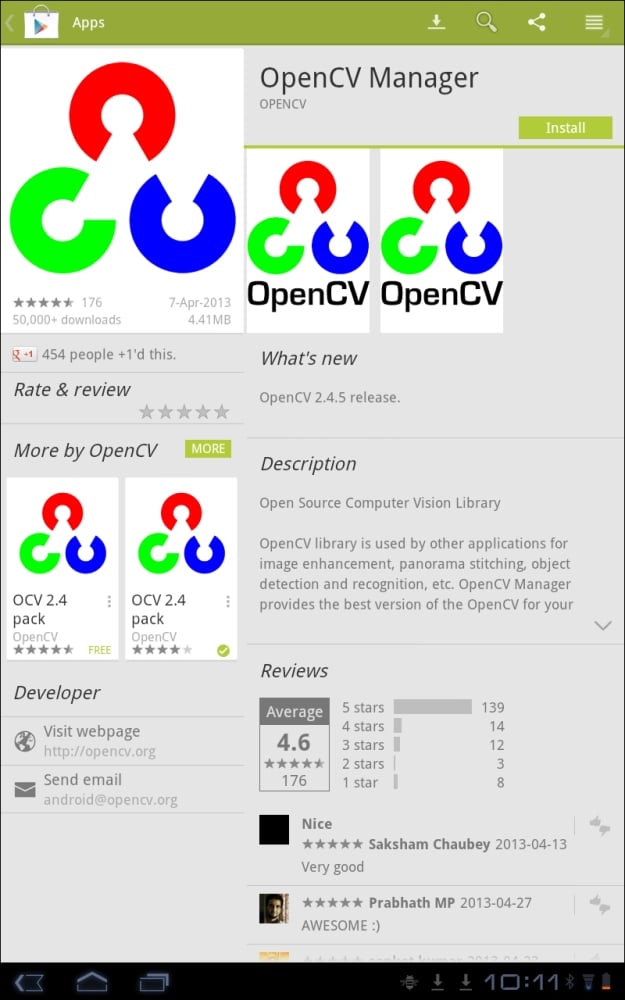
Now, open the Play Store app, and find and install the OpenCV Manager app. (The app's page in the Play Store should look similar to the previous screenshot.) OpenCV Manager takes care of checking for any OpenCV library updates when we run any OpenCV applications.
Tip
If you do not have the Play Store app on your device, then you need to install OpenCV Manager and certain OpenCV libraries via USB as per the instructions at http://docs.opencv.org/android/service/doc/UseCases.html.
Now, we must prepare our main computer for communication with the Android device. The required steps vary, depending on our operating system.
On Windows, we need to install the proper USB drivers for the Android device. Different vendors and devices have different drivers. The official Android documentation provides links to the various vendors' driver download sites at http://developer.android.com/tools/extras/oem-usb.html#Drivers.
On Linux, before connecting an Android device via USB, we must specify the device's vendor in a permissions file. Each vendor has a unique ID number, as listed in the official Android documentation at http://developer.android.com/tools/device.html#VendorIds. We will refer to this ID number as <vendor_id>. To create the permissions file, open a command prompt application (such as Terminal) and run the following commands:
$ cd /etc/udev/rules.d/
$ sudo touch 51-android.rules
$ sudo chmod a+r 51-android-rules
Note that the permissions file needs to have root ownership, so we use sudo when creating or modifying it. Now, open the file in an editor such as gedit:
$ sudo gedit 51-android-rules
For each vendor, append a new line to the file. Each of these lines should have the following format:
SUBSYSTEM=="usb", ATTR{idVendor}=="<vendor_id>", MODE="0666", GROUP="plugdev"Save the permissions file and quit the editor.
On Mac, no special drivers or permissions are required.
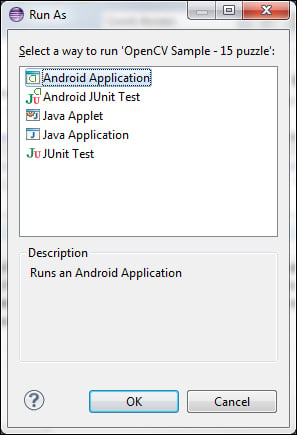
Plug the Android device into your computer's USB port. In Eclipse, select one of the OpenCV sample projects in Package Explorer. Then, from the menu system, select Run | Run as… | Android Application.
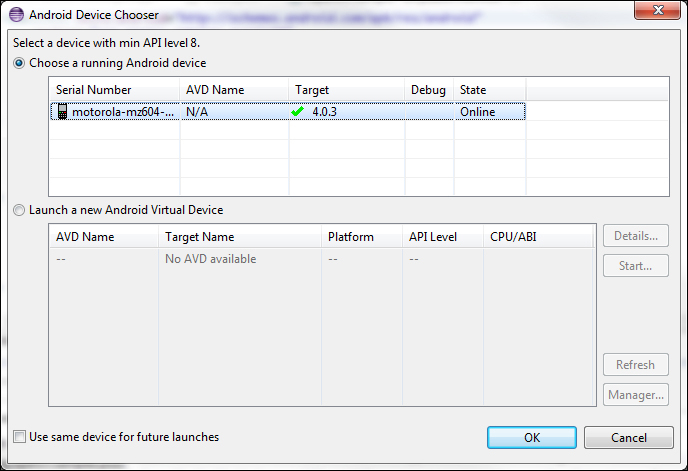
An Android Device Chooser window should appear. Your Android device should be listed under Choose a running Android device. (If the device is not listed, try unplugging it and plugging it back in. If that does not work, also try disabling and re-enabling the device's USB debugging option, as described earlier.)
Select the device and click on OK.
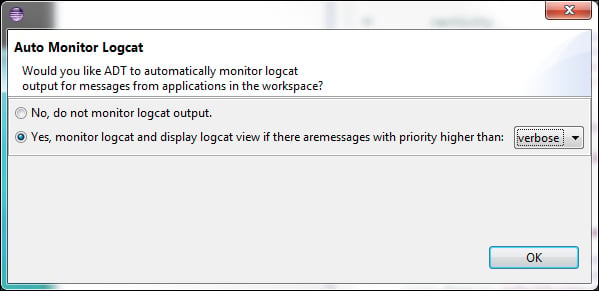
If the Auto Monitor Logcat window appears, select the Yes radio button and the verbose drop-down option, and click on OK. This option ensures that all the log output from the application will be visible in Eclipse.
On the Android device you might get a message: OpenCV library package was not found! Try to install it? Make sure the device is connected to the Internet and then touch the Yes button on your device. The Play Store will open to show an OpenCV package. Install the package and then press the hardware back button to return to the sample application, which should be ready for use.
For OpenCV 2.4.3.2, the samples and tutorials have the following functionality:
Sample – 15 puzzle: It splits up a camera feed to make a sliding-block puzzle. The user may swipe blocks to move them.
Sample – color-blob-detection: It detects color regions in a camera feed. The user may touch anywhere to see the outline of a color region.
Sample – face-detection: It draws green rectangles around faces in a camera feed.
Sample – image-manipulations: It applies filters to a camera feed. The user may press the Android menu button to select from a list of filters.
Tutorial 1 – Add OpenCV: It displays a camera feed. The user may press the … menu to select a different camera feed implementation (Java or native C++).
Tutorial 2 – Use OpenCV Camera: It applies filters to a camera feed. The user may press the … menu to select from a list of filters.
Tutorial 3 – Add Native OpenCV: It draws red circles around interest points or features in a camera feed. Generally speaking, interest points or features lie along the high-contrast edges in an image. They are potentially useful in image recognition and tracking applications.
Tutorial 4 – Mix Java+Native OpenCV: It combines the functionality of Tutorial 2 and Tutorial 3. The user may press the … menu to select from a list of filters and a preview of interest points.
Tutorial 5 – Camera Control: It applies filters to a camera feed, which has a customizable resolution. The user may press the … menu to select from a list of filters and a list of resolutions.
Try these applications on your Android device! While an application is running, its log output should appear in the LogCat tab in Eclipse.
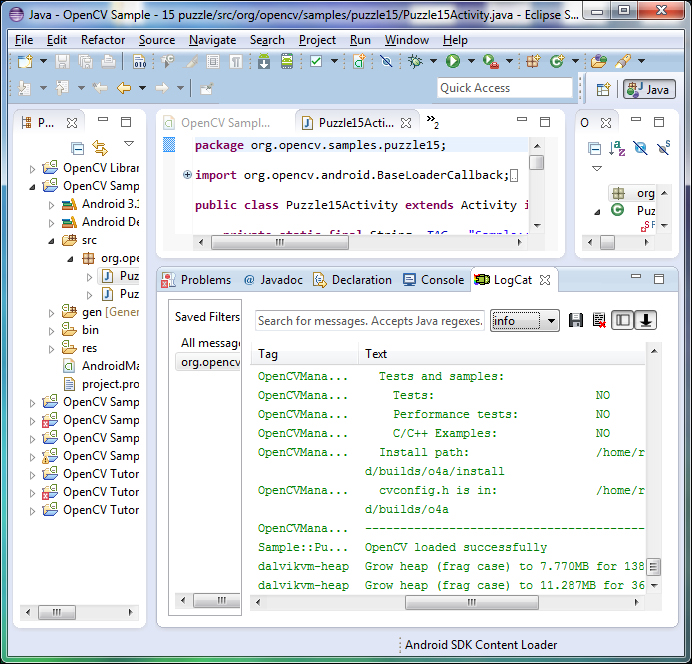
Feel free to browse the projects' source code via Package Explorer, to see how they were made. Alternatively, you might want to return to the official samples and tutorials later, after we have built our own project over the course of this book.


