Sharpening the details
At this point, the general shape of the face is set, but there can be more detail added. Keep in mind that with 3D printing, there is such a thing as too much detail, since some of it won't come through. Then again, details tend to be the most impressive part, so spending some time sharpening some edges may be of benefit. Here's how:
In the Tool Shelf, under Symmetry/Lock, click on the X button under Mirror so that it is highlighted in order to toggle mirroring back on.

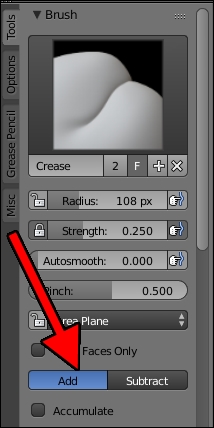
Switch to the Crease tool (Shift + C).

Make sure the Add button in the Tool Shelf is highlighted. If not, click on it so it is highlighted.

Adjust the view and change the Radius (F) until the brush is big enough to cover the bridge of the cheek.

Draw a line following the bridge of the cheek to sharpen it a bit.

Draw in a line around the eyebrows and down the bridge of the nose.

While holding down Ctrl, draw a line following the curve of the mouth.

Adjust the view to zoom in on one eye.
While holding down Ctrl...


