


Setting up your project
Let’s begin by creating our Unreal Engine project:
- Launch UE5. Select the Games project category, then click on Next.
- Select the Third Person template, then click on Next.
- Make sure the first option is set to C++ and not Blueprint.
- Select the location of the project according to your preference and name your project
Dodgeball, then click on Create Project.
When the project is done being generated, you should see the following on your screen:
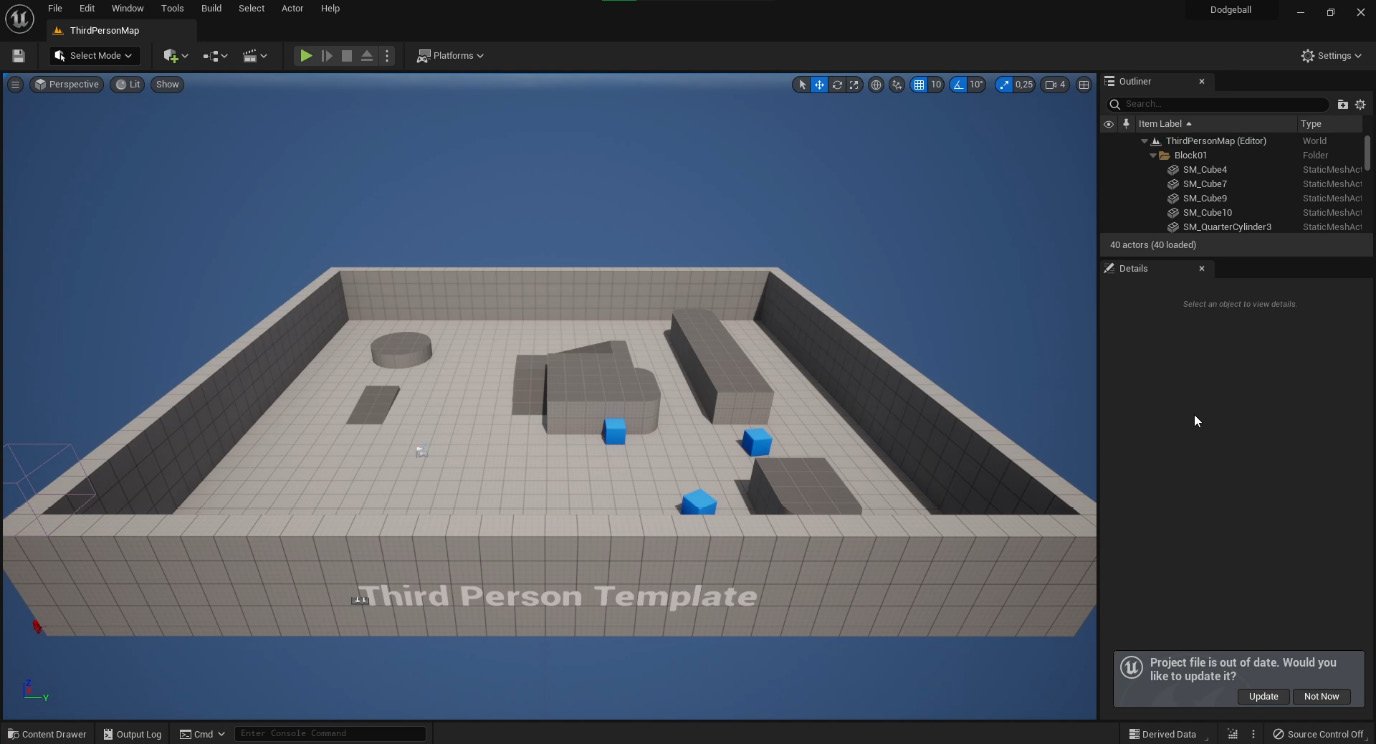
Figure 5.1 – Dodgeball project loaded up
- After the code has been generated and the project opens up, enable the Enhanced Input plugin, just like we did in steps 1-3 of the Understanding input actions and contexts section in Chapter 4, Getting Started with Player Input.
- After that, close the UE5 editor and open the files of the generated third-person
Characterclass,DodgeballCharacter, in Visual Studio, as shown in the following figure:
...


