Currently, our camera stays in the same spot while the game is going on. This does not work very well for this game, as the player will be moving more the longer the game is going on. There are two main ways that we can move our camera. We can just move the camera and make it a child of the player, but that will not work due to the ball's rotation. Due to that, we will likely want to use a script instead. Thankfully, we can modify how our camera looks at things fairly easily, so let's go ahead and fix that next:
- Go to the Project window and create a new C# script called CameraBehaviour. From there, use the following code:
using UnityEngine;

/// <summary>
/// Will adjust the camera to follow and face a target
/// </summary>
public class CameraBehaviour : MonoBehaviour
{
    [Tooltip("What object should the camera be looking at")]
    public Transform target;

    [Tooltip("How offset will the camera be to the target")]
    public Vector3 offset = new Vector3(0, 3, -6);

    /// <summary>
    /// Update is called once per frame
    /// </summary>
    void Update ()
   {
        // Check if target is a valid object
        if (target != null)
        {
            // Set our position to an offset of our target
            transform.position = target.position + offset;

            // Change the rotation to face target
            transform.LookAt(target);
        }

   }
}
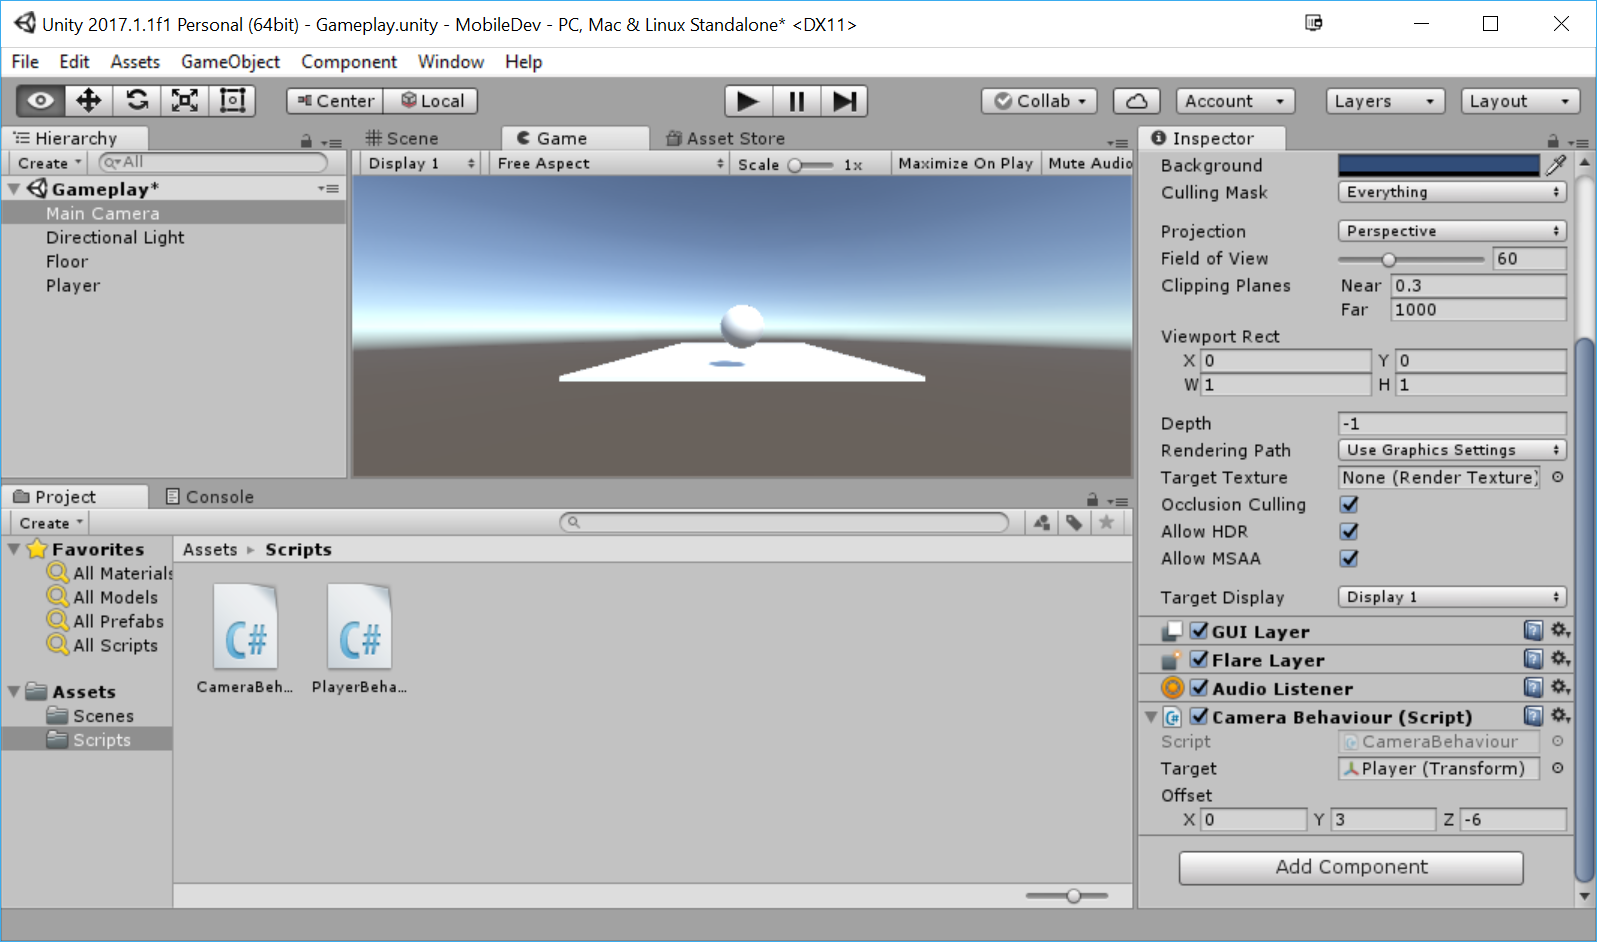
- Save the script and dive back into the Unity Editor. Select the Main Camera object in the Hierarchy window. Then, go to the Inspector window and add the CameraBehaviour component to it. You may do this by dragging and dropping the script from the Project window onto the game object or by clicking on the Add Component button at the bottom of the Inspector window, typing in the name of our component, and then clicking on Enter to confirm once it is highlighted.
- Afterward, drag and drop the Player object from the Hierarchy window into the Target property of the script in the Inspector window:

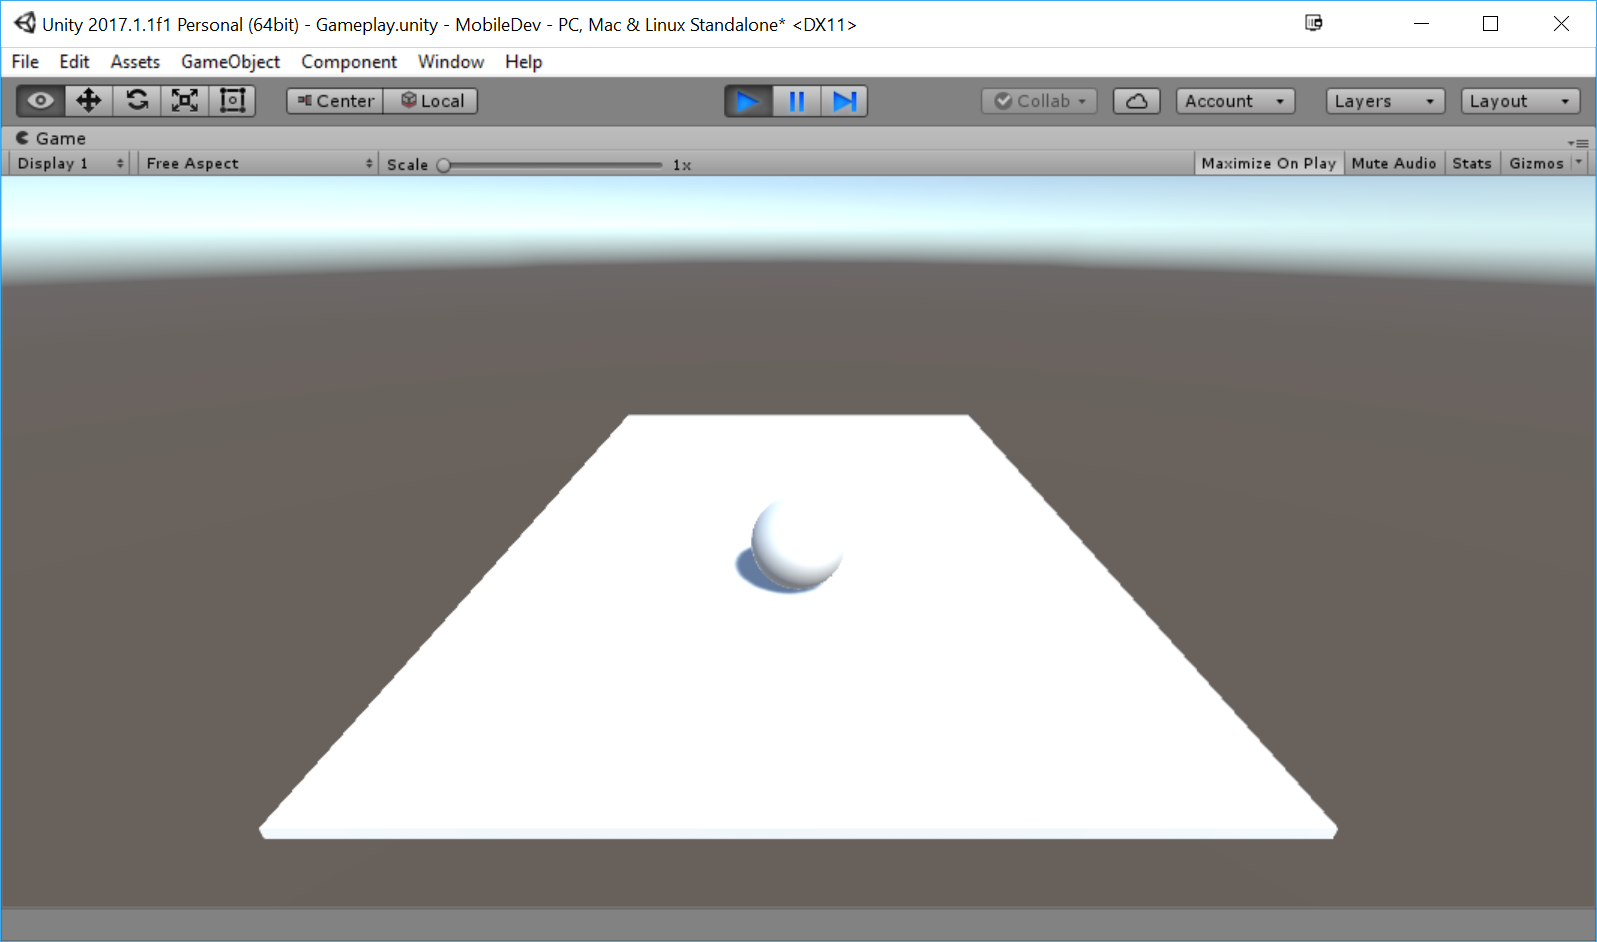
- Save the scene, and play the game:

The camera now follows the player as it moves. Feel free to tweak the variables and see how it effects the look of the camera to get the feel you'd like best for the project.


