If you're interested in using RVM to manage multiple versions of Ruby on your system, I want to give some more detailed instructions on how you can accomplish this:
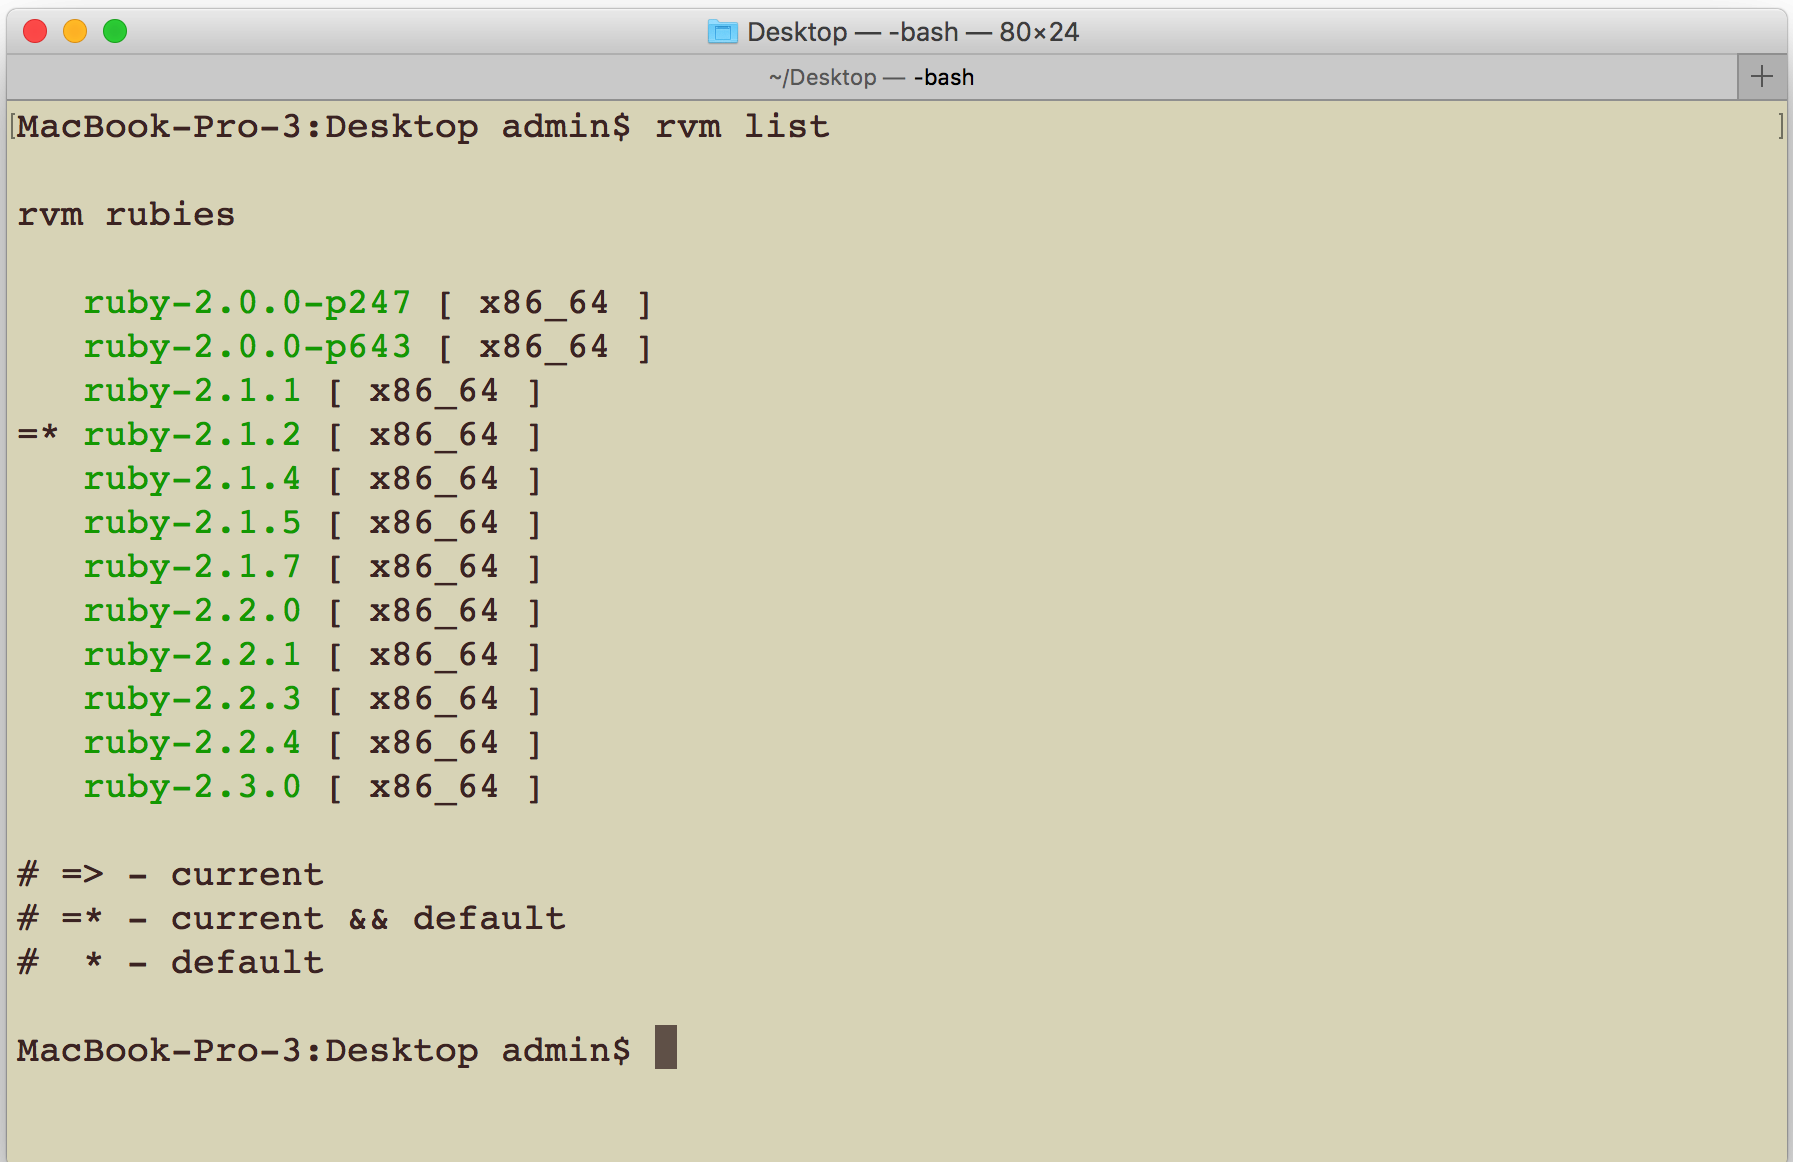
- Start out by going to your Terminal and typing the following command:
rvm list

If you have RVM installed, this will bring up all of the versions of Ruby that you have access to on your computer.
- If there is a version of Ruby that you want and that you don't already have on your system, simply type this in to the Terminal:
rvm install 2.3.0
Running this command will install the 2.3.0 version of Ruby for you:

You can do this for any versions of Ruby that are available via RVM. This makes it easy to ensure you're always using the most up-to-date version of the language. Using RVM is also helpful if you have different projects that utilize various versions of the language. For example, I have some legacy Ruby projects that use Ruby version 1.9.3, while all of my new projects use Ruby 2.3.0 (at the time of writing this guide).
By leveraging RVM, I can quickly switch between different versions of Ruby with a simple Terminal command. Alternatively, if you're not a fan of RVM, you can also use rbenv, which is a similar service.


