In this section, we will build out an environment that will allow you to perform security testing without the need for physical hardware:
- Ensure that you have the following resources free on your host machine to support the system combinations mentioned in preceding list. In totality, you will need the following in addition to the resources needed by VirtualBox itself:
- 5 CPU
- 1500+ GB free disk space
- 16 GB free memory
- Download the appropriate version of VirtualBox for your lab environment from www.virtualbox.org.
It would also be good to familiarize yourself with the detailed options available from the VirtualBox manual, which can be found at https://www.virtualbox.org/manual/ch01.html.
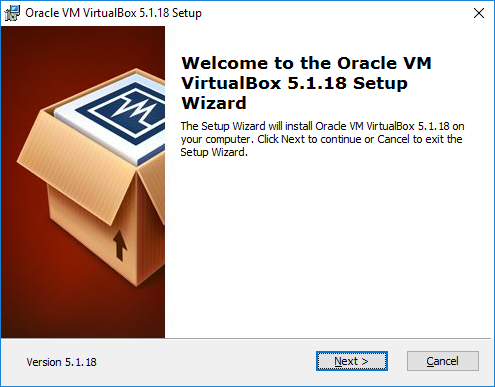
- Once you have downloaded the installer, locate it, and start the installation. As the application begins the installation, you will see the following dialog boxes. As of the time of writing this book, the version available was 5.1.8. When you are greeted with the dialog box seen in the following figure, select Next:
Initial installation screen
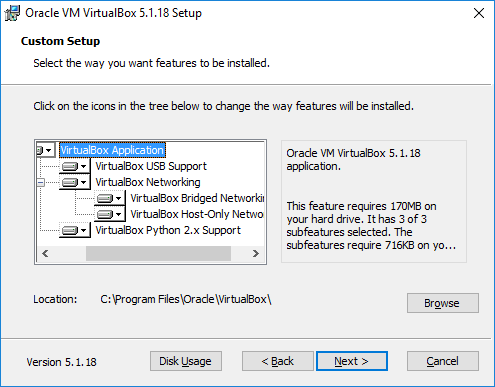
- When given the option at the first Custom Setup screen, as seen in the following figure, leave the default options in place, and select Next:
First custom setup screen
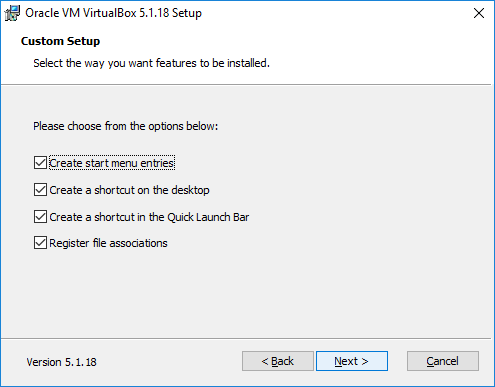
- At the second Custom Setup screen, as seen in the following figure, review the options and determine which are appropriate to your preferences, and select Next:
Second custom setup screen
If you leave Register file associations, this will configure your system to use VirtualBox, to open virtual disk images automatically.
- After the basic configuration options have been decided, the setup will now begin to make changes to the host computer. One such step is the installation of the dedicated virtual network adapters that allow VirtualBox to provide different options in regard to how your systems use networking. During the installation of these drivers, you may experience a brief loss of connectivity; so when prompted, acknowledge this fact by selecting Yes.
- Once ready to kick off the installation, select Install from the next dialog box, and wait until the installation process is complete.
During the installation process, you will be prompted to allow the installation of device drivers. These drivers are predominantly used for the virtual network devices. You may choose to trust device drivers signed by Oracle in the future, or leave that option unchecked.
- Once the installation is complete, you will be given the option to finish, or finish and then start VirtualBox.
Depending on what other uses for this lab you may have in the future, this would be a good time to install the VirtualBox expansion set that includes support for the USB 2.0 and 3.0 USB controllers, host web camera, RDP services, and other features. It is recommended that you install these at this time before starting VirtualBox.
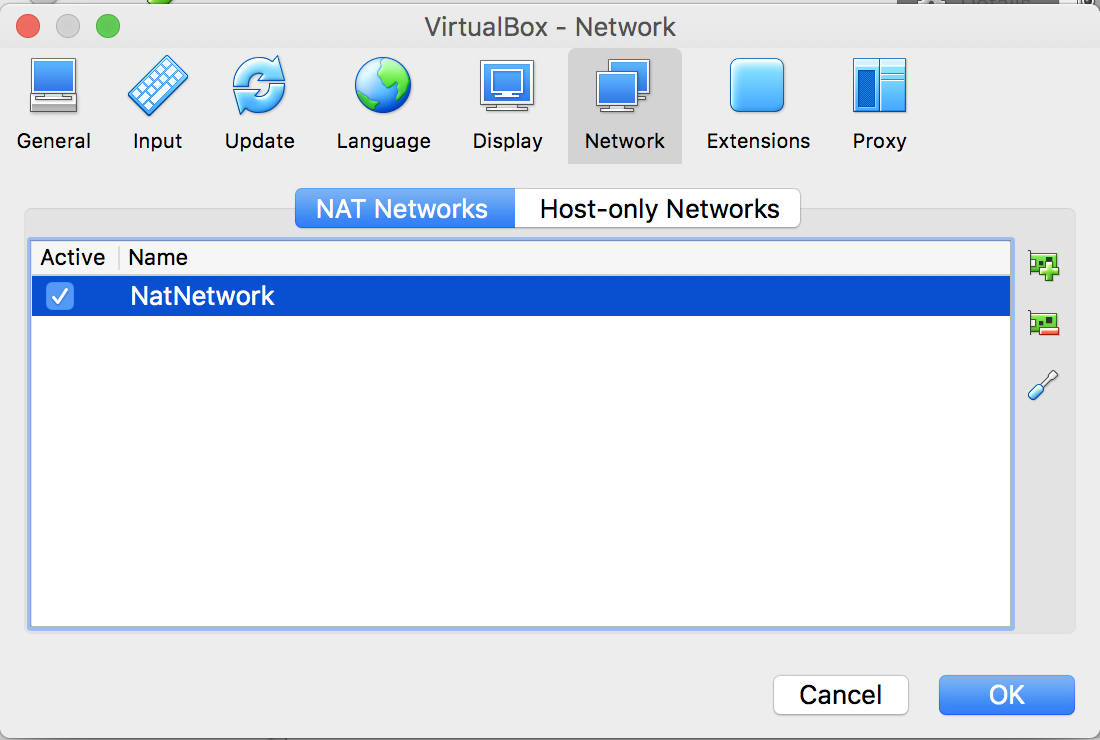
- Once you start VirtualBox, you will need to confirm the settings for network connectivity. You are going to want to find the Preferences item under the VirtualBox menu heading; now, select it. Then, select the network option along the top, and you will be presented with the following window:
VirtualBox preferences dialog - network
- By default, NatNetwork should already be created for you. However, if one is not displayed, click on the + button on the top right to add one.
In the next section, we will be creating networks that exist only on your PC. Although these networks will only be seen on your PC, we strongly recommend that you use subnets that do not coincide with any of the existing networks that you may have access to.
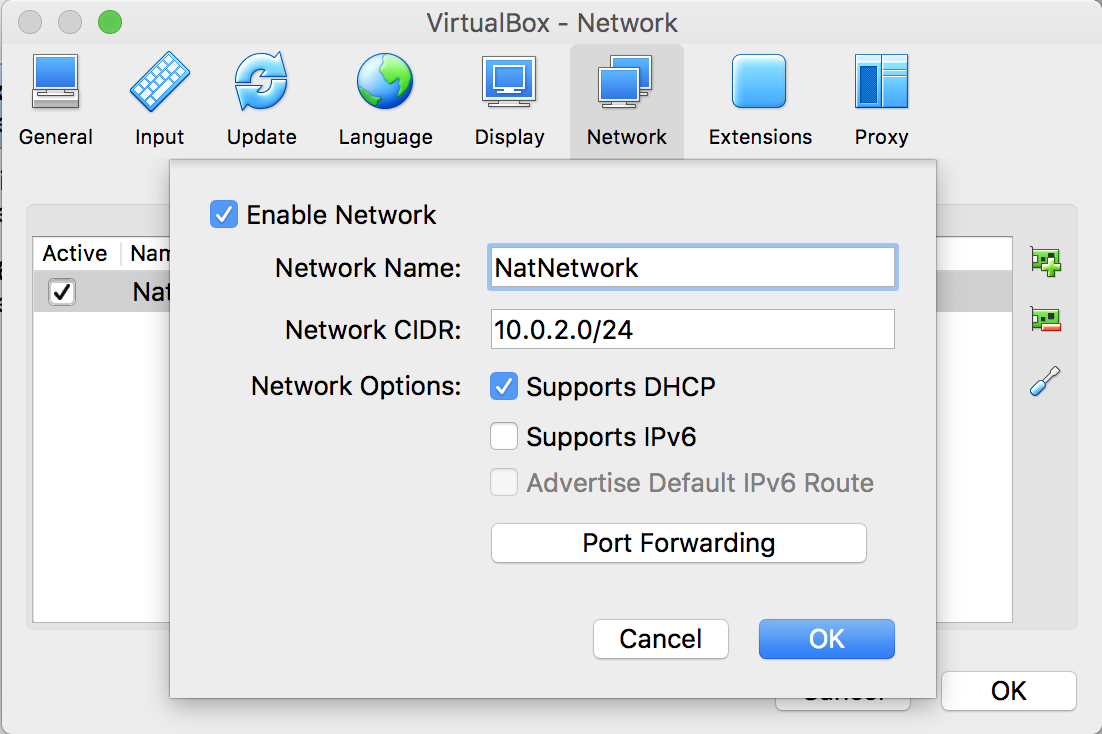
- Once added, review the setup of the network by clicking on the wrench icon, on the lower-right part, and you will be presented with the following dialog box. You can modify the IP subnet as needed. Ensure that Enable Network is selected, and click on OK to continue:
NatNetwork configuration dialog
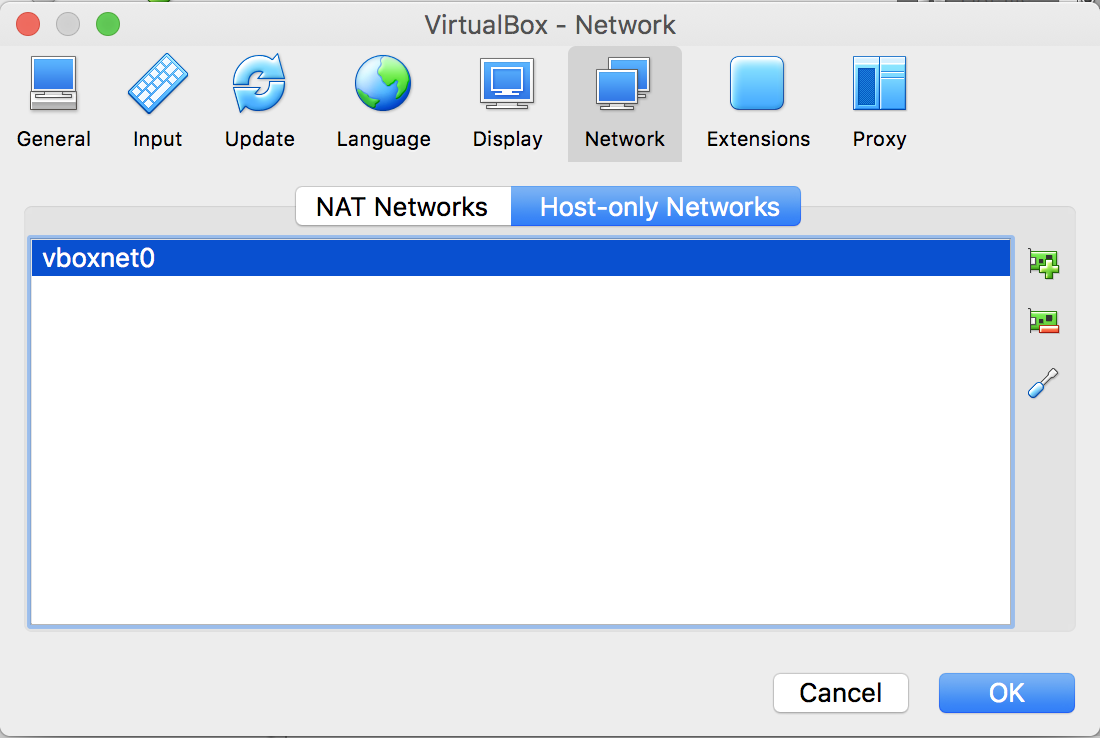
- Create our test network. Select Host-only Networks. By default, no network is created, so click on the + icon in the upper right-hand corner to create the vboxnet0 network:
Host-only networks dialog box
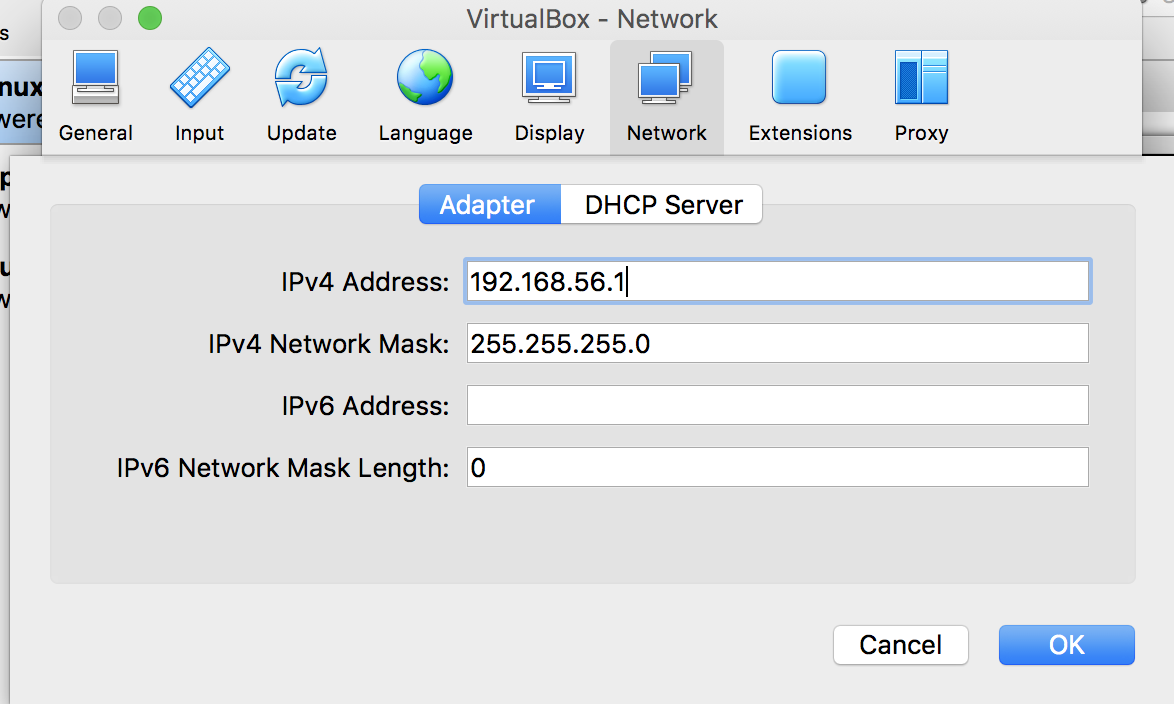
- Ensure that the vboxnet0 interface is highlighted, and click on the wrench icon in the lower-right part of the screen. An IPv4 address will already be populated for you. If you are putting this into an existing lab network, or if this range is used in other places in your existing environment, feel free to designate a different network if necessary, as this will be your dirty network for testing purposes:
Host-only network adapter dialog
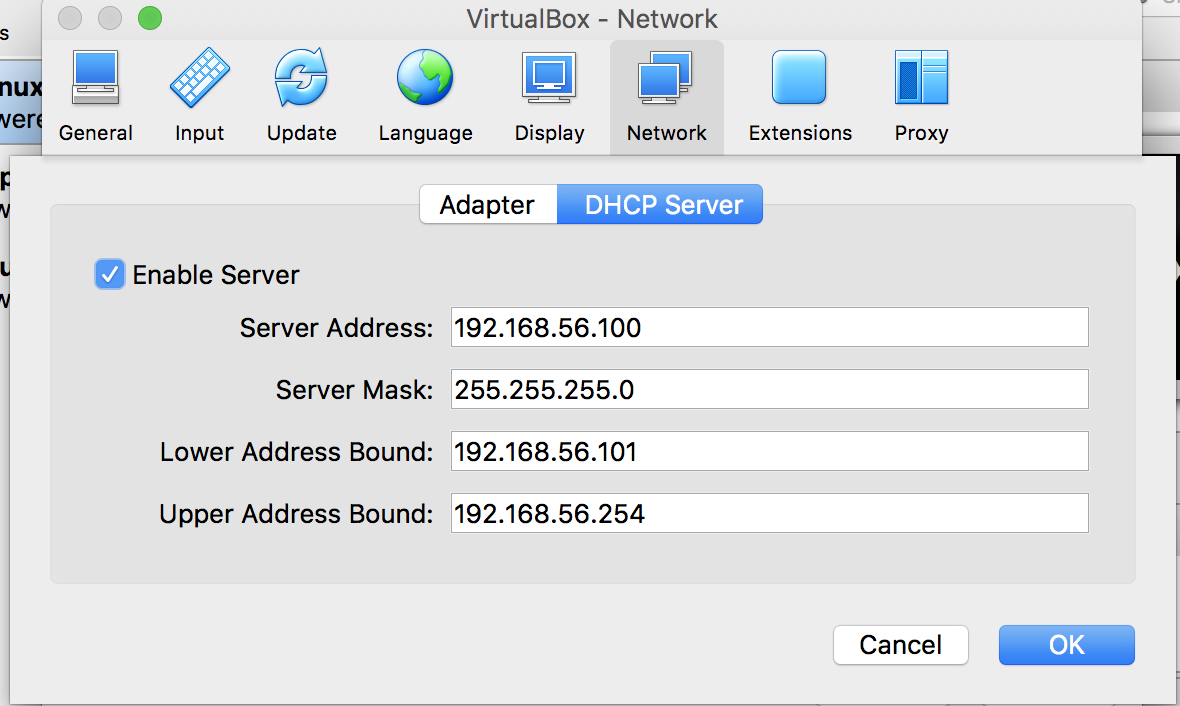
- Let's review and modify the DHCP Server section by selecting it. The defaults should be fine, but you can adjust them as you feel appropriate.
Do not use the whole range for DHCP, as you may want to statically assign IP Addresses to servers on your dirty network.
- Once these steps have been completed, your VirtualBox environment is ready for the next section.